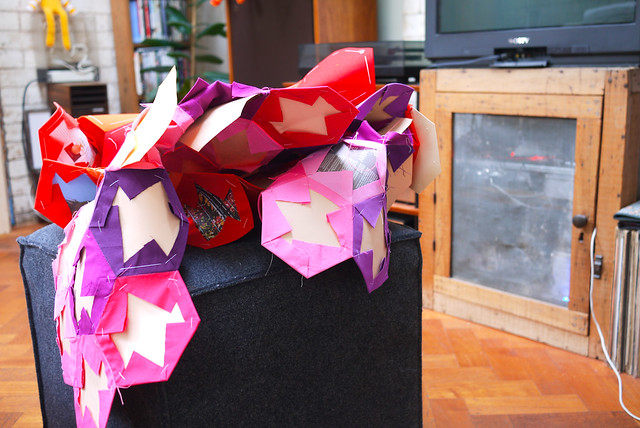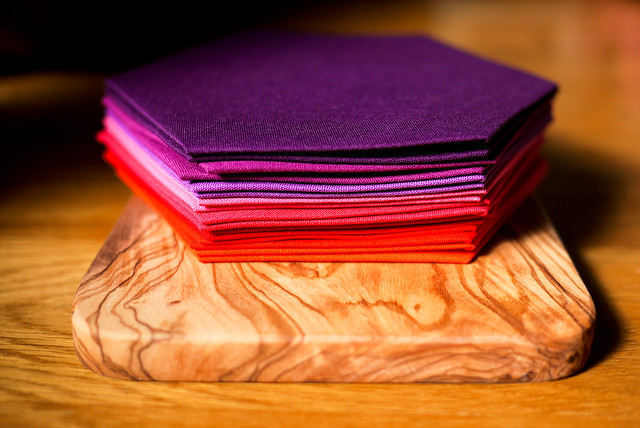
So what's up this weekend? Not a lot really. I decided to embark on learning how to do these hexagons. I have been quite good really. The materials are all plains which means they are a lot cheaper than some of those nice patterned materials; a good thing when you are testing out a method. I decided to make my squares pretty big for this first attempt, plus it also means I don't have to make as many.
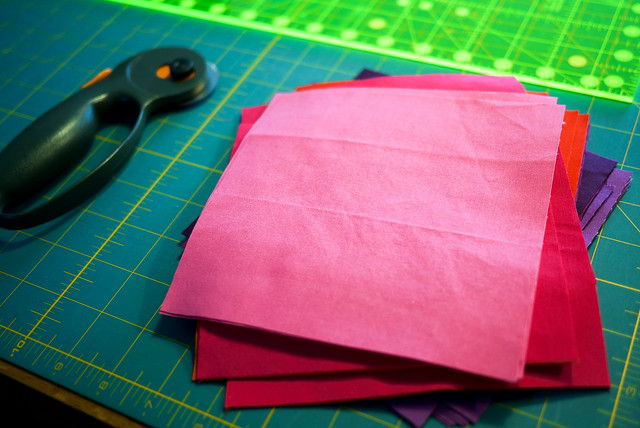
After reading up about it on the web I decided to follow the instructions from the card templates I bought from Birmingham. I bought HEX275 2-3/4" Hexagons from
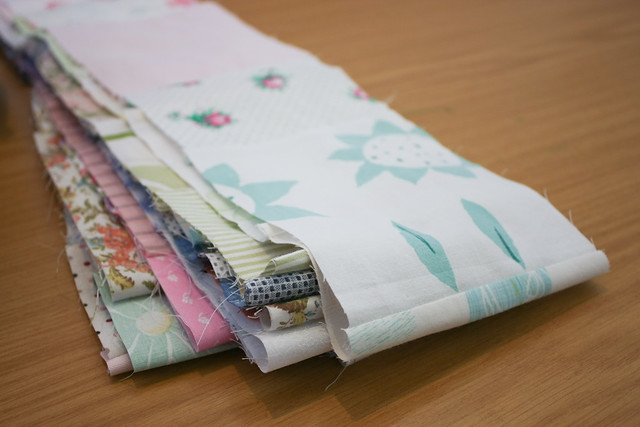
Paper Pieces. Apparently they measure one edge to create their sizes. In total my hexagons are 5 1/2" wide which is pretty big. So I set about cutting 6 1/8" squares, which they recommend over cutting hexagons (that perspex hexagon guide was a waste of money then). I have no idea if this is a good measurement, I just knew that I wanted a 1/2" overlap as 1/4" is harder to iron flat.
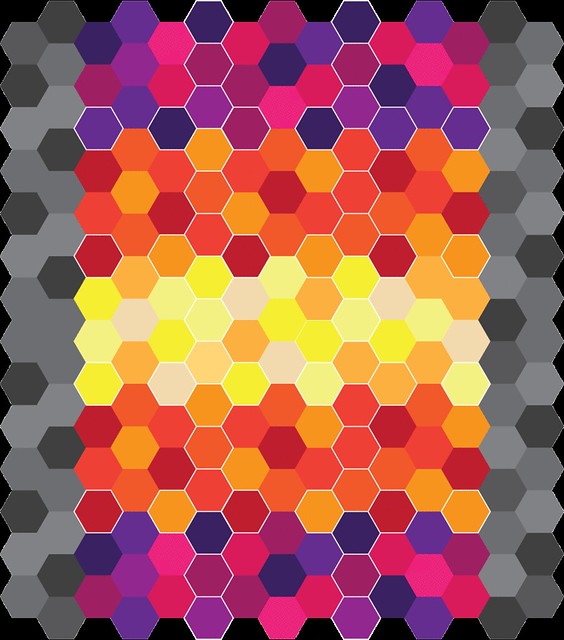
After I had started cutting, it occurred to me that I should be working out how many squares I need to cut, but I am terrible at maths. I made this picture to try and help me but I think the end result is a bit enormous so I might just make half of it. The white outlines are just to help me see where the flowers are so I know how many to make. This is what I plan to do first. So with this plan in mind I settled on cutting 6 blocks of each colour. I have split the colours into three bands: purples, oranges and yellows and tried to collect 6-7 colours in each band.
I'm not really sure if I like it. It's hardly subtle, but hey ho, this seems to just be how I roll. All that tasteful William Morris was bound to have a backlash. I have been informed that it has the potential to look 'hideous', but I must soldier on, even if it is just so I can learn the technique. I have a bag of treasured flowery scraps just waiting to be made into a smaller, more perfect version of whatever this turns out to be.
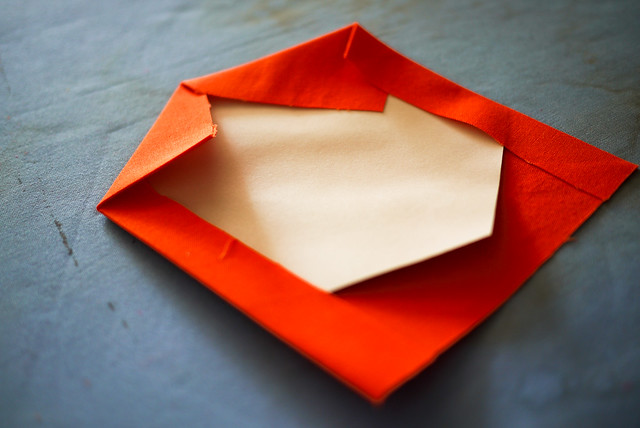
As for my technique. I decided to just iron the corners over onto the paper templates. I was a bit worried as the heat of the iron warps the card so I paused and started making one flower to see if it affected the outcome. It didn't seem to make any difference.
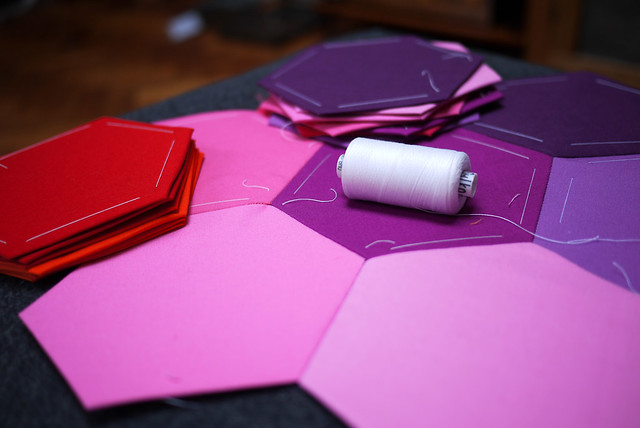
I made my first flower whilst watching the X factor and it doesn't look too bad. There are a few mismatched lengths, but I faithfully followed the card so I am unsure why they vary. Maybe they are small enough not to matter, I guess i'll see if that becomes a problem later on.
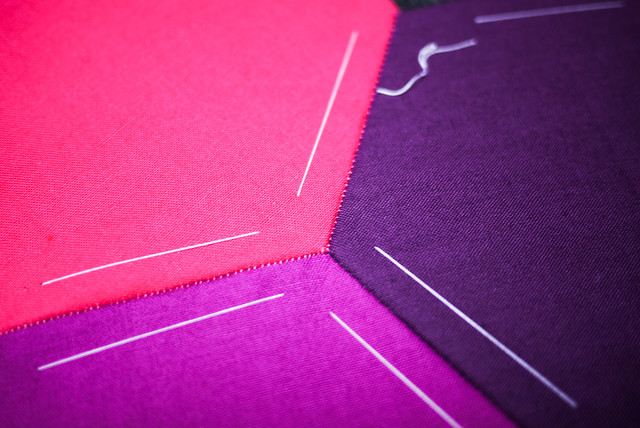
I used the basic whip stitch technique which some people say is not the best as you can see the stitches but I think I will reserve judgement. It looks okay to me and it does show that it's handmade.
Anyway I have run out of card templates now so I will have to start making my own. What a pain...
