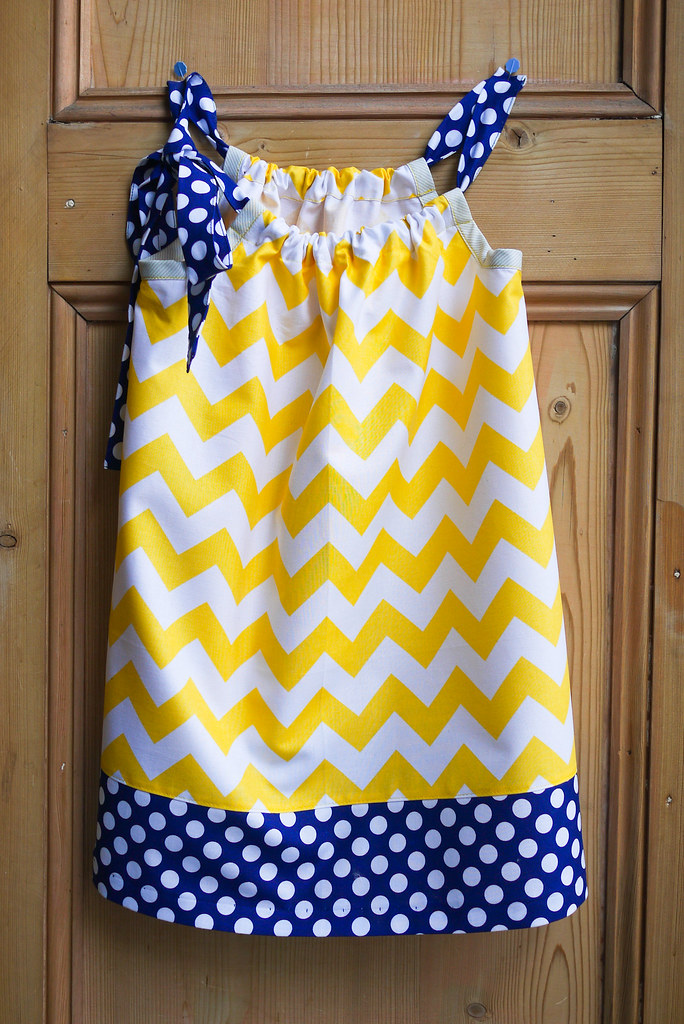
 So I decided to make another dress. A very simple one. A pillowcase dress. My other half saw this picture by GraceyLouDesigns that I had pinned and informed me that it was a winner. Her etsy shop doesn't seem to exist anymore, so seeing as I already had the fabric it required, I decided to make it. The fabric was supposed to be used to make him cushion covers for his office chair, but hey, he's already been waiting two years, he can wait a little longer.
I followed Vanessa's tutorial which was really simple and easy to understand with great step by step pictures.
I used Riley Blake medium chevrons and Michael Miller dots for the fabric. The grey stripe is a stash essential I picked up at Chilford so I have no idea what that is.
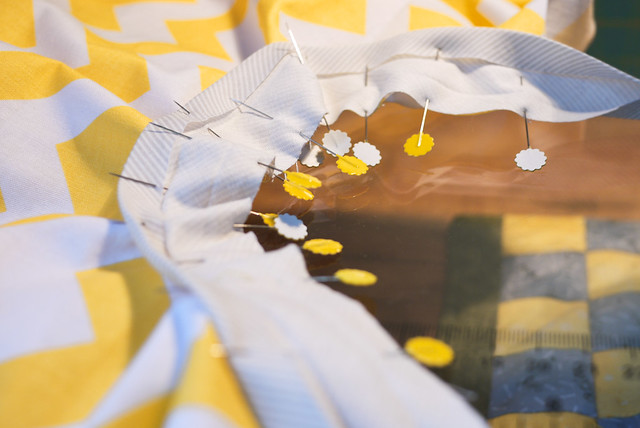
I'm pleased with my bias binding on the sleeves. I did loads of pinning and a bit of unpicking and it all looks very posh. I could have done better seams. This annoys me. They are just rubbish raw edges. I could have zig zagged or at least used pinking shears. This tutorial has really posh seams.
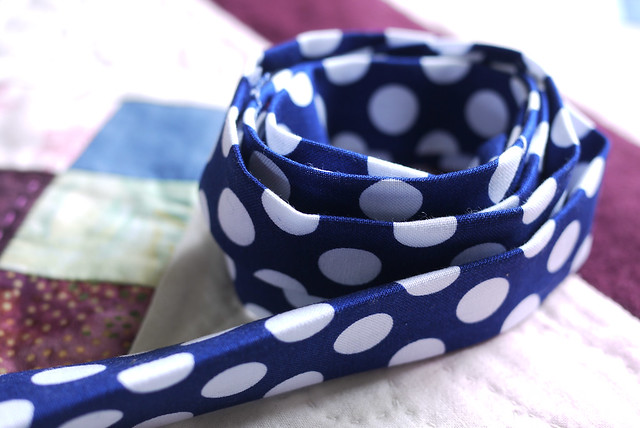 I sewed my tape really carefully and took time over the ends just so it didn't look shoddy.
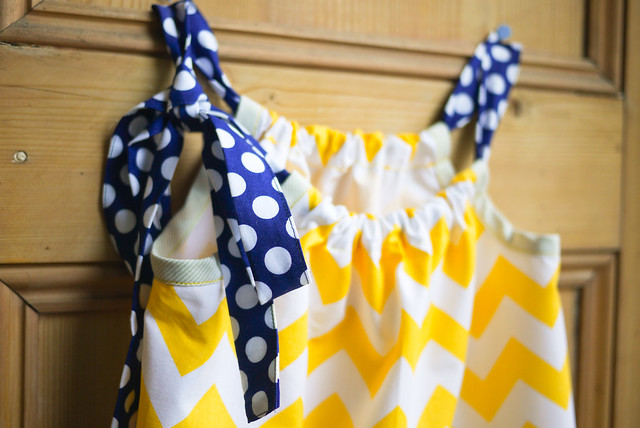 I think the bow looks really pretty. I could have used ribbon but I am glad I didn't. This seems more substantial.
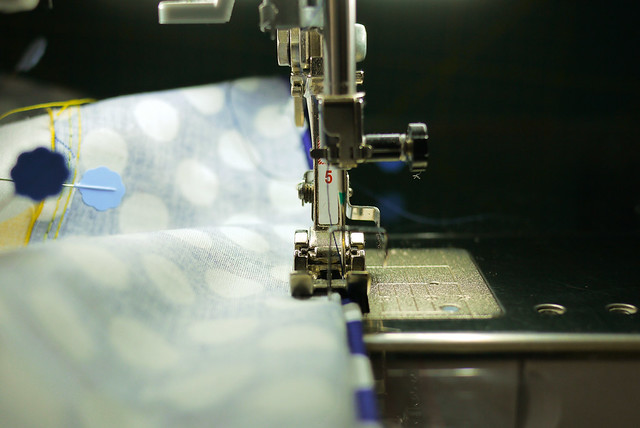 But best of all, I used my blind hemming foot. Blind hems, down pat. Worked a treat. I consider that skill learnt. Time to move onto something else. I'm pondering the idea of making an adult garment, gulp!
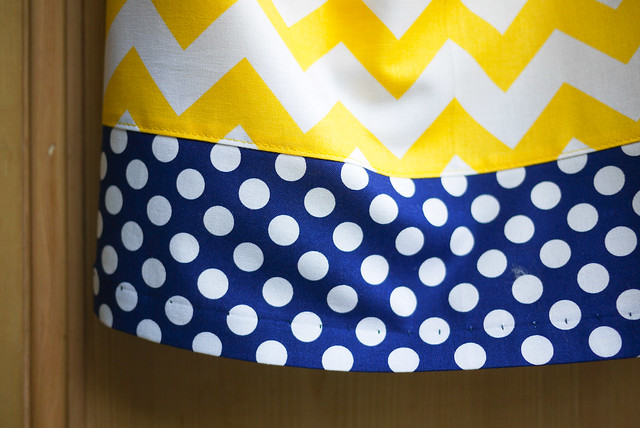
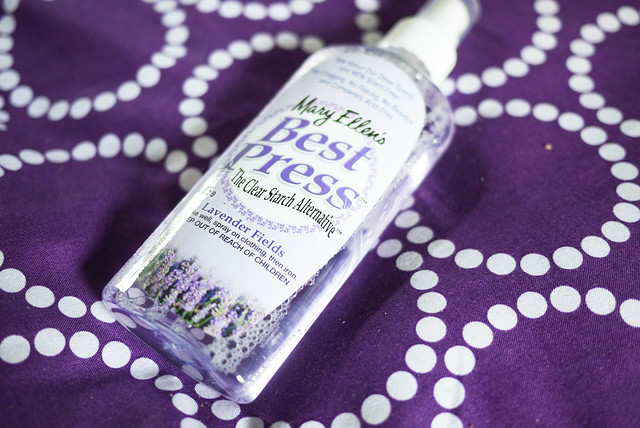 My only tip is to use spray water or starch when folding and ironing all the seams. I found it allowed me to fold my fabric with my fingers and have it stay there. I didn't prewash my fabric and quilting cotton can be quite thick and springy. This helped loads. I would mark my 1/4" seam with a chalk marker, spray with Best Press, fold the hem with my fingers then iron on top and add a bit of steam at the end. Perfect.
Right! Time to finish my abandoned bag...

