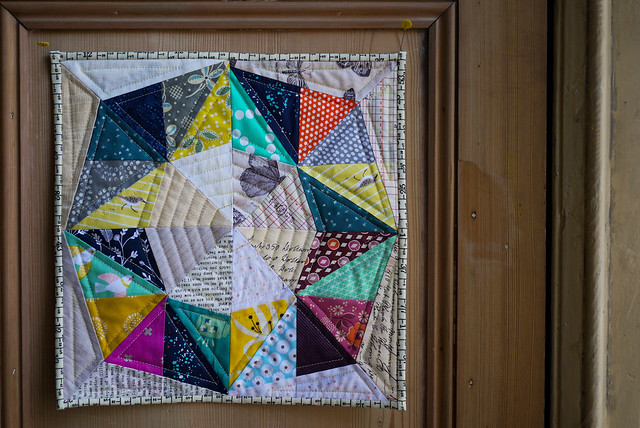
If you don't count the valentine's day mug-rugs then this is my first mini quilt. I am not sure what you do with them, but it's a nice quick, low cost thing to do.
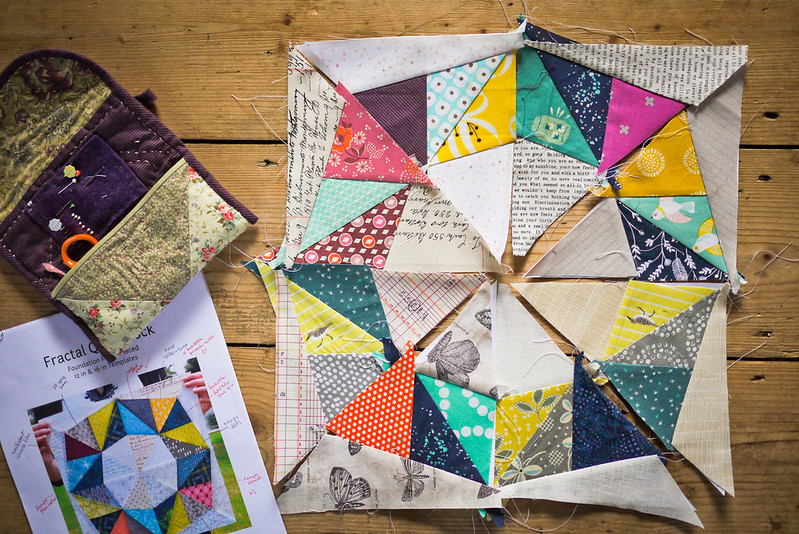
So after really enjoying making a mini traditional block, I decided to try making something more modern. I really liked the simplicity of Pattysloniger's Fractal block. I saw this instagram on Pinterest and it really grew on me as a good idea for a next project.

I mean the first block had gone down really well so maybe I was ready for the more modern approach. It seemed perfect for the ever growing scrap bag. Plus I like to mix up one traditional project with one modern one.
How wrong I was.
I have really ballsed this up.
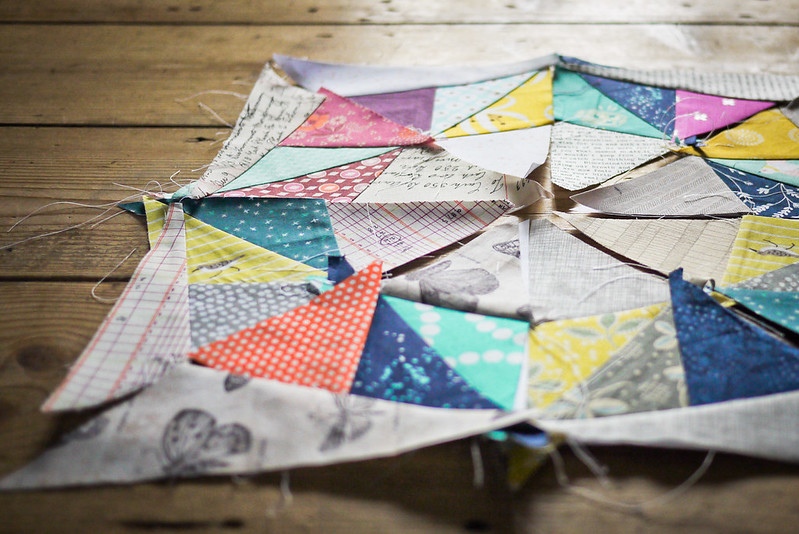
First though, I should mention that the pattern is not at fault here. I really like the pattern. It's short and simple and best of all cheap! Horray! It has everything you need. Even a diagram of the colours which is really great for me as I am really bad at colour. I just can't put nice colours together. I need help. I loved the original one so I just tried to follow the colours. Of course I failed to realise that each segment would come out as a mirror image of itself so all my colour matching went tits up. And I should have numbered my fabric as I had no idea which of the two middle colour segments were which as they were almost the same shape. Note to self: Next time use stickers.
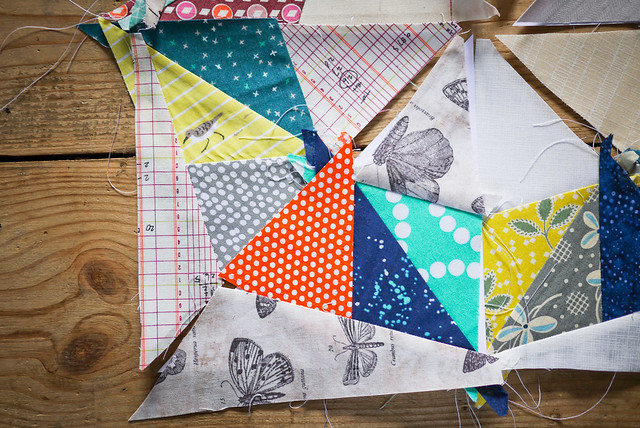
As an idiot though I could have done with the seam allowance added to the pattern so I could have cut out templates for the shapes I needed to cut. Look at the orange segment, it's got a massive gap! I think I unpicked half of the segments. I sewed this one twice and STILL got it wrong.
I think this is because I just roughly cut out all the low volume shapes first with a pair of scissors. Very rough and ready. I cut them all a tad too small and very wonky which made lining them up almost impossible. Of course I am so tight that I ploughed on with them... a mistake really. It set everything off kilter.
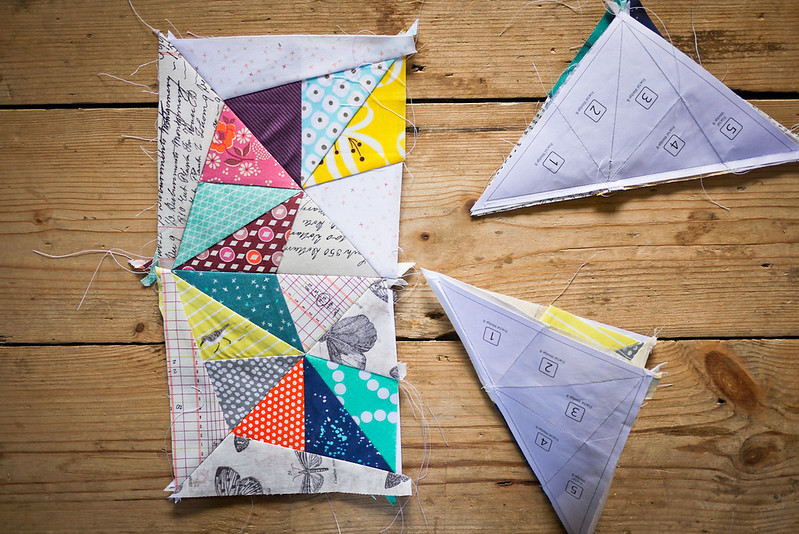
I then cut out all the shape templates again but with seam allowance and cut the coloured sections. I still managed to balls this up as I made them way too big. So I am left lining up bits that are too small with bits that are too big, everything was just OFF. My fault totally.
Maybe I should have read the book mum leant me on foundation piecing. Yes, that definitely feels like a good idea now I have ballsed it up.
In the end my finished blocks barely had enough seam allowance so I had to keep the paper on just so I could see where to sew. Nothing lines up which makes it hard to see the central shape.

It's all incredibly sketchy. Some barely meet, others are huge flappy seams. The back is quite frankly a mess.

But at least no one sees the back and hopefully once quilted, the seams will be ok and the lumps and creased not to visible. And if you stand really far away you won't see the wonky lining up. See it looks ok right?

Uh-oh, look closely and nothing lines up by a long way. Back to squinting. I know I can do better than this. It just goes to show that being lax at the start can affect the whole thing. No more cutting out random shapes with scissors in the dark whilst watching House of Cards.
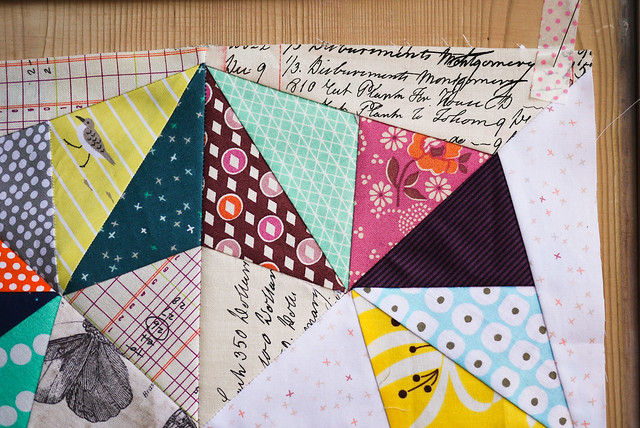
I found choosing the fabric quite difficult. I realised the original had bright and dark blues in it and I seem to have no blue fabric. I had to use turquoise instead, but now I think not all turquoises are the same and the light blue Flights of Fancy fabric on the far right doesn't really fit. I'm really pleased with the Teensy Weensy Pine (dark green with little crosses fourth on the left) as it was sent to be by mistake so they didn't charge me! I'd been waiting to use the Cloud 9 bird fabric, third on the left, but I think the orange and grey spots don't really work, nor the yellow Katie Jump Rope on the far bottom right, which is weird really as I thought that would go and that the new yellow fabric I bought at Duxford would look too murky, but actually I think it works
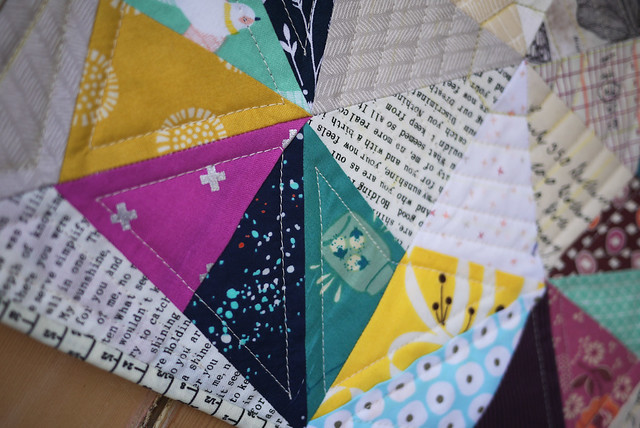
It's great to see it all together and work out which bits go and which don't.
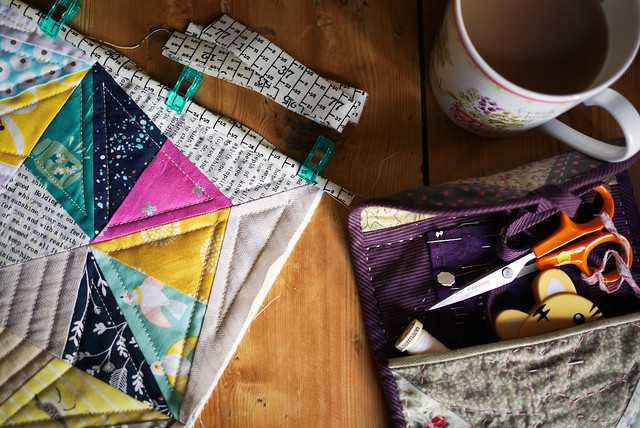
I also bought my first ever quilt magazine the other day. I try not to buy magazines anymore as I don't have anywhere to put them and I am loathe to have more stuff. I have a stuff problem as it is. But I was buying my mum one and Penelope her first one so I thought why not! Love Patchwork & Quilting were giving away some cool blue wonderclips which just sealed the deal! I love them! They are just so bloody useful and I have a real thing about plastic see thru things. I am just drawn to them. I really want these multi coloured clips! I just find that lovely notions make everything more pleasurable. Terrible really. And check out my tiger tape measure that I got for Christmas! It rocks. After doing so much unpicking with project I have added a swanky Ghinger seamripper to my wishlist.
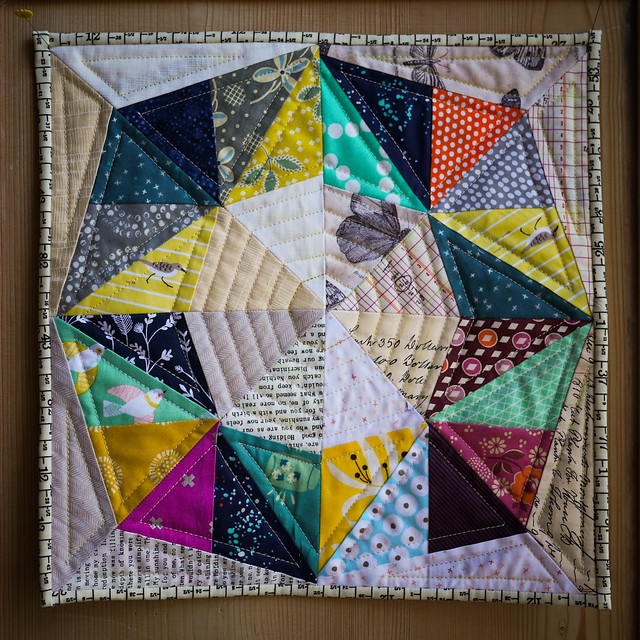
The pattern didn't tell you about the quilting which I think could have helped. I had to squint at the original instagram picture to get an idea so if it were me, I would include a diagram for idiots like me. Turned out to be pretty quick and easy... result.
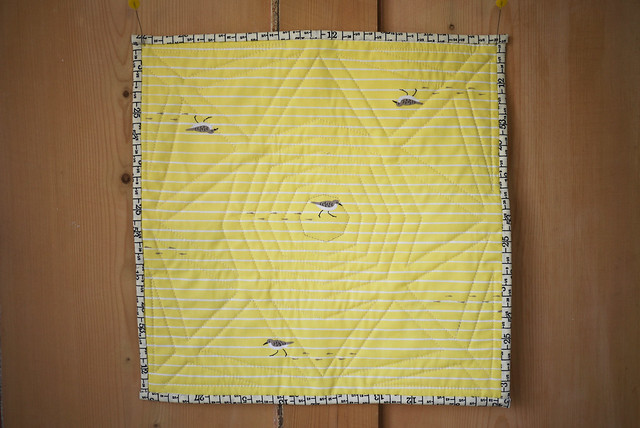
I used the birds on the back which I think worked well. And I bound it with the fat quarter Rachel gave me for Christmas!
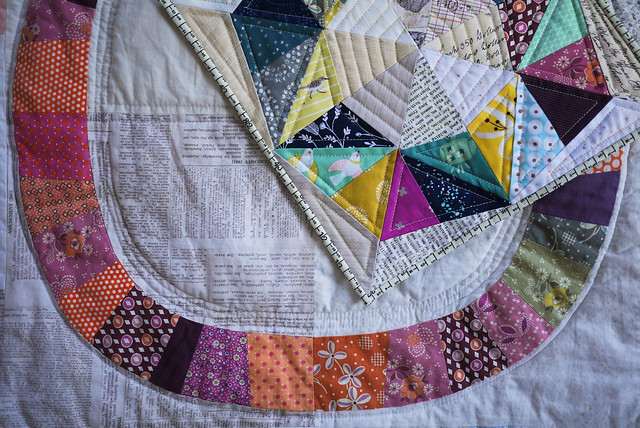
So now I am going to start another one straight away just to prove that I can do it perfectly. I know what will happen though, I will end up liking the first one the best. It is always the way. I love it already. I did think for the first time ever that I might just make a patchwork cushion. Gasp! Have I finally tipped over the edge towards that Patchwork jerkin? I thought that my Maple O quilt could do with a big cushion in matching colours and this might go if I made the bigger size. Let's see if I can make it perfect this time and find all the fabric scraps I used for the Maple O.
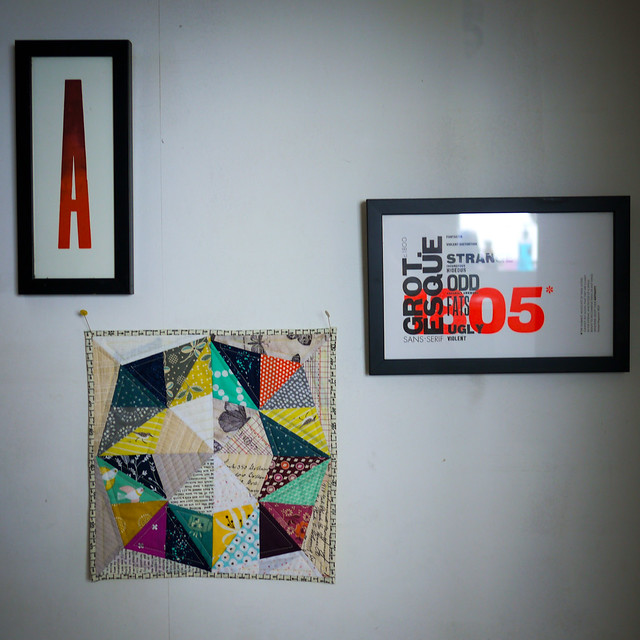
Here's one last picture because I love it so. Gives you some idea of how ickle it is. 14"
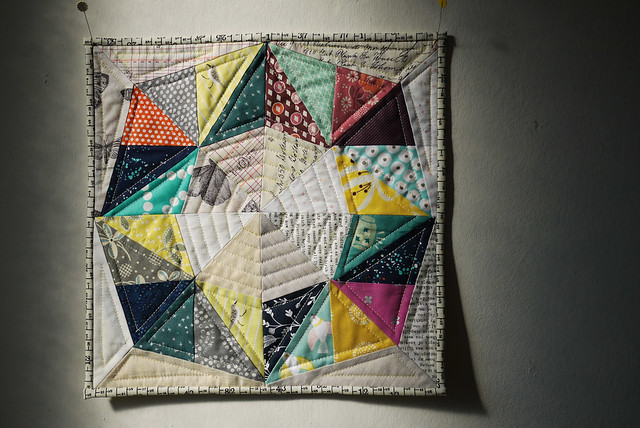
Close up! because... why not? Here it is by the front door. The light is refracting through the bobbly gross safety glass. Would it be too much for people to walk in and see a mini quilt on the wall? I think so. For the time being it will live on the bedside table... just for me.


No comments:
Post a Comment