Sunday, November 06, 2011

Chilford Quilt Show

20111105-P1170327.jpg

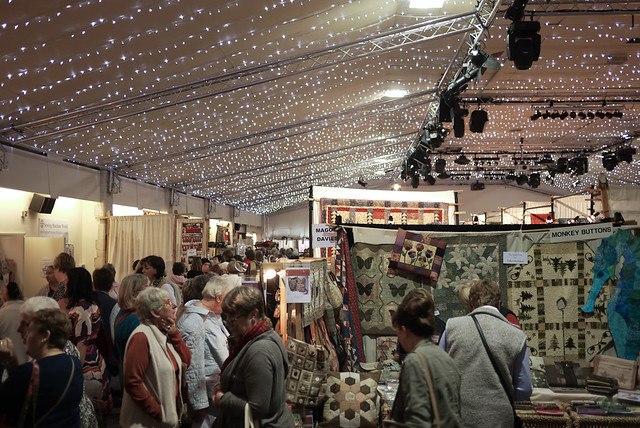
So Chilford was great, very Christmassy with the lights. The giant scone was great. The team was incomplete as Claire was absent, but we all know the Spring show is better anyway!
20111113-P1170508.jpg

For once I didn't buy a huge amount but that's probably because I went to Birmingham and Ally Pally this year already. I have a backlog of projects and all I need for them so there were a few impulse buys but not a lot else. I did get some wadding though which is always handy.
20111113-P1170510.jpg

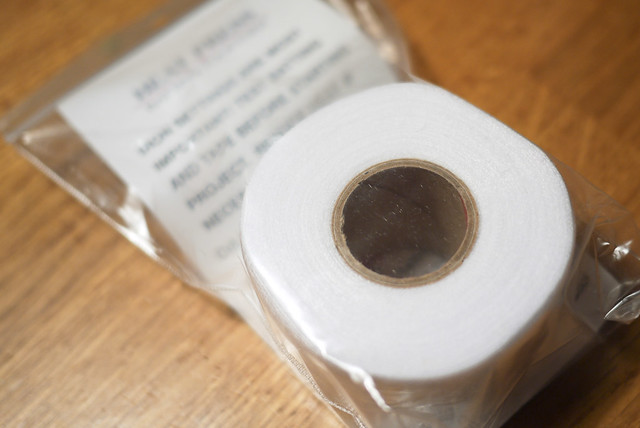
I did get this great tape for joining wadding together. I usually zigzag stitch it but it's a bit of a pain and this stuff just irons on so I thought I would give it a go.
20111105-P1170324.jpg

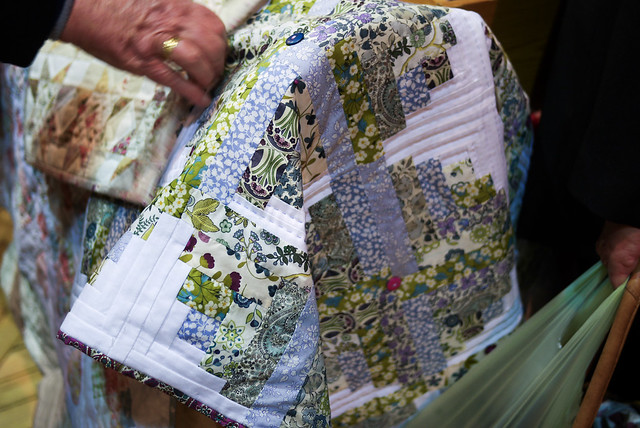
It was a great opportunity for mum to get me my Christmas present and seeing as I am having a Liberty fabric phase, I got her to buy me this pattern. It's very exciting. Now I just have to get everything else done before Christmas!
20111105-P1170346.jpg

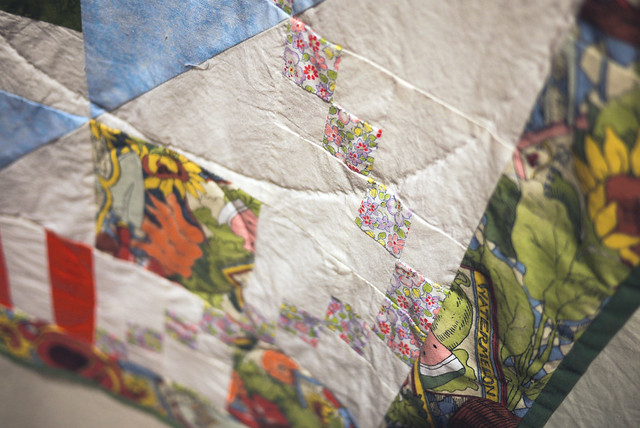
As for the quilt exhibition, they had a great project where people made the same blocks but joined them together differently to make completely different quilt.
20111105-P1170350.jpg

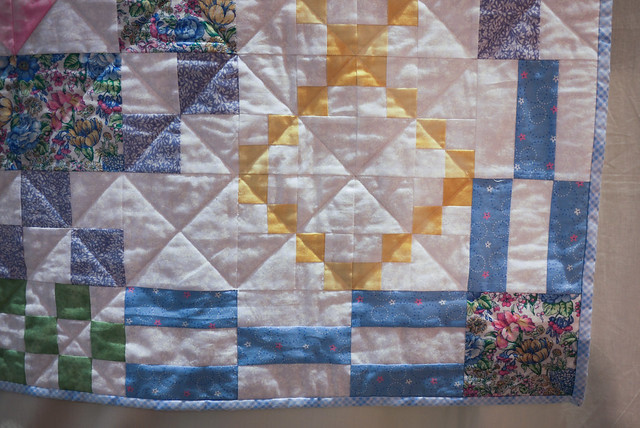
I am really into little squares at the moment. I am already thinking about a triple irish chain project... so many things to do.

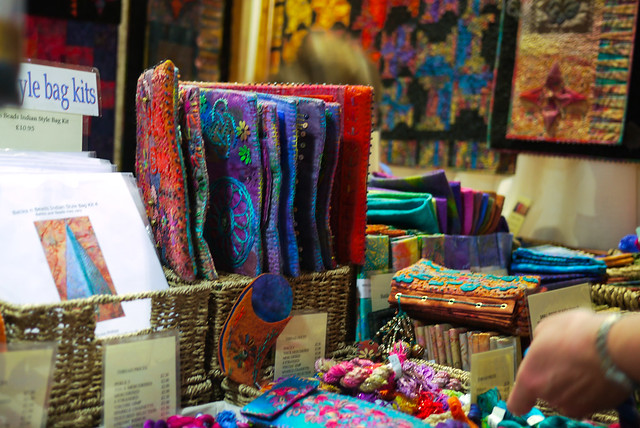
There was a great felt stall there. The felt book had loads of intricate stitch samples in it. It was amazing.
20111105-P1170323.jpg

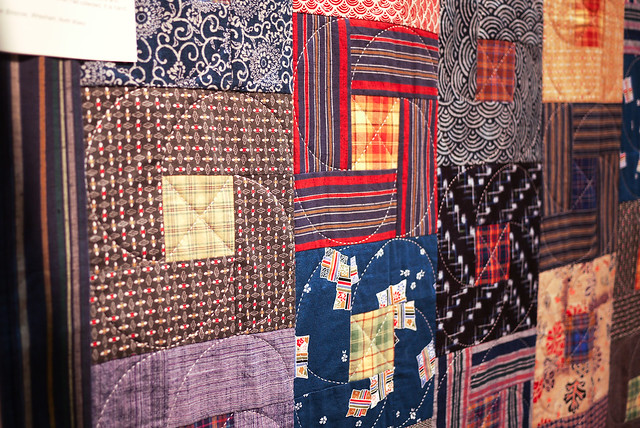
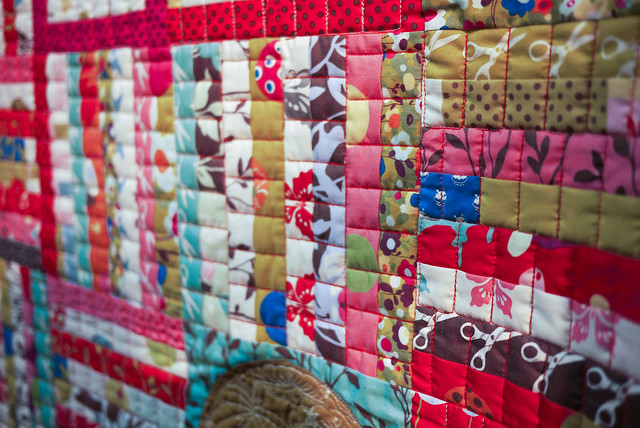
Here are a few other nice details from the exhibition.
20111105-P1170352.jpg

20111105-P1170354.jpg

20111105-P1170321.jpg

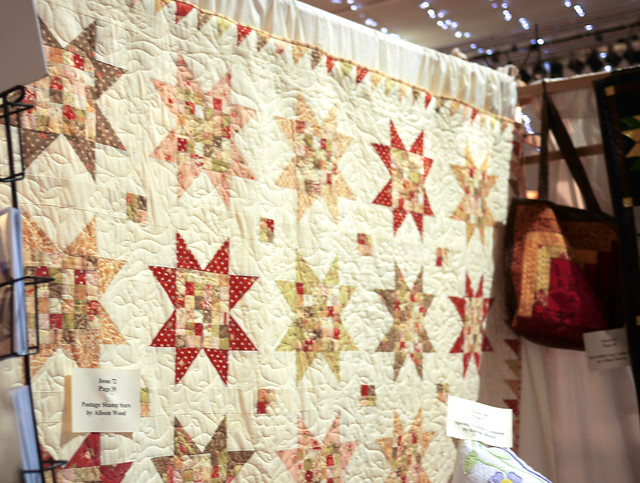
I love this quilt. It's a bit blurry because I wasn't allowed to photograph it but I don't get it; why not? It's a pattern in the magazine! I guess there must be people who just work patterns out from seeing them, but to my mind, if you can just buy them and cut out all the maths, then why wouldn't you? The thing I love about patterns is that they are so cheap! I don't know, I'm a real kit person, I see something I like and I just want the whole thing all ready for me. When I bought my Petra Prins quilt kit, the lady said "why don't you just photograph it and work it out yourself?" I loved her honesty and willingness to help. I ended up buying the kit of course. Anyway rant over. The quilt is in Fabrications issue 72 I think? I need to double check. Yet another project sigh...

Sunday, October 16, 2011

Hexagons

Hexagons

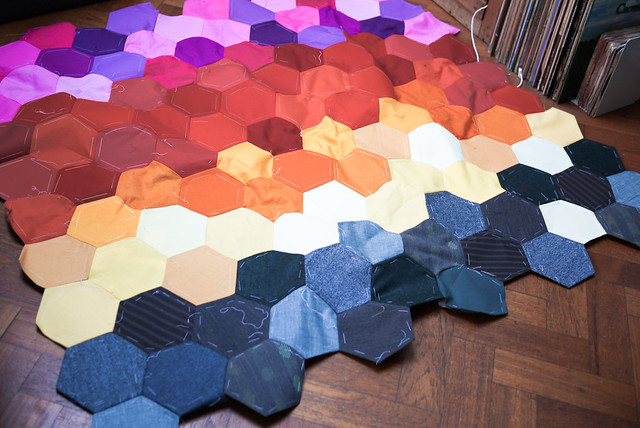
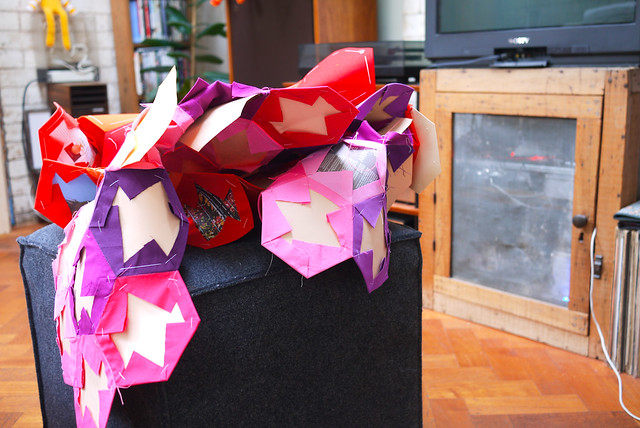
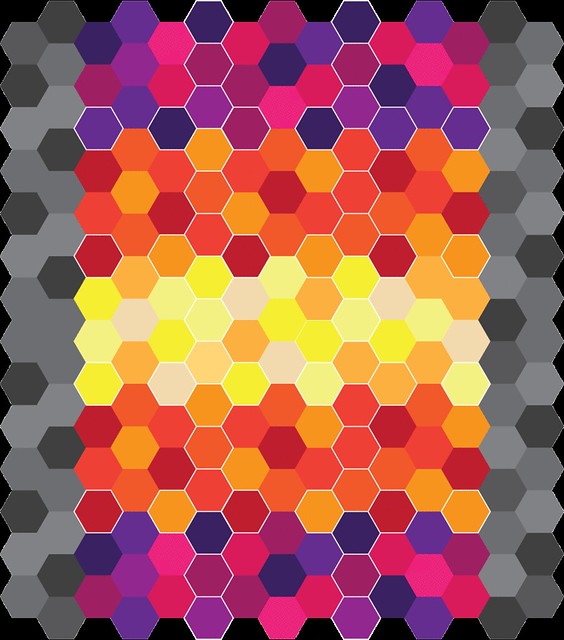
I have finished the grey hexagons at one end. Just got the other end to do now. I'm not sure how much I like it. I didn't make the blend between the purple, red and yellow subtle enough and so you can sort of see a line where the colours change. I also think I should have looked at the original picture more as the colour is in the centre and the grey all around, but you live and learn. I just want to finish it now so I can move onto the next project!

Hexagons

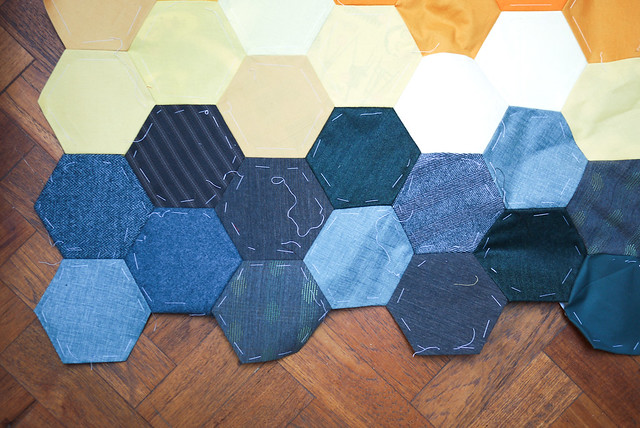
You can see the different suit material and tweeds. Then I'll be able to think about how I am going to hand quilt it.

Postage Stamp Progress

Postage Stamp

Well it's slow going. I have started to think I might make this quilt much, much, smaller as it will take me forever otherwise. I have managed to sew my first block together though and I am very pleased. I think I am going to spend the rest of the day making blocks up. They seems to be coming out 1/4 bigger. Hmmm... shows how good my maths is. Anyway back to it...
Monday, October 10, 2011

Postage Stamp Quilt

20110911-P1160193.jpg

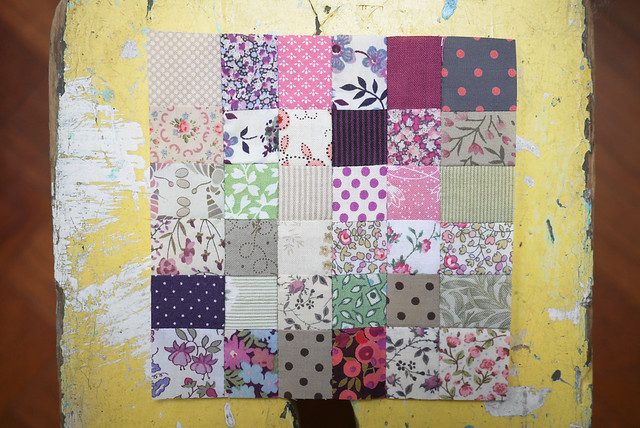
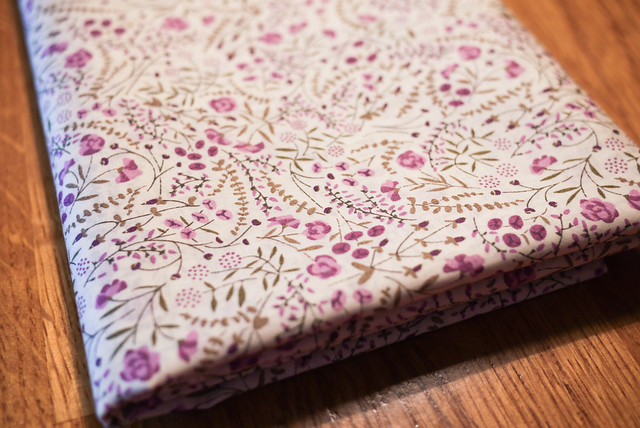
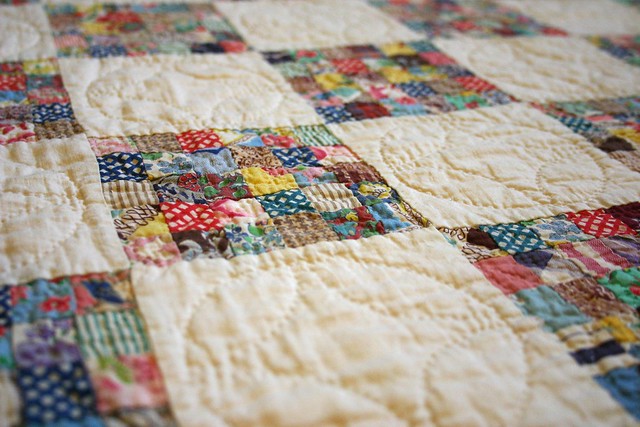
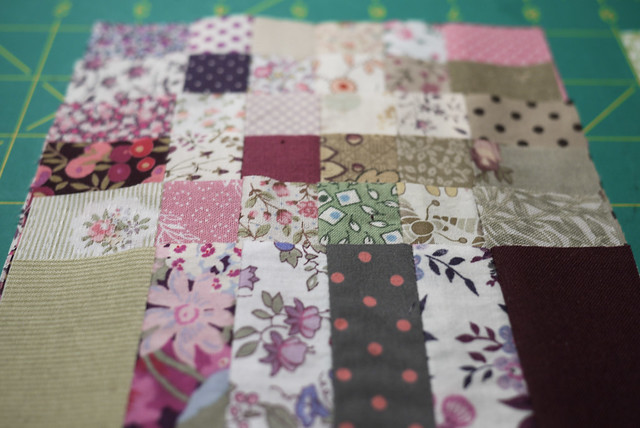
For a while now I have been amassing the odd bit of Liberty's fabric. It's slowly grown on me. I didn't quite know what to do with it until I saw this postage stamp quilt.
Heirloom Postage Stamp quilt

20111010-P1160791.jpg

So I have embarked on one. I thought it would make a nice change from the giant hexagon quilt. I used up all my spray starch trying to firm up the delicate fabric and went through my stash and scrap bag. It was The Knit & Stitch show this weekend so I bought a pack of Liberty fabric from Sunflower Fabrics which is just perfect.

20111010-P1160788.jpg

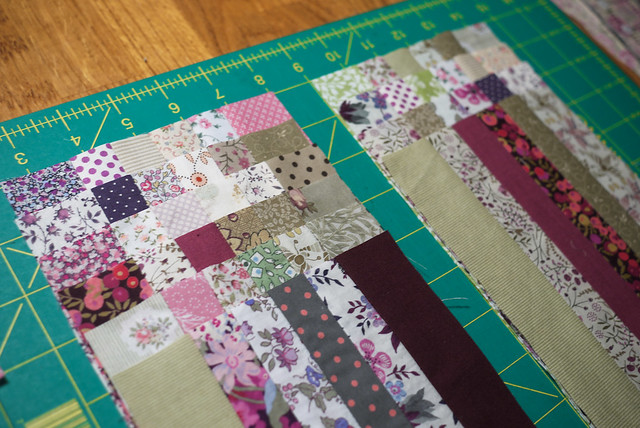
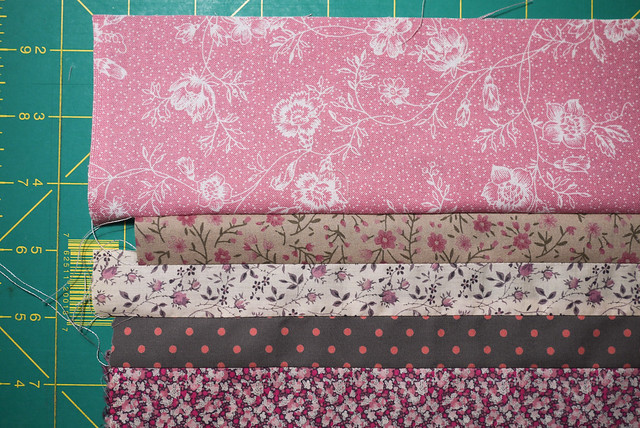
There's no real colour scheme as I wanted it to be quite varied. I have tried to keep to the greens, pinks and purple in the fabric at the start though so it's all in that vein. I have tried to use small prints as the squares are only 3/4". I couldn't decide between 1/2" and 1" squares so I settled on the inbetween amount. I am a bit worried they will look gross together but by laying the strips together I am beginning to get an idea of how it might look and I think I will like it.

20111010-P1160782.jpg

In an effort to be accurate, I have been sewing strips together then trimming the fabric after it is sewn if that makes sense. I am trying to be as perfect as possible. I find that ironing them flat has a tendency to warp and bend the line of the sewing so I am having to be very gentle and just press the fabric so no moving the iron and applying lots of pressure. I am not sure how successful I am being.

I'm not quite sure how big I will make it. I might let the fabric decide as I only have 16ths of the Liberty fabric. I just know that I have plenty more to make...

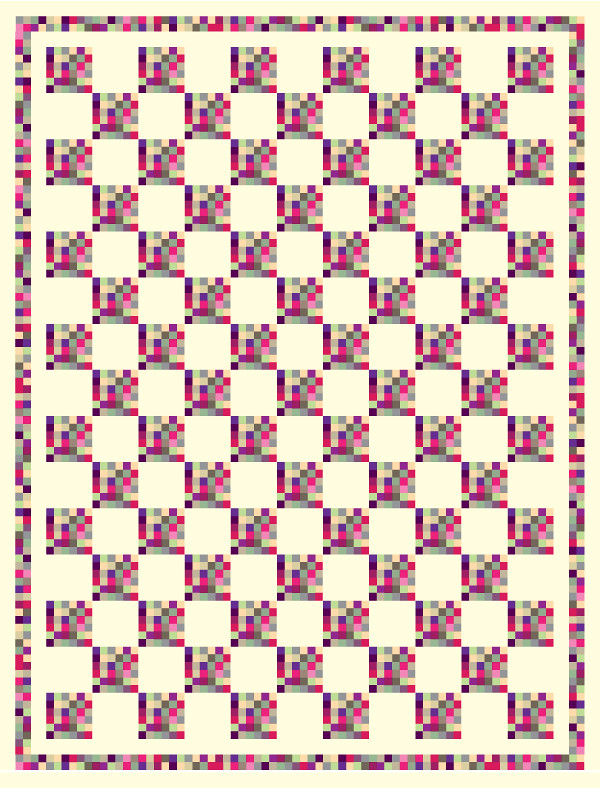
I drew up a pattern to see how many blocks i would need for a single bed size quilt.

Postage.jpg

Each block is 4 1/2" fnished. I'd need 83 to do this size quilt which roughly means about 7 sets of 6 strips. I am not sure I will still have enough enthusiasm or material to get that far, but we'll see...

Thursday, September 29, 2011

Worn and Washed

20110924-IMG_2932.jpg
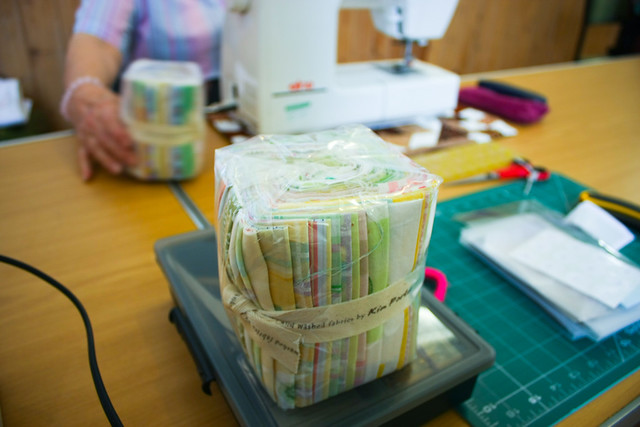
Mum me and Angela went on a roadtrip to Kim's Washed and Worn course at the weekend. It was great. A lovely sunny, autumn day in Olney; a very pretty place with a very pretty village hall with plenty of room to spread out in and plenty of material to choose from.

20110924-IMG_2926.jpg
Basically you choose a roll of fabric. Above you can see mine and mum's in the background. She wanted to do flowers. I wanted to do greens. You simply unroll it, pick up two pieces and sew them together, then pick up two more and repeat. So no taxing learning curve, anyone can do it.

20110924-IMG_2933.jpg
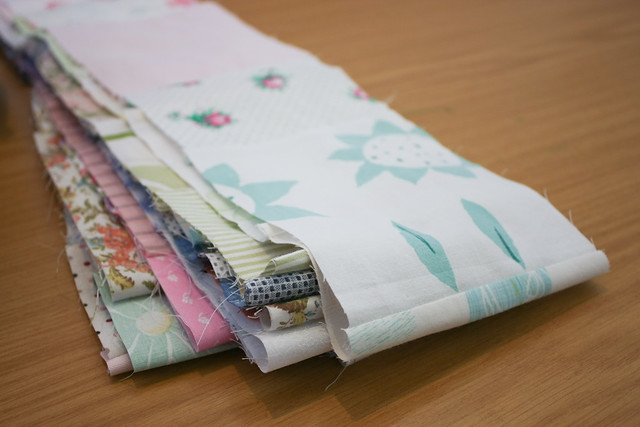
You end up with long strips which you move around and cut with scissors and resew until you are happy with how it all fits. It just a nice thing to do and it was nice having lots of space to spread it all out. A lovely excuse to spend the day making something you can finish in a day.

20110924-IMG_2940.jpg
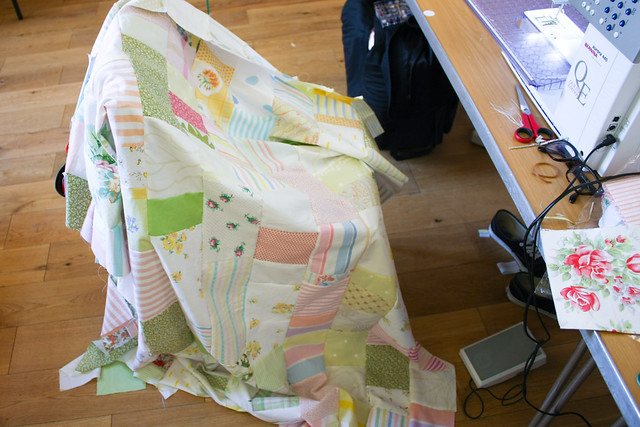
Here is my end result. I was too busy to take many photos. Too busy to even really examine the end result. I had to dash back to London leaving it behind with mum so more photos when I get back to it. It just needs quilting now.

See more photos here

The Hexagon Quilt

20110923-P1160446.jpg

Progress is slow, but this is what has been keeping me quiet. I am going to do something very sombre after this as it's doing my head in a bit. I might have to put it away for a while when I've finished the top.

Sunday, September 04, 2011

Hexagons

20110903-P1160101.jpg

So what's up this weekend? Not a lot really. I decided to embark on learning how to do these hexagons. I have been quite good really. The materials are all plains which means they are a lot cheaper than some of those nice patterned materials; a good thing when you are testing out a method. I decided to make my squares pretty big for this first attempt, plus it also means I don't have to make as many.

20110903-P1160093.jpg

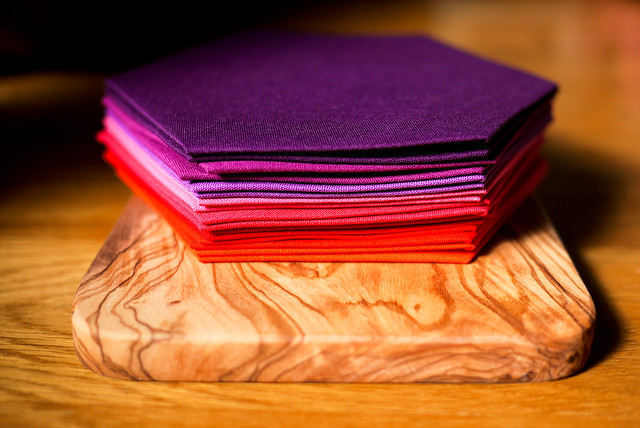
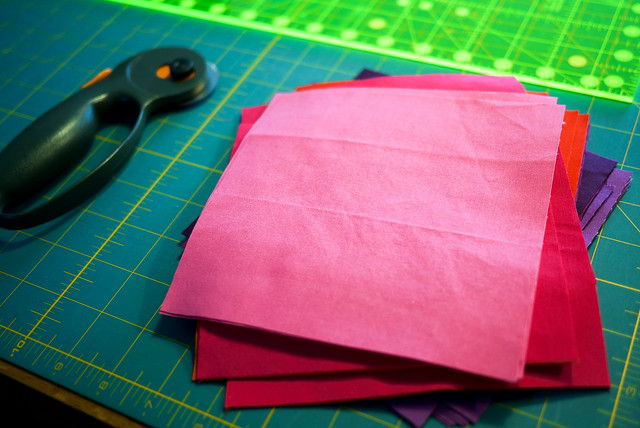
After reading up about it on the web I decided to follow the instructions from the card templates I bought from Birmingham. I bought HEX275 2-3/4" Hexagons from Paper Pieces. Apparently they measure one edge to create their sizes. In total my hexagons are 5 1/2" wide which is pretty big. So I set about cutting 6 1/8" squares, which they recommend over cutting hexagons (that perspex hexagon guide was a waste of money then). I have no idea if this is a good measurement, I just knew that I wanted a 1/2" overlap as 1/4" is harder to iron flat.

Hex.gif

After I had started cutting, it occurred to me that I should be working out how many squares I need to cut, but I am terrible at maths. I made this picture to try and help me but I think the end result is a bit enormous so I might just make half of it. The white outlines are just to help me see where the flowers are so I know how many to make. This is what I plan to do first. So with this plan in mind I settled on cutting 6 blocks of each colour. I have split the colours into three bands: purples, oranges and yellows and tried to collect 6-7 colours in each band.

I'm not really sure if I like it. It's hardly subtle, but hey ho, this seems to just be how I roll. All that tasteful William Morris was bound to have a backlash. I have been informed that it has the potential to look 'hideous', but I must soldier on, even if it is just so I can learn the technique. I have a bag of treasured flowery scraps just waiting to be made into a smaller, more perfect version of whatever this turns out to be.

20110903-P1160099.jpg

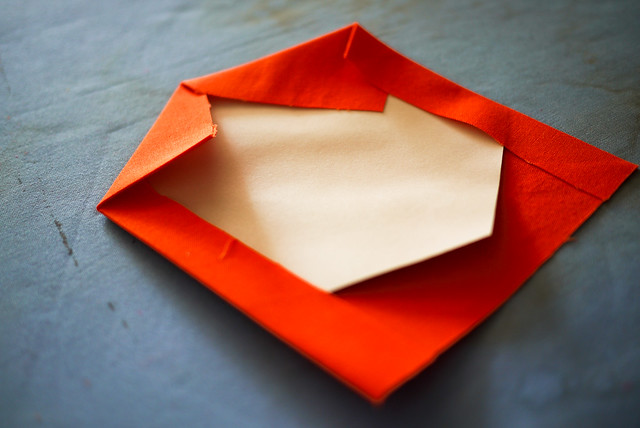
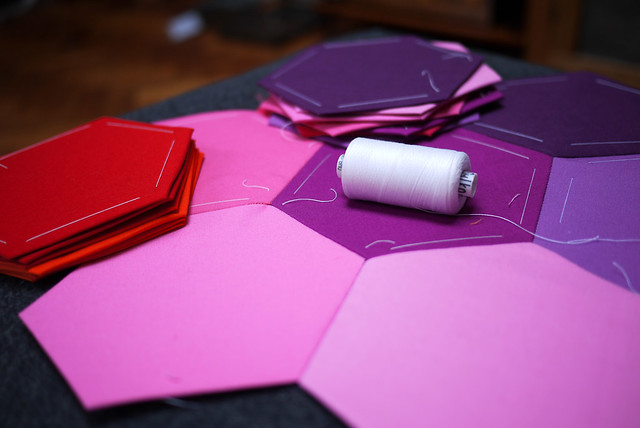
As for my technique. I decided to just iron the corners over onto the paper templates. I was a bit worried as the heat of the iron warps the card so I paused and started making one flower to see if it affected the outcome. It didn't seem to make any difference.

20110904-P1160124.jpg

I made my first flower whilst watching the X factor and it doesn't look too bad. There are a few mismatched lengths, but I faithfully followed the card so I am unsure why they vary. Maybe they are small enough not to matter, I guess i'll see if that becomes a problem later on.

20110904-P1160122.jpg

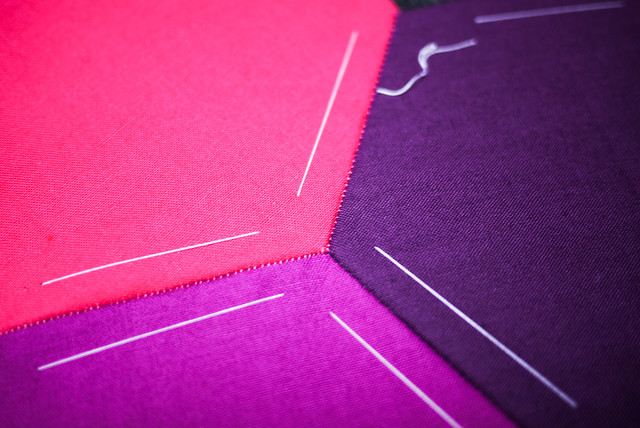
I used the basic whip stitch technique which some people say is not the best as you can see the stitches but I think I will reserve judgement. It looks okay to me and it does show that it's handmade.

Anyway I have run out of card templates now so I will have to start making my own. What a pain...

Sunday, August 28, 2011

Just Like Mums

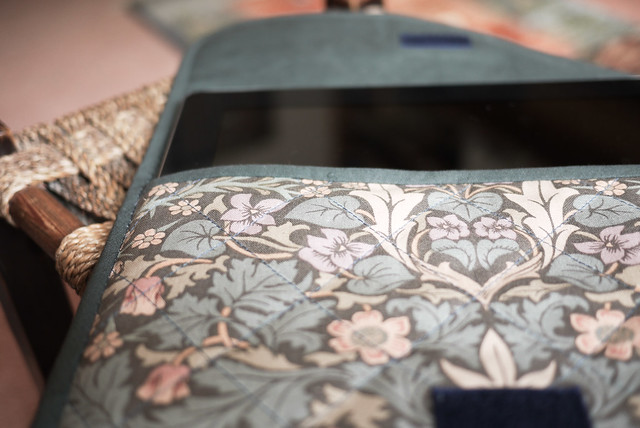
My mother is a great maker of things. She has made things as long as I can remember. Some things just remind me of her and the things she makes. One of those things is William Morris. Every cushion, curtain and table cloth in our house seems to be made with William Morris material. The other day she showed me a sewing case she had made out of Morris material and weirdly enough the iPad fit in it perfectly so I borrowed it for a while. To be honest, Morris isn't an all-time love of mine, but there is something so... warm and familiar about it. Eventually I decided that I had to give it back as it wasn't really mine, but mum, meanwhile had ferreted out a remnant from our kitchen curtains and told me I should make my own. So this weekend I made my mumple ipad case! She chose every coloured item in order that it be 100% mum choice. And she made me do it properly!

20110827-P1160039.jpg

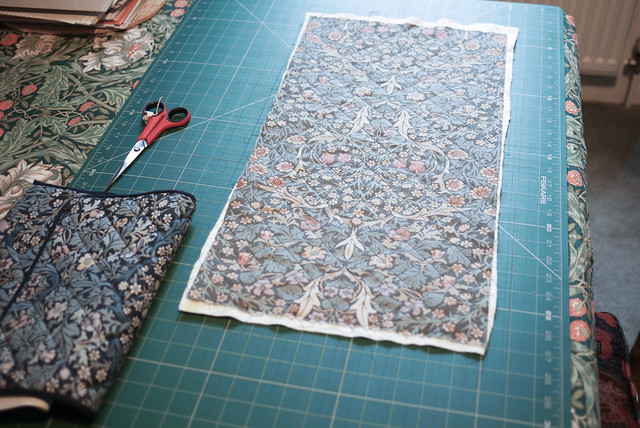
Behold a corner of my parents house. You can see a Morris table cloth, a cushion, mums sewing bag on the left and the material she gave me laid out flat. I cut a section of the material 22" x 14" and backed it with some batting mum had lying around.

20110827-P1160036.jpg

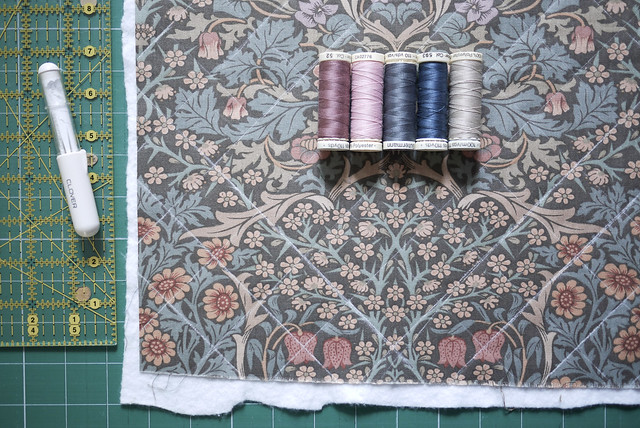
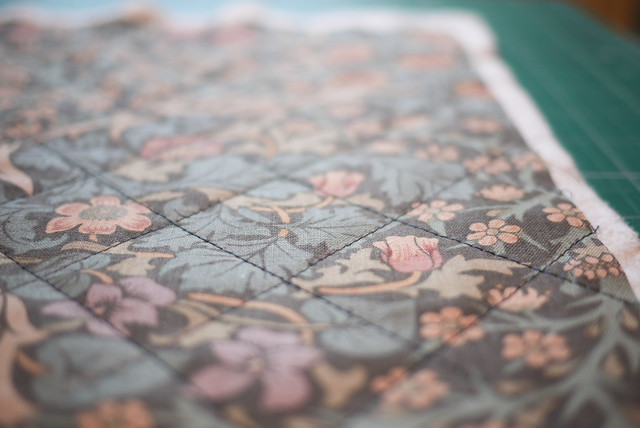
I drew chalk lines at 45° angles 1 1/2" increments. I picked out 5 threads and mum chose the blue.

20110827-P1160038.jpg

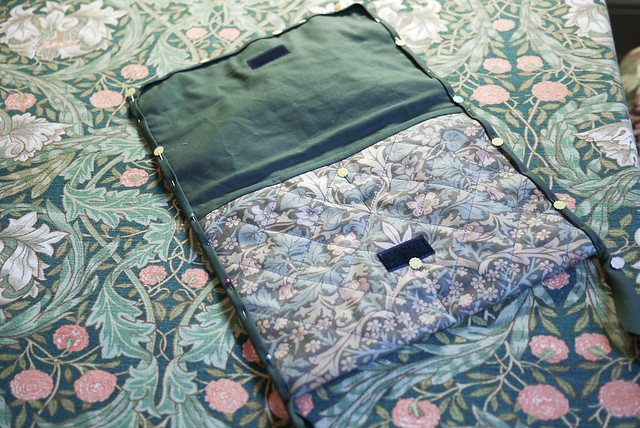
I sewed over my chalk lines using mum's super duper Juki industrial machine which is so fast! I also sewed some velcro onto what would become the flap and the pocket front.

20110828-P1160042.jpg

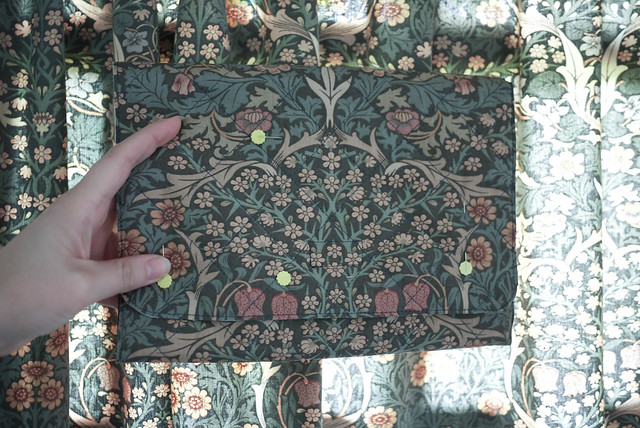
I added the inside backing underneath, pinned it together, trimmed the edges down to a finished size of 22" x 13". Then I sewed the binding onto the front flap and folded and pinned it into shape. I sewed round the whole thing 1/8" to stabalise it which you can see here as I hold it up against the kitchen curtain!

20110828-P1160045.jpg

Then I sewed on the remainder of the 1 1/4" binding cit on the bias.

20110828-P1160051.jpg

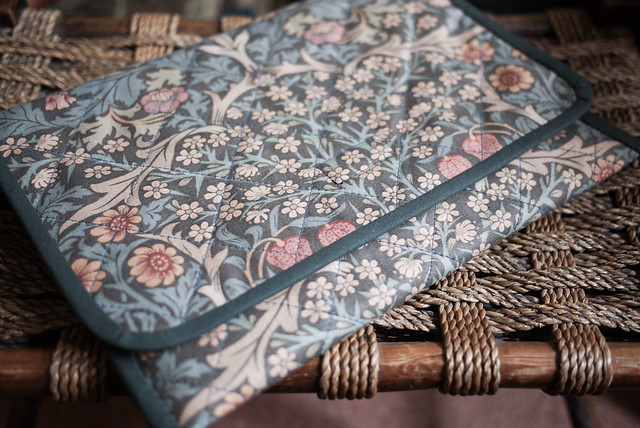
And here it is finished! Just like mum would make!

ipad case

Sunday, August 21, 2011

Finished!

Yellow Quilt

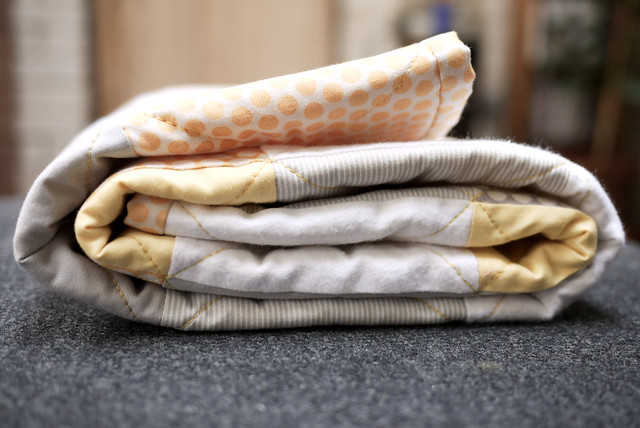
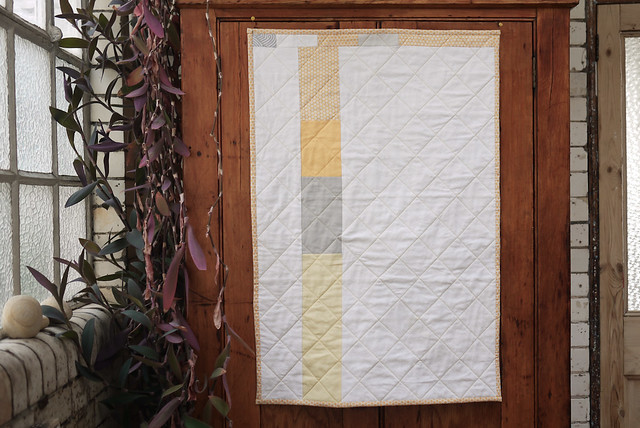
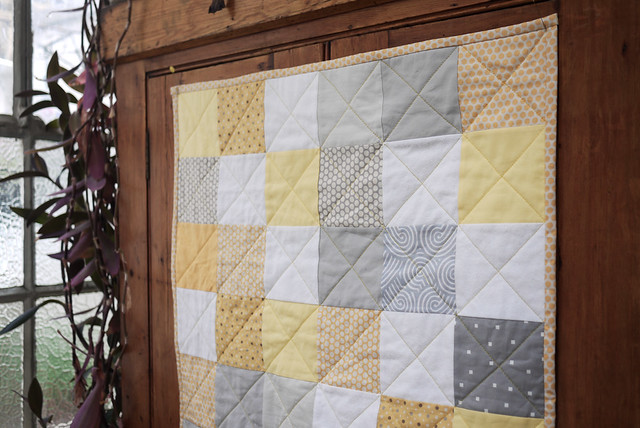
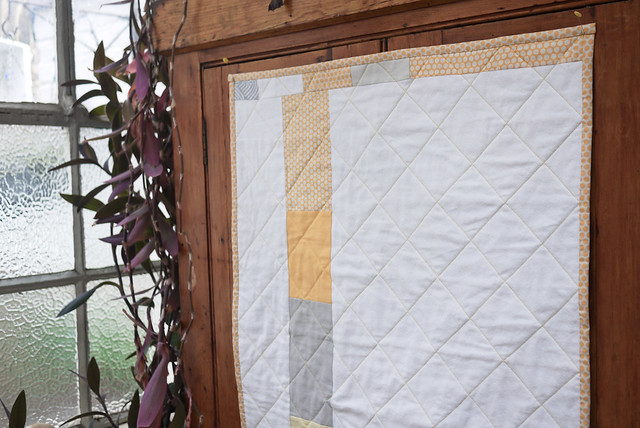
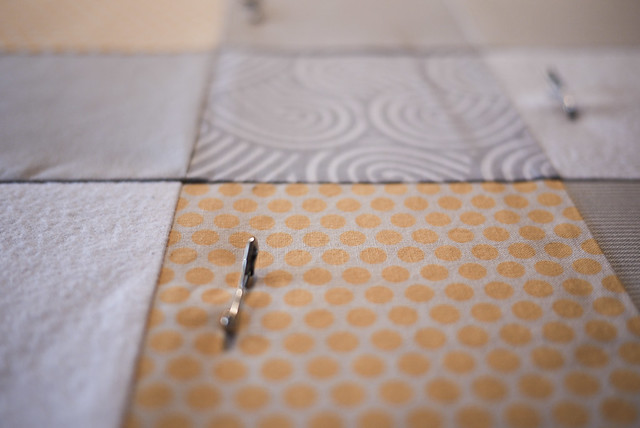
I stayed up quite late but I finished it off. Now for the next project! Maybe I'll be a bit better with my measurements next time. I miscalculated the backing dimensions on this quite quite drastically hence the little patterned strip at the top, but I quite like it! I have also decided that Kei Honeycomb Dots are my favourite kind of dots ever. You can get them from Fabricworm or M is for Make.

20110821-P1150742.jpg

20110821-P1150753.jpg

20110821-P1150743.jpg

20110821-P1150757.jpg

Saturday, August 20, 2011

My weekend

20110815-P1150652.jpg

It's a quiet time to myself this weekend. There are lots of things I could be doing, but after Birmingham, I just wanted to have a weekend to myself so I sit down and make something with no outside interruptions. It's been great because I can stay up late and not go out in the daytime now it is pouring with rain.

I have a couple of small projects lined up to soften the longer, more intensive projects I am thinking about starting. One of my main problems is always space. I never have enough surface space to lay big quilts out. I find it hard feeding them through the sewing machine. They are just an effort in my space. So I decided to make a cutting mat quilt. Basically this just meant that it was no bigger than the mat, making it an easy thing to handle.

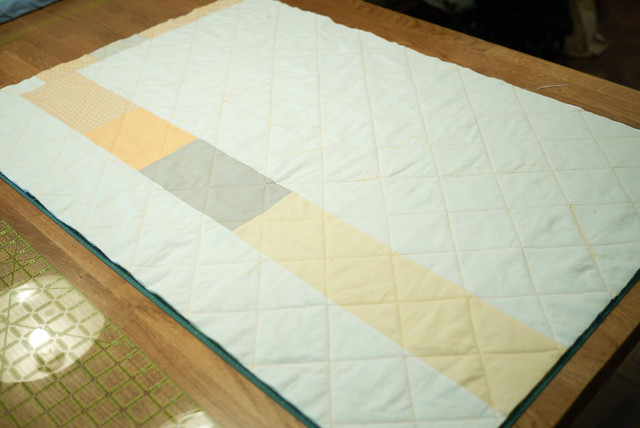
A while a go I saw this lovely backing on a quilt made by Namoo on Etsy, all in tasteful greys and yellows. I just thought it was ace and I wanted to make exactly the same thing. Of course these things never turn out the same because I always change my mind halfway through when I see the next thing I like!

Pinterest is my newest love as it allow me to make a virtual pinboard of all the things I see which inspire me. I think everyone should sign up and befriend me on it!

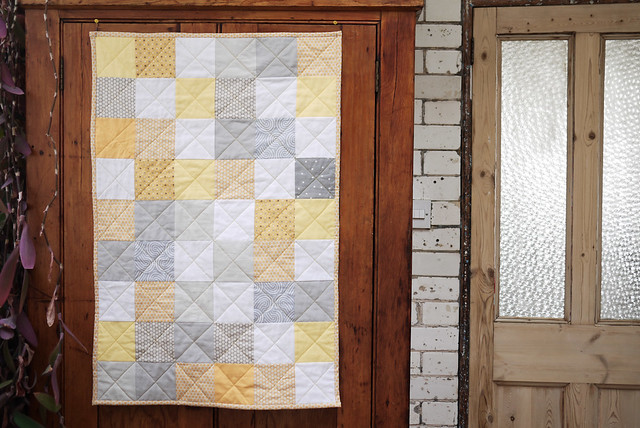
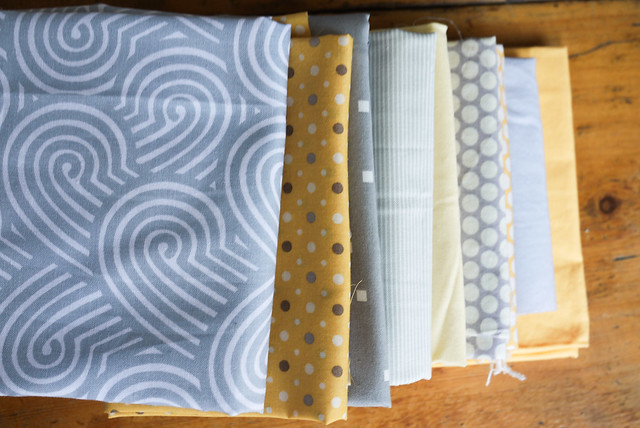
Anyway, Rachel and I had bought cheap brushed cotton sheets from Tescos for a fiver so I thought it could be lovely and soft. I had quite a few bits of material for it already and I picked up a few at Birmingham so I was all set. I decided to do just simple squares on the front and recreate the backing I had seen for it.

Yellow Quilt
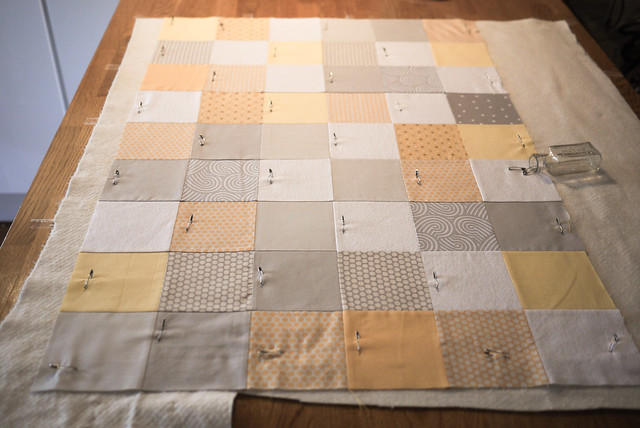
Because it's small, I had my first go at pin basting. I don't think it's perfect as I have one wrinkle in the back but it's pretty good considering it took minutes to baste.

Yellow Quilt
Here it is all basted together last night. You can see where I had sewn two bits of wadding together. I get quite a few leftovers so it's good to use them up.

Yello Quilt
Then I stayed up late doing half the machine quilting, then I got up early and did the rest.

Yellow Quilt
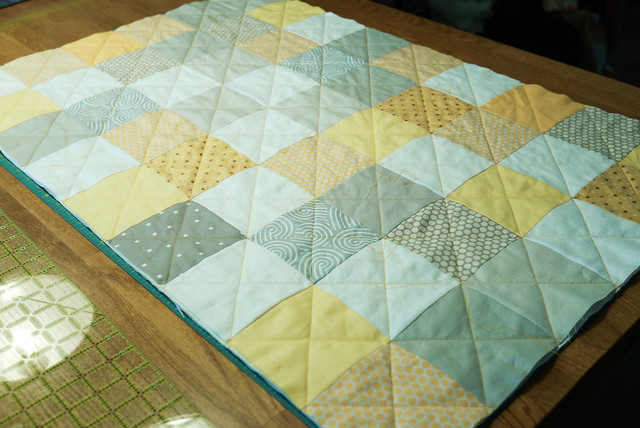
I don't think the back looks as nice with the criss cross pattern on it but you live and learn.

Now it's all trimmed and waiting for me to iron the material for the borders and attach that. Then I can sit and tie off the ends. I'll be done by tomorrow night! Until then...


Monday, August 15, 2011

What I bought!

So what did I buy at the quilt show? Wellll, I thought I did quite well, but I seem to have accumulated a lot. I don't know how it happened! Some things I needed... others... well, they will be useful one day!

20110815-P1150654.jpg
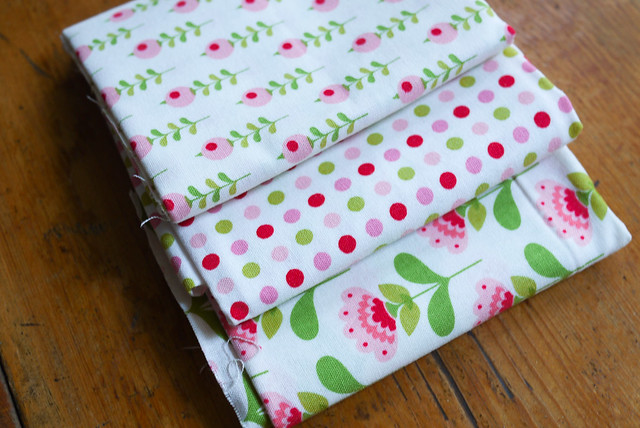
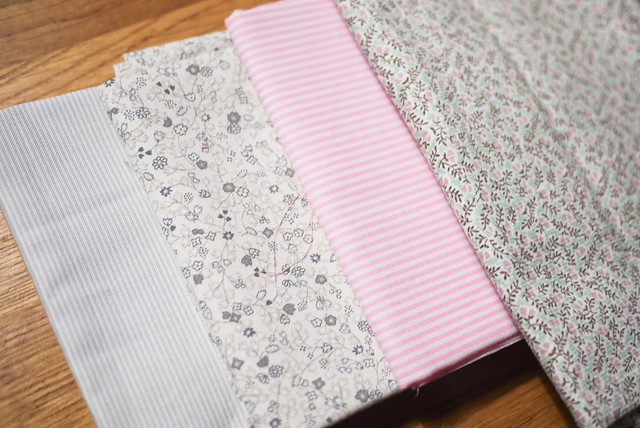
At first I didn't buy very much. There was nothing I actually needed. It's quite nice not to feel you have to buy anything. One thing I did realise though is that I often just buy random fat quarters then I am annoyed when nothing quite matches. So when I saw the above material, I remembered it matched a similar set I bought from Chilford.

20110815-P1150657.jpg
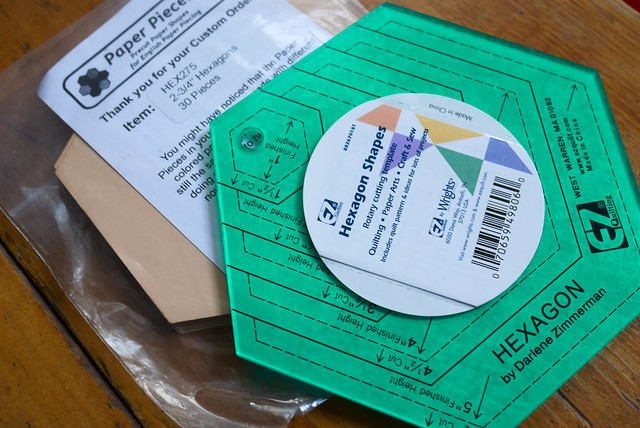
The one great thing I did get is this template which is just the right size for the big hexagons I am going to make. I also got pre-cut papers. How lazy am I? I was just so excited as I didn't think they would make either so big. If it makes life a little bit easier then why not?

20110815-P1150660.jpg
Rachel showed me a great quilt pattern which I bought. We have decided both make it. Even though we still haven't made our sawtooth star quilt yet. The pattern asks for 18 far quarters but I think we will make it 2/3rds of the size. So we bought some material for it. I am very excited about it. More on that in a later post.

20110815-P1150658.jpg
Petraprins was there again this year. My favourite stall can never go unmissed, but I felt quilt frugal this time which surprised me.

20110815-P1150651.jpg
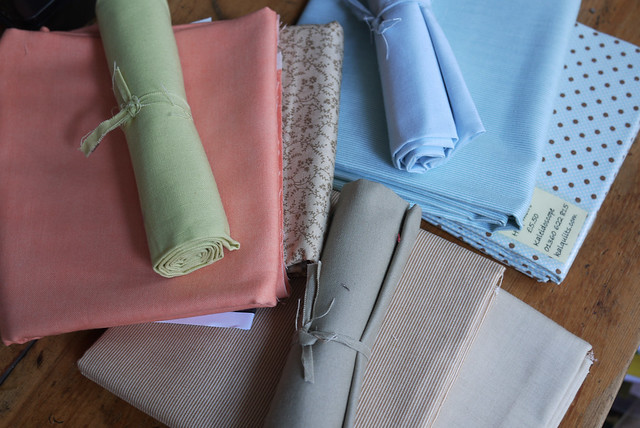
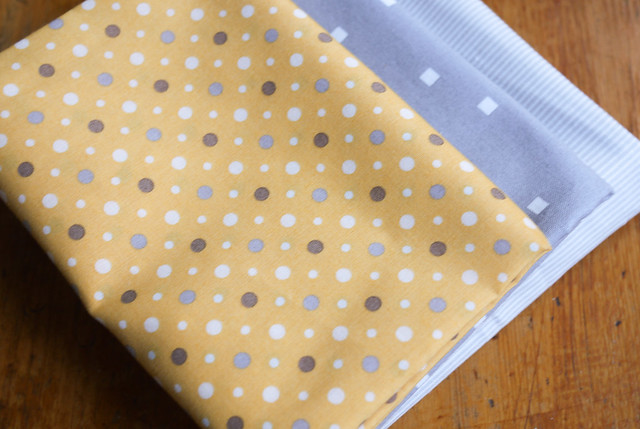
Another useful purchase. I am making a small quilt based on a lovely one I saw on Etsy. I loved the backing. I mean the front is nice, but the back really caught my attention. I felt that the colours were so tasteful, all yellows and greys, so I bought this material to go with it. More about that later!

20110815-P1150655.jpg
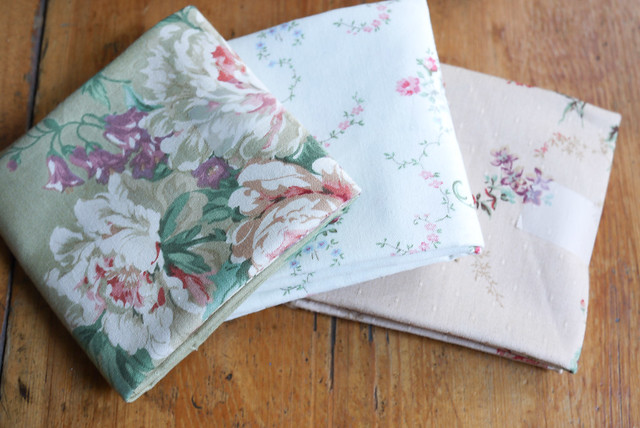
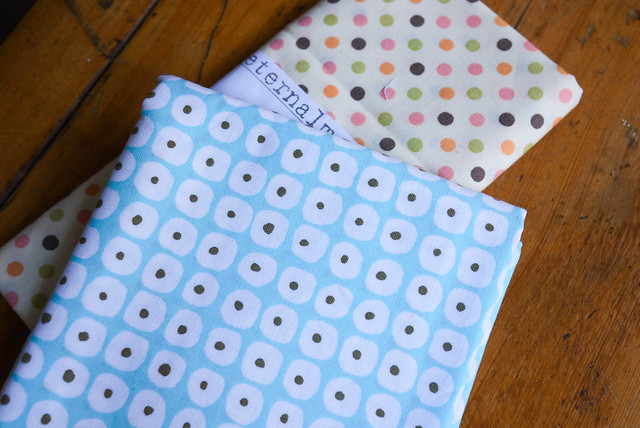
And last but it least, I bought some material right near the end from The Eternal Maker, just because it looked pretty and I didn't want to have any regrets.

So that's it! My haul. I had a great time. I wish I had had longer as there is such a lot to look round. But I only would have spent more money!