Monday, August 23, 2010

What I Bought

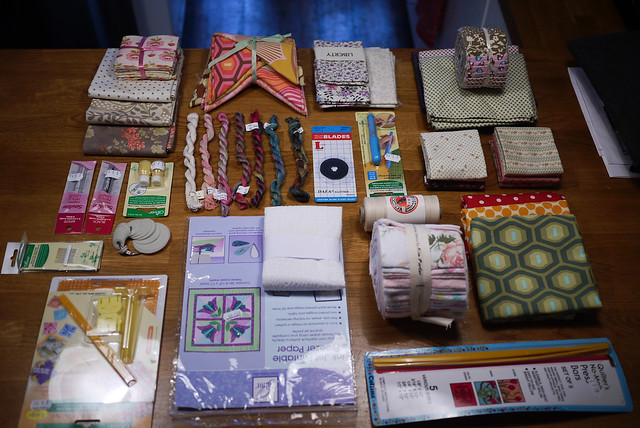
So what did I buy at the quilt show? The answer is LOADS. Rachel wanted to see my hoard so here goes...

20100822-P1070081.jpg

Gosh it's a lot. I feel terribly guilty. I don't know what came over me. What am I going to do with it all? Where do I start?

There a few things that were just 'must have' things which I buy when I see them such as quilting needles which are really small so you can achieve smaller stitches. I lose them constantly and I throw them away the minute they don't slide through the layers or get bent. I bought chalk re-fills, pencil leads, a blue chalk pen and a blade for my cutter. I don't feel bad about that stuff. I needed it all. It's not essential, but I find I use it on most projects. It just makes my life easier.

So what else did I get?
20100822-P1070085.jpg
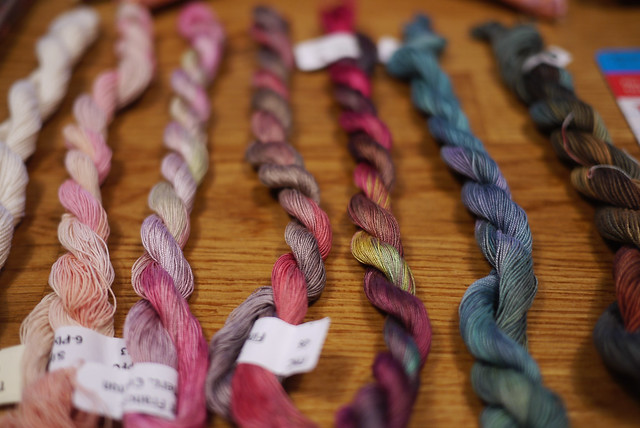
It's my birthday next month so my mum bought me some Amy Butler fat quarters and some dyed threads as I had been borrowing hers to quilt my latest project. I've never been a fan of these variegated threads before but I have changed my mind about them. I don't feel guilty about them as I didn't pay for them!
20100822-P1070086.jpg
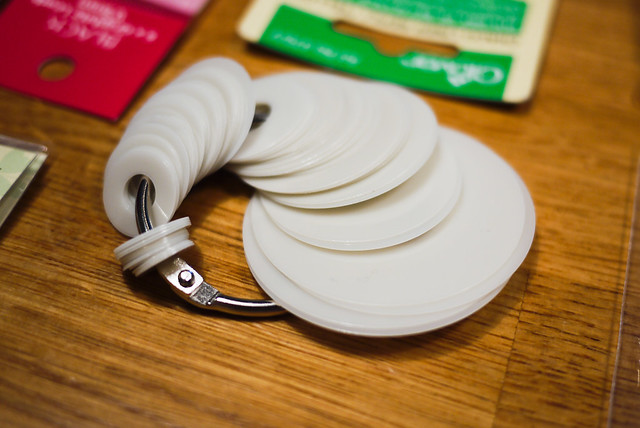
These are a bit of a luxury as you can just make your own out of template plastic, but I am really into the idea of doing more applique and I have been thinking these would make life easier for a while. Now I have every circle size in the world! I have been really enjoying the circles I did on my first project and have been thinking I might do some more in the future.
20100822-P1070084.jpg
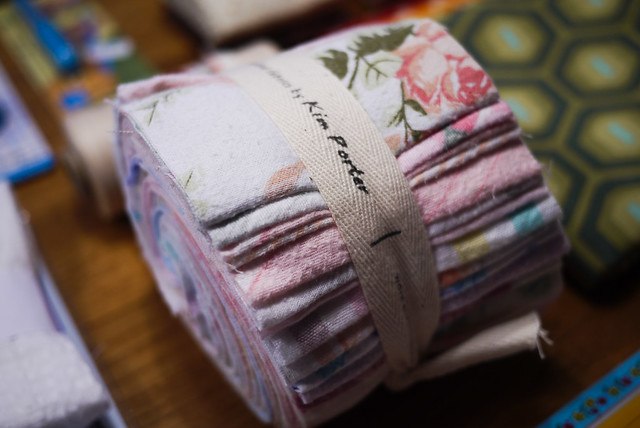
I just have no self-control when it comes to Kim's jelly rolls. I really want to make a soft quilt for a cold day. I have been toying with the idea of brushed cotton for a while. She had a beautiful quilt which I commented upon and suddenly she held out a roll and said that it was the fabric she'd used. I was sunk. It was kismet. I have an old brushed cotton sheet somewhere that I bought from Emmaus for a fiver which I could use for the backing. I do feel guilty about this. Happy, but guilty.
20100822-P1070087.jpg
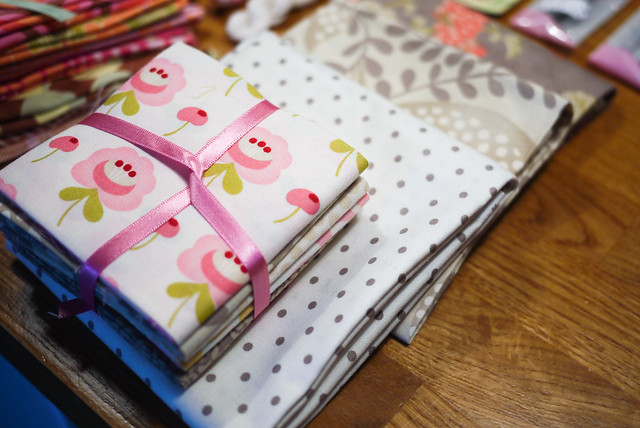
I didn't mean to buy this. I had spent all my money. I was done. I blame Rachel. It was a complete impulse buy. I have sinned.
20100822-P1070088.jpg
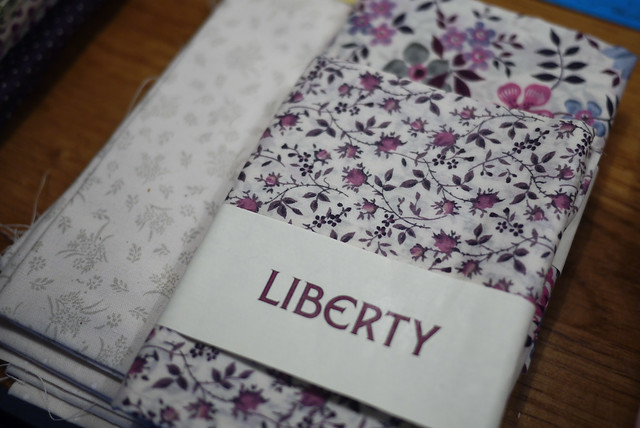
I always buy something from Sunflower Fabrics, it's tradition. I was quite pleased I didn't spend all my money here as they are also at Chilford, but the Liberty material just called me. It's silly really as it's too thin and it's quite pricey AND I don't need it... but it's so preeedy.

God, as for the rest of the stuff, I just don't know. It's all just stuff.

Rachel set the rule though. If we haven't finished a project by Chilford, then we can't purchase a thing!

I'd better get my skates on.

Festival of Quilts

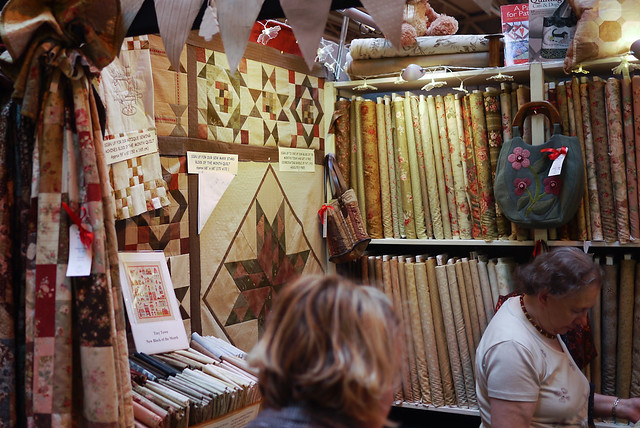
So Rachel and I braved the quilt show this year. Considering I didn't actually need anything apart from a few pencil leads, I still managed to buy one of everything. But it's so hard when there is just stall after stall packed with things stretching in front of you.

20100822-P1070045.jpg

20100822-P1070041.jpg

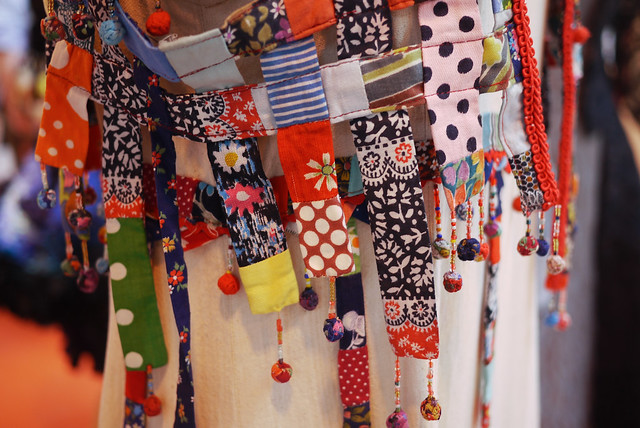
And of course there is the exhibition itself. I always feel good after I've seen an exhibition as I realise that although people have a huge amount of skill, they often create things which make my eyeballs sore. I think I am just a bit too 'Little House on The Prairie' for all these ground-breaking, exciting designs. Below are a few details of things I did like.

20100821-P1060943.jpg
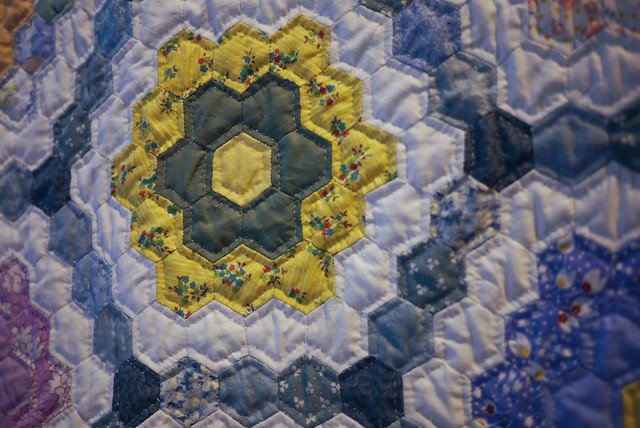
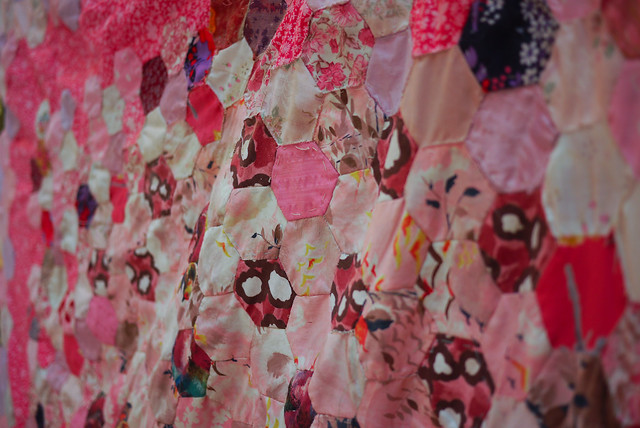
I think I gravitated to all the hexagon ones this year because you have to do them by hand. More and more I see Gamel quilting which is where you send off your quilt and a big machine quilts a huge perfect design over it... which is great, but I have started to really appreciate the ones done by hand. They just seem a little more human.

20100822-P1070034.jpg
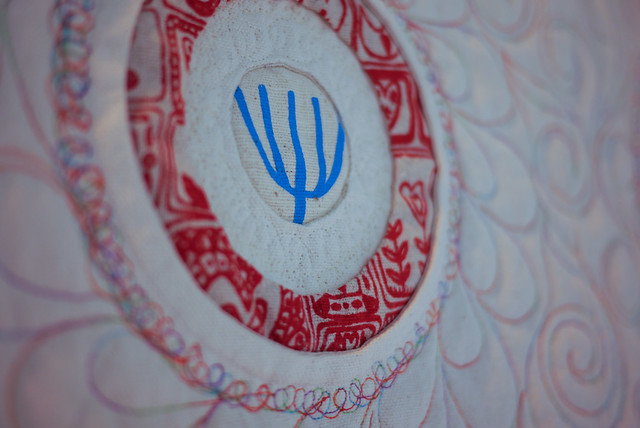
I was much more interested in applique this year after my botch-job attempt. I felt like a real show pro as I had to get right up to them and eyeball them whilst muttering 'how the hell did they do that?' which is what I see a lot of people doing. I think I just thought they were short-sighted before.

20100822-P1070023.jpg
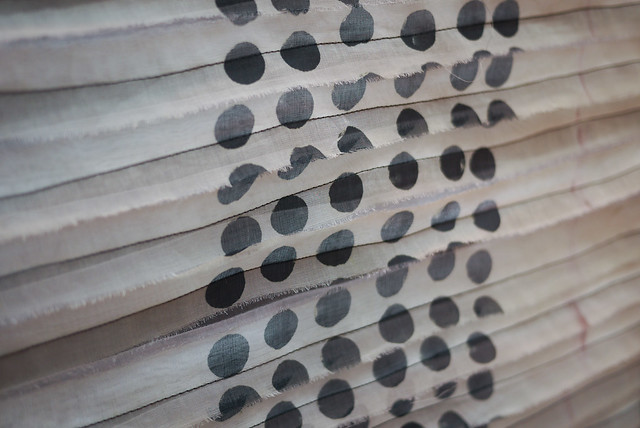
It looked like people had printed their own material which I thought looked really good.

20100822-P1070008.jpg
There was a lot of experimental stuff which I think bordered on embroidery really. I am not sure how they decide what it patchwork, but I sometimes felt things had veered off into a new realm. Some of them were amazing though.

20100822-P1070057.jpg

20100822-P1070055.jpg

20100822-P1070003.jpg
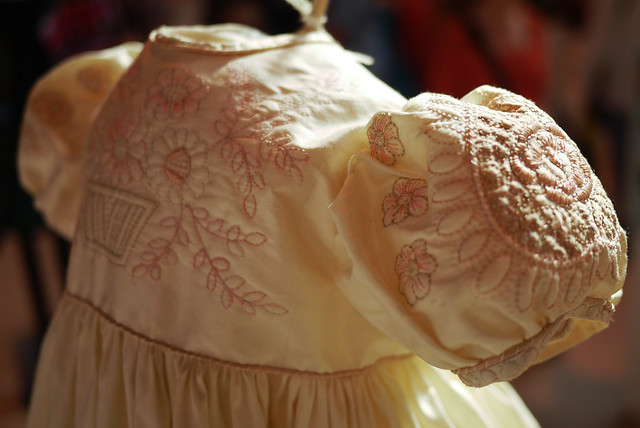
They had a clothes section which seemed rather like a wizard's wardrobe. Some of them were amazing. This christening dress was so long. The hem was amazing. Of course I didn't photograph that because I am an idiot.

20100822-P1060996.jpg
This is my sort of thing. A bit frayed, a bit wonky. When did I become so traditional? I really don't know.

20100821-P1060986.jpg
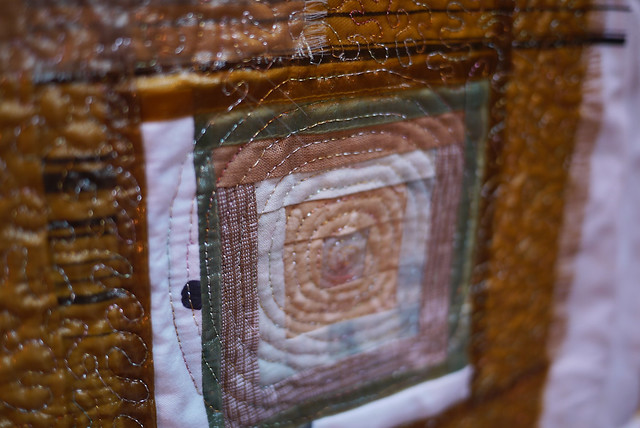
Here is am example of 'close quilting'. It's amazing, but you come out with something so stiff, you could never imagine wrapping it round you on the sofa. Although, I have a feeling none of the quilts will go very near human touch.

20100821-P1060975.jpg
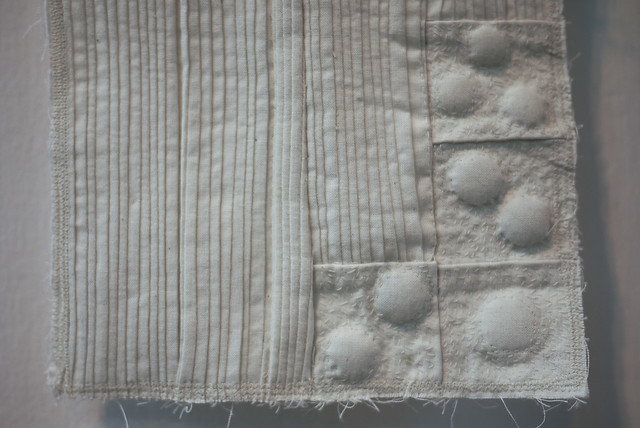
Some things were very tastful. This is a miniature quilt, they are always my favourites as they must all be made by people who are bonkers... with really tiny fingers.

I took a whole load more pictures which you can see here if it's your thing.

Tuesday, August 17, 2010

iPad Case Round Two!

iPad case 03

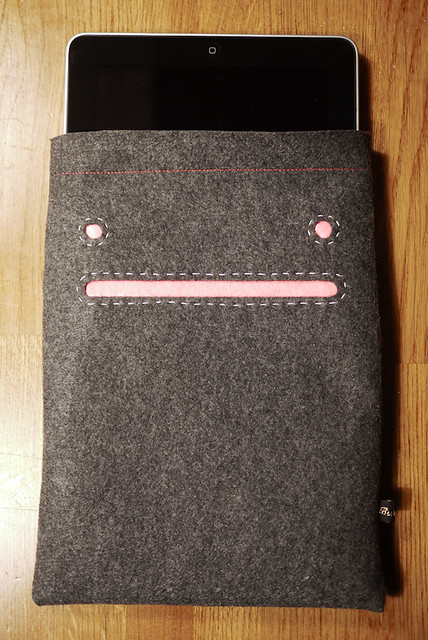
Wow! my iPad case made Whip up! My iPad case post was described as a 'neat tute'! Cooooooool. I am dead chuffed.

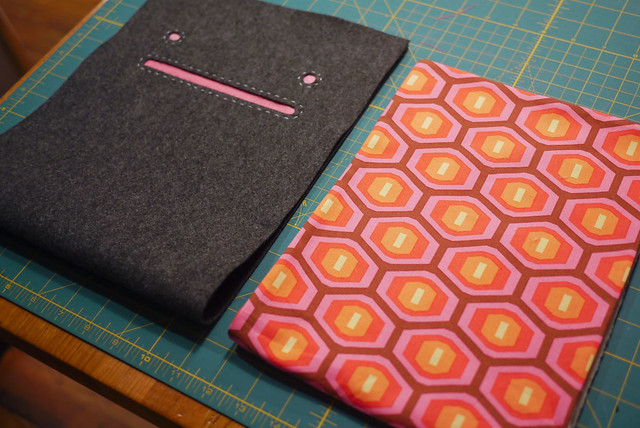
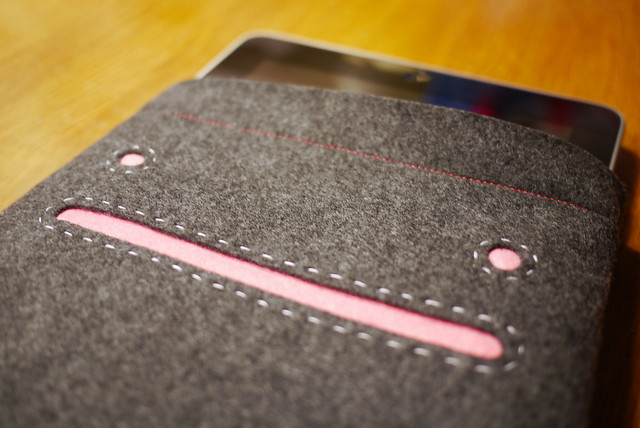
In celebration of this, I thought I should test out the instructions and see if I could follow them. I thought Sparky might like this case and he's not quite so strict about a bit of craft flare, hence I gave it a face!

iPad case 04

iPad case 02

Friday, August 06, 2010

iPad Case

20100805-P1060255

20100805-P1060263

20100805-P1060257

It had to happen. The new iPad has been wrapped it tea towels and jumpers all week. Finally it found a baggy home in the laptop case, but when I had to take the laptop out I was sans case and I knew I needed to do something makeshift whilst The Pony decided which case to buy for it. So I made a plan.

IPAD

You need:
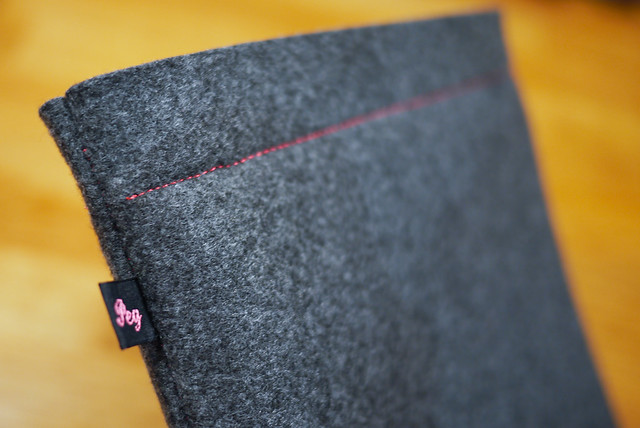
Outside material - I used collar felt which tailors use. It's quite cheap but very thick. You can buy it in John Lewis.

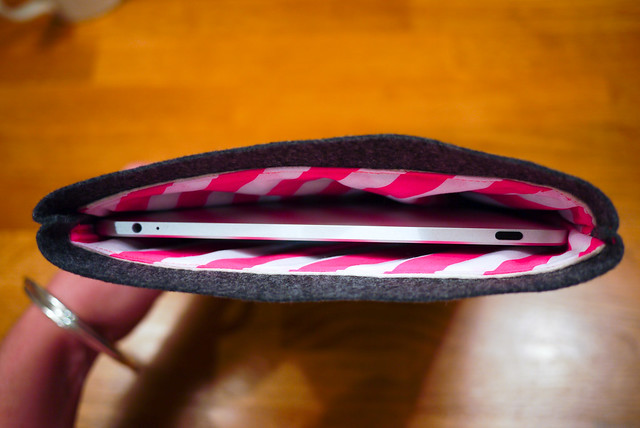
Inside material - I starched some cheap stripey material I got for £4 in Borowicks on Berwick Street in SoHo. They have lots of cheap material.

Wadding - I used offcuts of stuff I had. It doesn't really matter what you use as long as you think it thick enough to do the job.

Thread - I used some neon thread to match my inside lining.

20100805-P1060241

Step 1 - I cut all the material to size using the above diagram. These are pretty rough measurements which allowed me to cut things down after I had sewed them which I find helps to make things look more perfect. You need 2x the inner fabric and the wadding which you need to sew together at the base unless your material is long enough for you to cut one long bit. My stripey material wasn't long enough so I sewed two bits together not worrying about matching up the pattern as this will be at the bottom of the case.

20100805-P1060247
Untrimmed

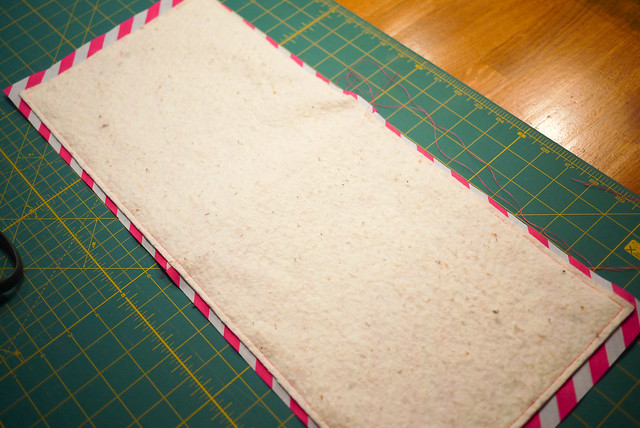
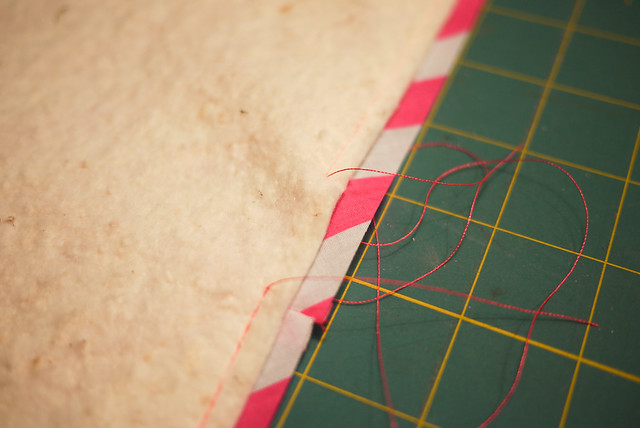
Step 2 - I sewed the inner material, fabric side down, to the wadding with a 1/4 inch seam leaving a 2-3 inch gap in the middle so I could turn the fabric inside out. (Because the materials are different sizes I always follow the smaller piece and have that on top when I am sewing). I then trimmed the inner fabric down to match the smaller wadding size leaving a bit to turn in on the gap I created which you can just sew together after turning. No one will really see it so I didn't do anything fancy, I just whizzed over it on the machine.

20100805-P1060246
Mistake No.1: My gap is two small. I had to unpick it. I only left an inch. Boo.

20100805-P1060249
Mistake NO.2: See I tried to be neat with my seams which is often important in intricate patchwork. I ironed them out, then forgot and sewed over wrongly on the left. Boo. It's not important but it's good practice. You can see this is the trimmed version with the bit left to turn over the gap.

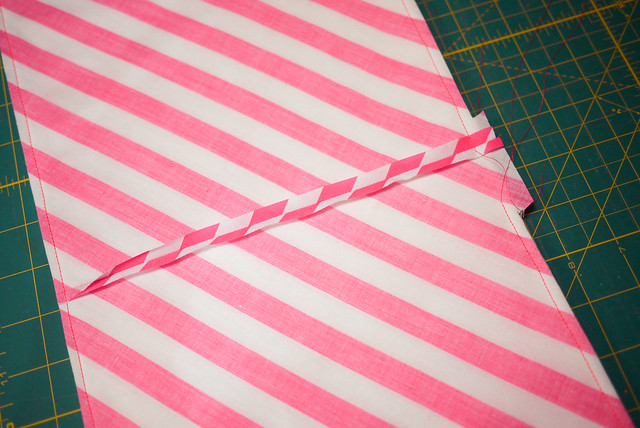
Step 3 - So you have two long rectangles. I folded my felt in half, ironed it flat, then I folded my material and wadding in half and pinned the top of the material to the felt material side up. I should have perhaps spent more time being accurate as you want the tops to line up. Then I unfolded it and sewed a straight line across each small edge of the material (it being smaller, I followed that edge). Thus anchoring it to the felt.

Instead of tying off threads I used Angela's technique of starting off with a really small stitch length and doing a back stitch by putting the machine in reverse before making my stitch normal and carrying on. I only do it for about 5 stitches but it means you can just cut the thread without thinking about it unraveling.
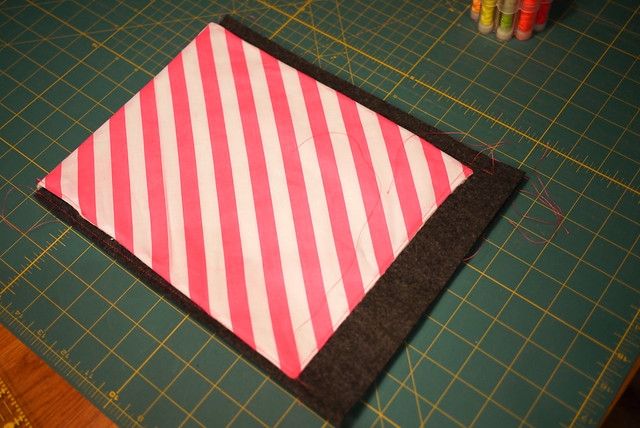
Step 4 - After this I folded it back in half and sewed both the long sides. I didn't want my wadding to be in my seam as it would make it too bulky so I sewed the felt together around the edge of the wadding (except the top! You need to get in it) Does that make sense? It means the wadding comes away from the inside if you push it, but I didn't think it would matter if an iPad was all that was going in it.

20100805-P1060252

Step 5 - I then trimmed away the felt leaving 1/4 of felt at the edges and 1/2 inch at the top opening so the lining wasn't too visible.

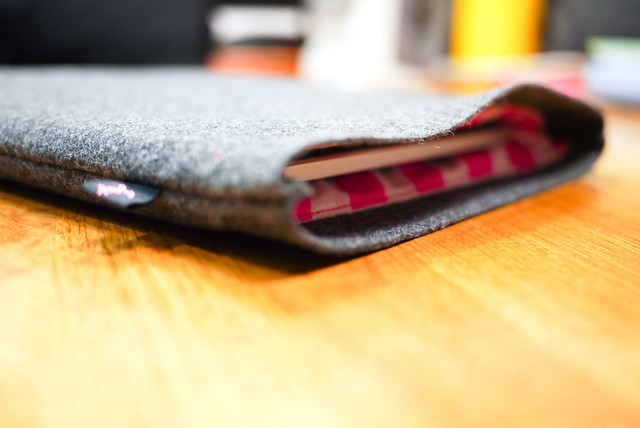
And it looks like this! iPad case. Done. In about an hour.

20100805-P1060266

Update! I made another case here

Sunday, August 01, 2010

Crochet

Crochet 01
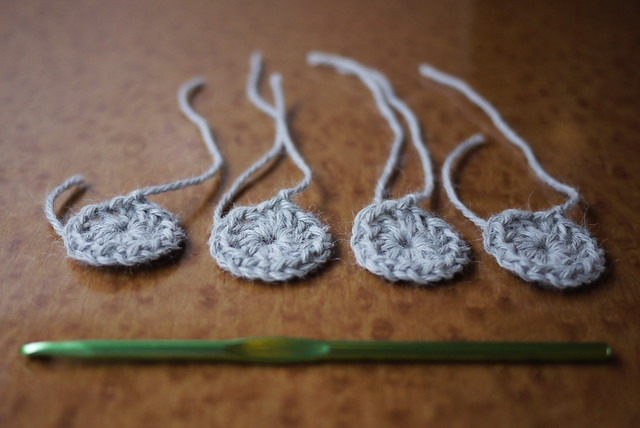
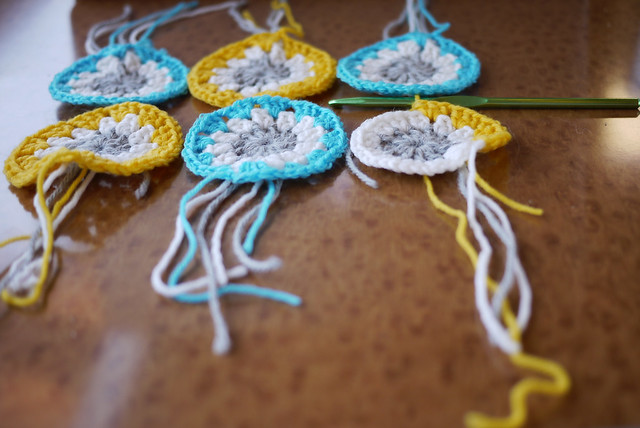
Finally after a few wrong starts I've come up with my version of the square. I couldn't work out the pattern on the blog as I am not that great at following instructions. So that I can remember it and just in case you want to follow it, here's the pattern I am using. I've never written down a pattern before. I am probably not being very clear so I have inserted lots of pictures.

CH = Chain stitch
SS = Slip stitch
TR = Treble crochet (UK) in the US it should be a Double crochet.

Crochet 10
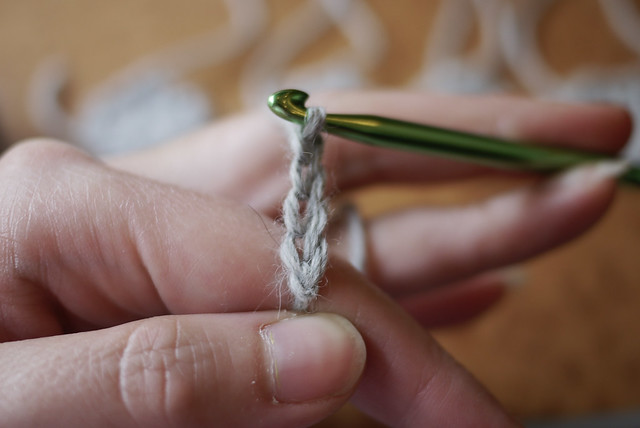
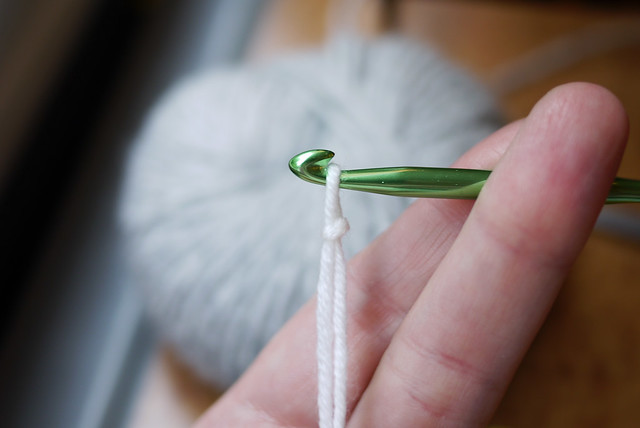
Foundation ring: Yarn A, work 4ch and join with a SS to form the ring. (I always make my stitches very loose as it makes everything easier).

Crochet 09
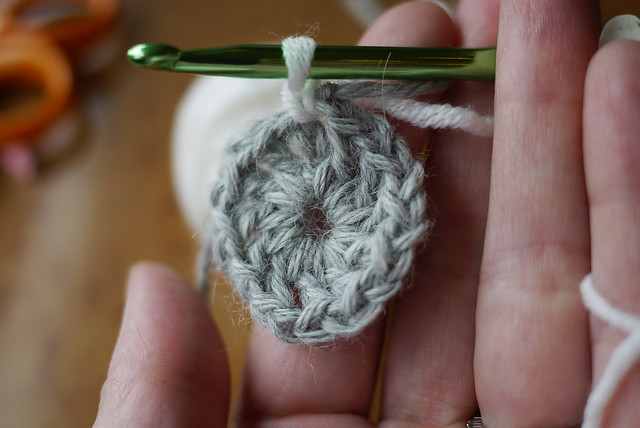
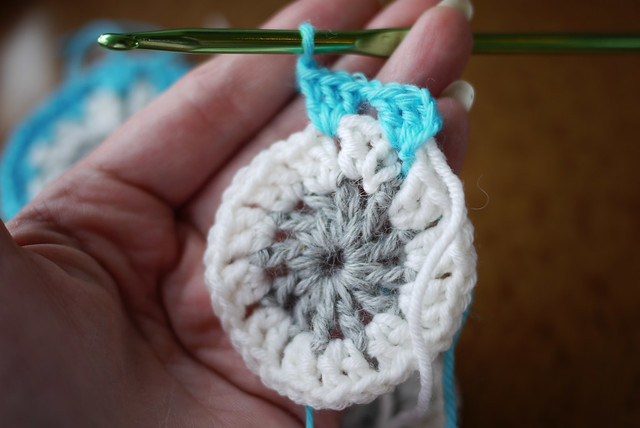
Round 1: 3CH (counts as 1TR) then 1TR into ring, then 1CH, repeat 1TR + 1CH 10 times (12TR total), join with SS into 3rd stitch of 3CH. Break off yarn. This should give you a circle with gaps between each treble.
Crochet 11


Round 2: Join yarn B inbetween the first and last treble of previous round. (I always start with quite a loose slip knot so I can pull it tighter later when I tie the ends off and pull the knot to the back).
Crochet 08

3CH inbetween two trebles in the gap the CH from the previous round has created (counts as 1TR)
Crochet 07

Then 1TR into the same gap, then 1CH. Repeat doing 2TR + 1CH into every gap between the TR in the previous round created by the CH to create 12 groups of 2TR. Break off yarn.

Crochet 06"
You should see when you stretch it that you have gaps inbetween the TR groups.

Crochet 04


Round 3: Join yarn C in the gap between TRs created by the CH of the previous round. I usually join between the last and the first TR.

Crochet 03

3CH (counts as 1TR) then 2TR and 1CH, then 3TR + 1CH in the next CH gap pf the previous round. Repeat 10 times. (12TR total). Break off yarn.
Crochet 02


Round 4: Join yarn C in the gap between TRs. I usually join between the last and the first TR space. 3CH (counts as 1TR), 2TR, 3CH, 3TR to make your corner, then 3TR + 1CH into the next CH space of the previous round, repeat 3TR + 1CH into the next CH space of the previous round, then in the next CH space make a corner with 3TR, 3CH, 3TR. Repeat to end until you have completed all four corners and tie off.

That's it! Does that make sense? Now I just have to learn this joining at you go thing.

Sunday, July 18, 2010

In Transit

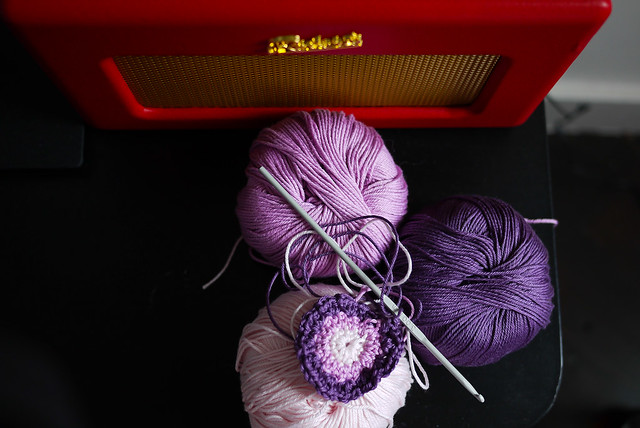
As Clairey suggested, I really need to do my cushion in all different colours but I seem to lack the correct wool. I always think I have loads but somehow I never have exactly what I need. So I paused on the blue whilst I think about going back to a wool shop and instead tried it out with the really thin cotton yarn I have for the amigurimi stuff I've done in the past. I also tried out Rachel's interpretation of the instructions which differ to mine.

Crochet 03

I'm so indecisive that I'll probably end up doing both a bit more to see if I like one better than the other. The cotton yarn is definitely harder as it's so tiny and has less stretch so you have to have your stitches just right so they're not to tight or too baggy. I think the woolier wool allows you to hide a multitude of sins so maybe I'll finish that one first.

Sunday, July 11, 2010

New Project


Crochet 02

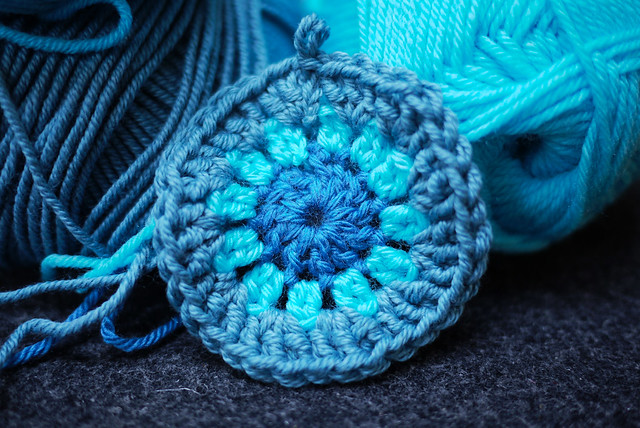
Even though I have not finished tying all the ends of my last crochet project, I just thought I would gather together some new wool for the next one as I happened to be passing both the new Loop shop in Islington and Liberties.

Crochet 01

I also bought this grey wool because it was just so soft.

Crochet 03

Here is close up of the start. I am not sure that it's right at all.

Crochet 4

It doesn't seem very square but I am sure it will stretch. Now to decide if I do them all blue or in different colours.

Wednesday, June 23, 2010

Problem

My problem is that I see so many things I want to make and I never have time to make any of them, yet I become obsessed with them. Then I stop the three seconds I have spent on the previous project and move onto spending 3 seconds on the new one.

I have been tying up the loose ends of my original granny squares for my cushion which is now going to be a blanket. It's boring work and I haven't got very far since I started back at work. It's so sad to realise that you have about three hours a day of free time in which to cram in the rest of your life.

It did occur to me that I lose track of all these great things I am going to make, so I thought I might post them here so I can find them again when I need to. Obviously this means it's not my work, but I shall always try to credit people and include links. And it means my friends can see if they want to make them with me! It might all come in dribs and drabs and be a bit of a brain dump, but without further a do... I shall begin the new 'Inspiration' tagged posts.

I would like to make this cushion from the brilliant Yvestown blog.


It's so neat and tidy. I can't work out if that is down to technique, practice or wool (Cocktail by Markoma 50% cotton 50% acrylic - which only seems to be on sale in The Netherlands). I love the techniques of joining them together. It's not how we learnt it in class.

I can't decide what colours though. I love the blue, green, yellow and pink squares in this, but I also love this version on Dotty Angel's blog


This is original image that the course was advertised with and what really sold me on doing it! I love the subtle colours. Sometimes I think I am just too technicolour and I need to be more subtle and earthy.

I need to buy wool.
More wool.
I am running out of places to hide it though.

Sunday, June 20, 2010

Colour Book

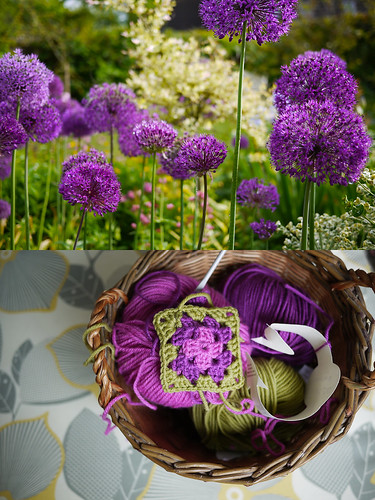
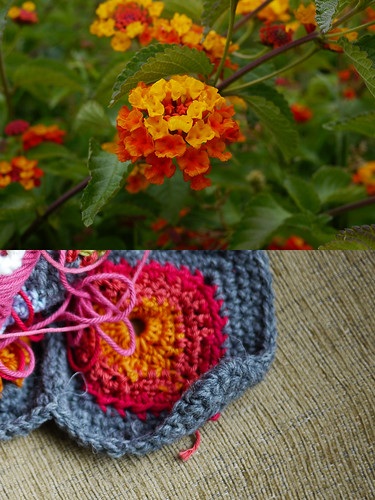
Purple GreenRed Orange YellowPink Red

When I was at school, the printmaking teacher made us all create colour books which consisted of us sitting at home with a print stick or that glue that stunk of fish, sticking magazine clippings into our books. I went through an entire back catalogue of Country Living thinking it was a dumb assignment. I've still got my finished book now and I have to admit, it was a pretty good thing. There's no better colour combinations to be found than those you see around you in nature. I sometimes think I just take it in subliminally.