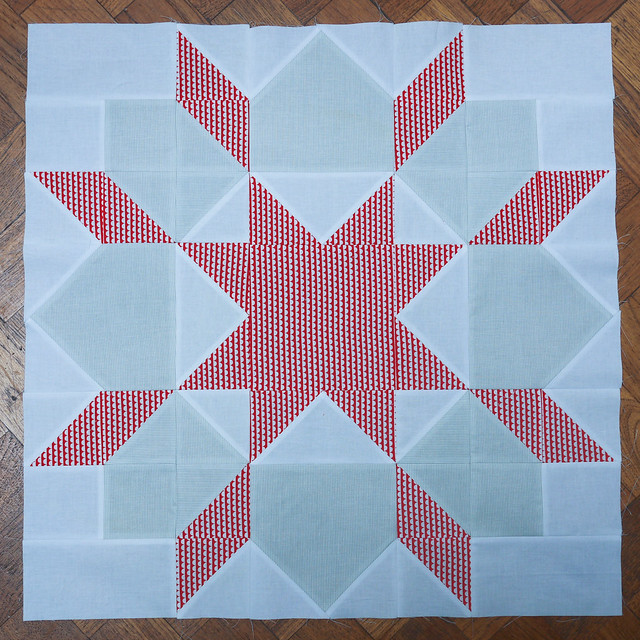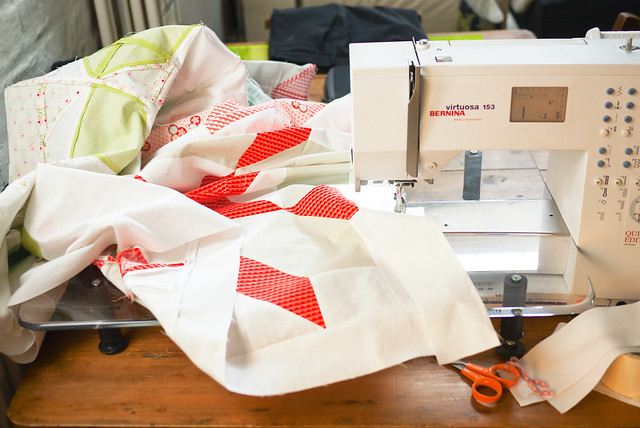
So finally I have done the sashing, not particularly well I might had, but it's quite hard to feed such a big beast through my machine. It gets caught on everything. Makes me realise my setup just doesn't handle big quilts!
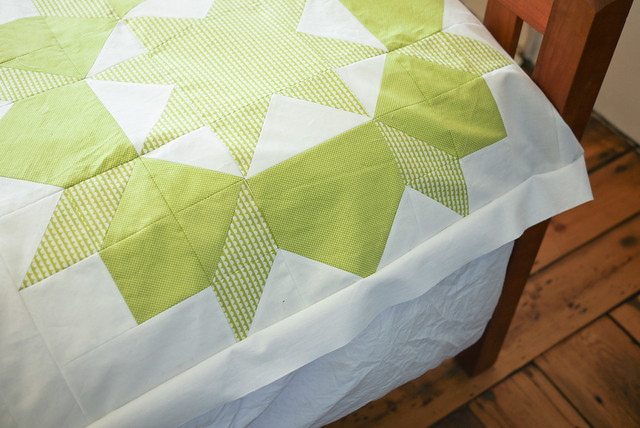
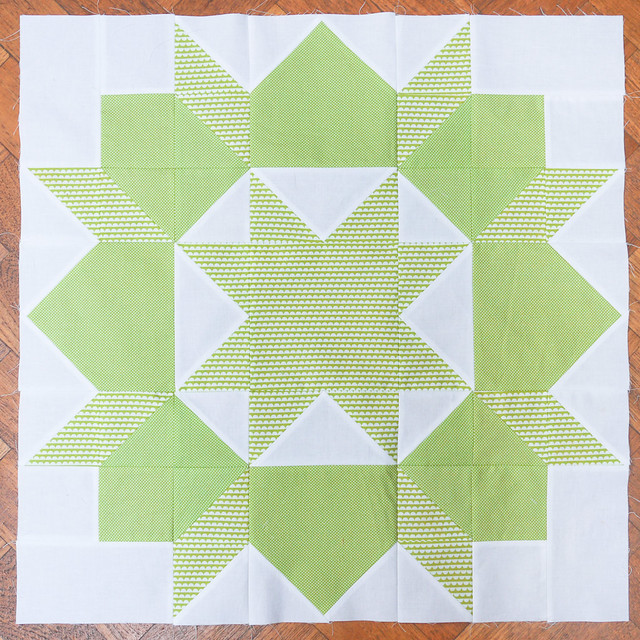
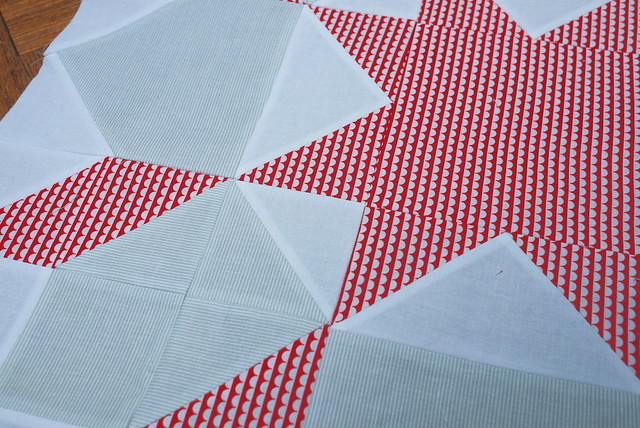
I should have sewn the sashing, starting from the middle so they lined up better. My blocks varied in size from 25.5 - 25.6". I thought this wouldn't matter but it all adds up and leads to losing the points on a few of the stars at the end of the line. Above is the worst case. It's a shame because the block was perfect until I had to sew over the edges.
At least it's done now. Now I just need to do the backing. Sigh... so near and yet so far!
Monday, April 16, 2012
Saturday, April 14, 2012
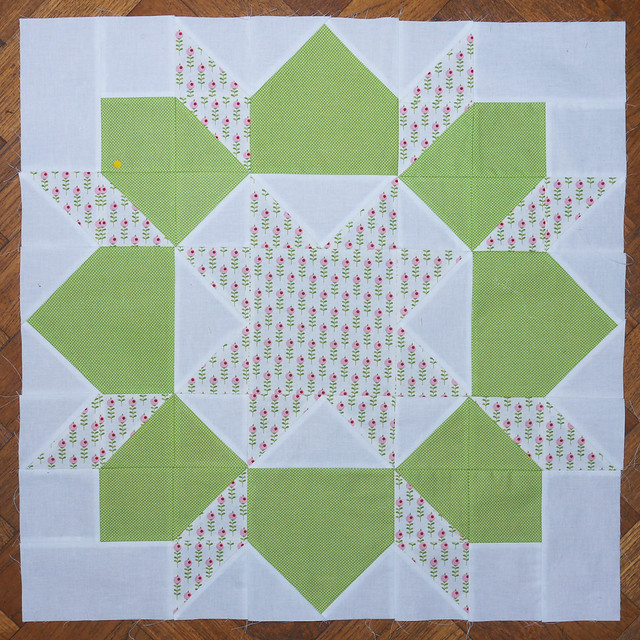
Swoon block 10!
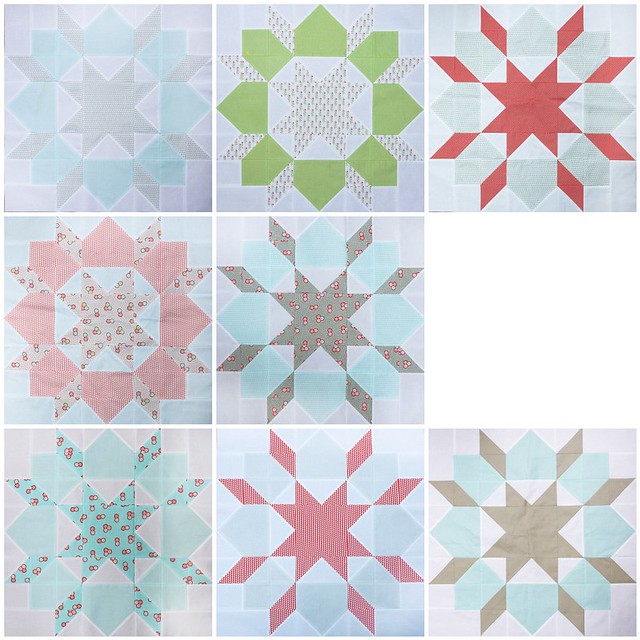
Finally all the blocks are done. Now it's time for a well earned break before I attack which ones are in or out. Sashing later after I check my background fabric is big enough!
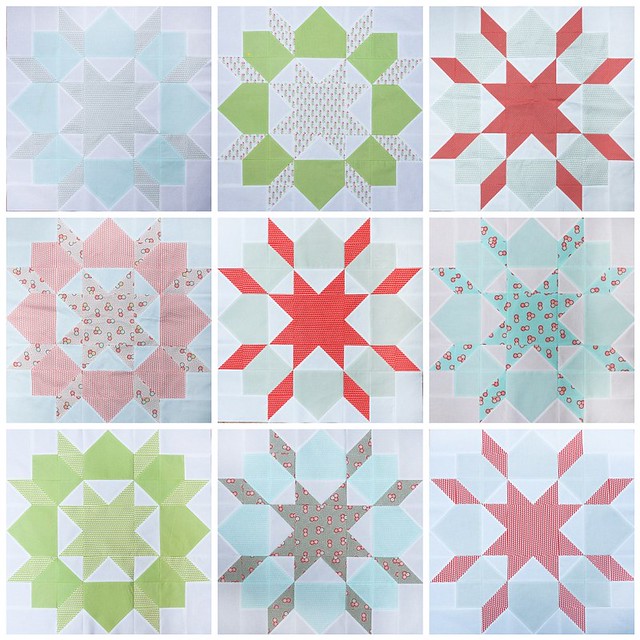
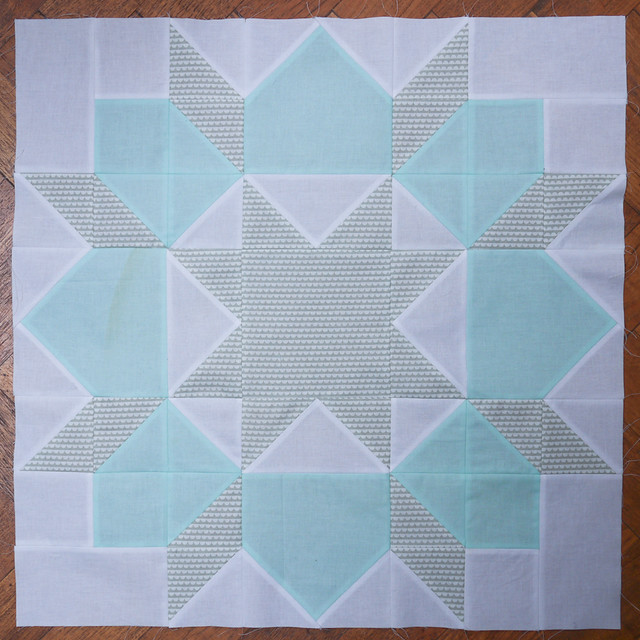
This is my decided layout order. I took out the first block I made that used a dark grey/brown colour as I felt it was too dark against the other colours and that the other greys I was using were softer and more bluey. Also it's the lumpiest block as I hadn't ironed the seams flat. So out it went!
Friday, April 13, 2012
Swoon block 09
Thursday, April 12, 2012
Swoon Block 08
Tuesday, April 10, 2012
Swoon Block 07
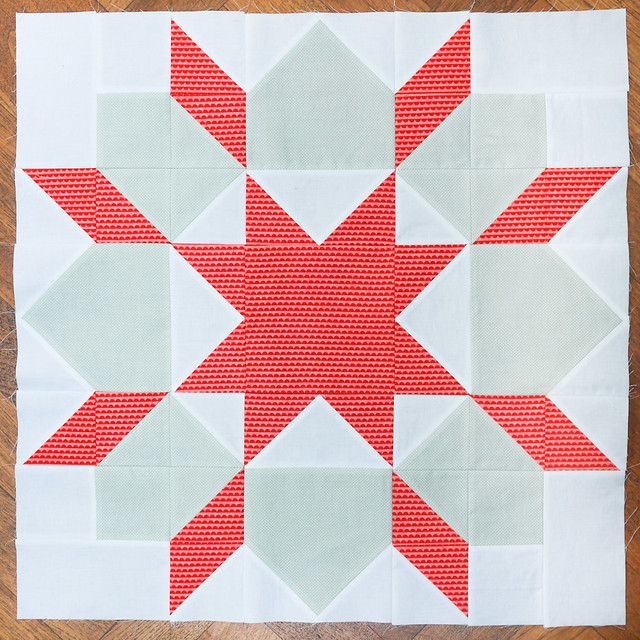
I'm on a roll now! This block took no time this morning thanks to all the hard Easter grafting I put in. Only three more to go! I didn't concentrate on getting the orientation of the fine grey lines the same though which I think would have helped but they are so fine I don't think it matters quite as much as the main patterned star material being right.
Monday, April 09, 2012
Swoon Pattern Direction
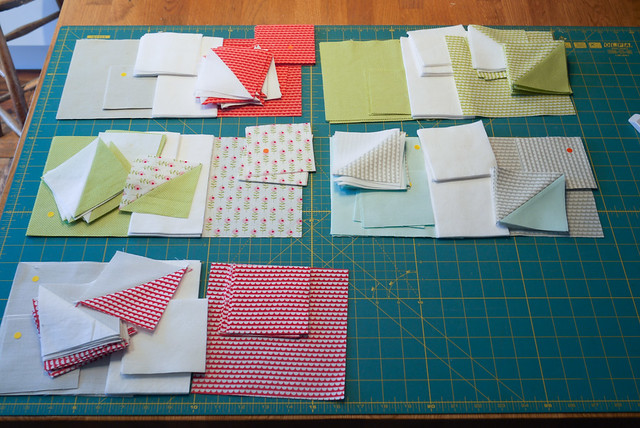
So I decided to try and break the back of my remaining swoon blocks by cutting all the fabric for my remaining blocks.
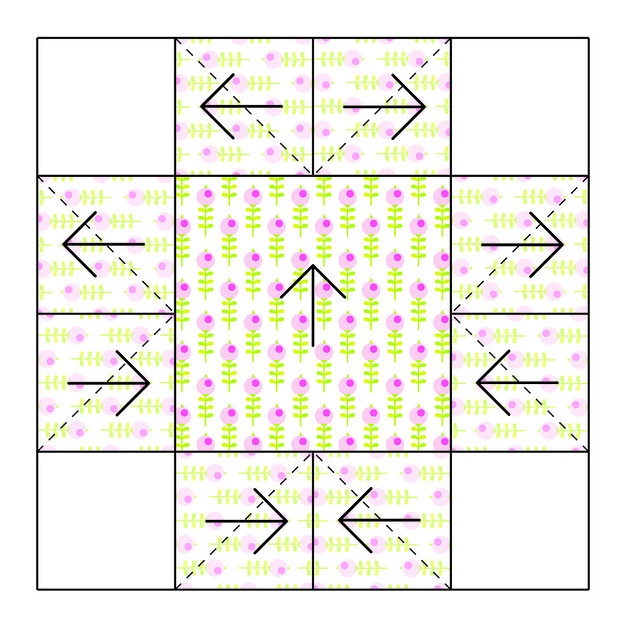
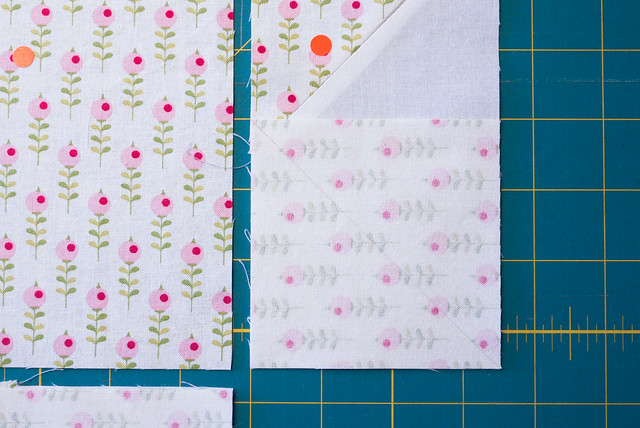
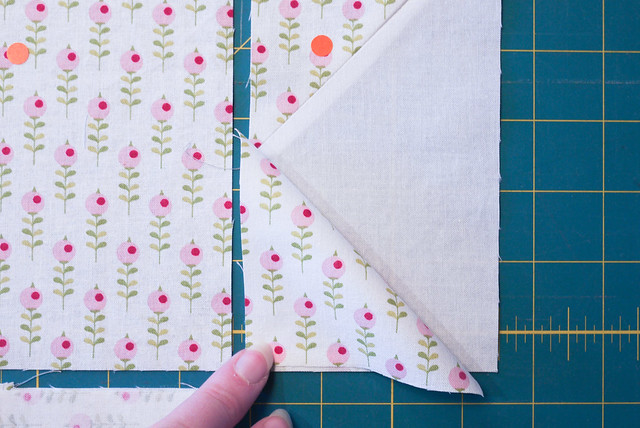
I wanted to chain piece all the half square triangles but up until now I have had to lay out each block in all its separate pieces and do it one at a time so I can work out the pattern direction. I just thought it would look tidier. So I created this diagram to help me get the pattern direction of the central star right. The paler pattern blocks represent the wrong side of the fabric laid over it's white counterpart.
Here is an example.
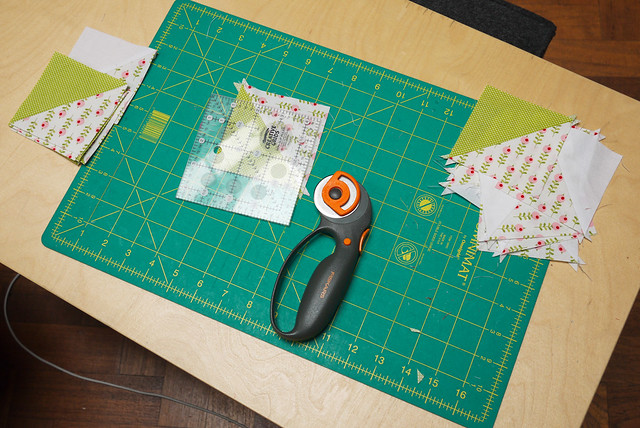
Then I set up shop in front of the telly and trimmed a massive pile of half square triangles. It's taken up most of my time, but I did manage to get one entire block done. The others should come together pretty easily now.
Subscribe to:
Posts (Atom)