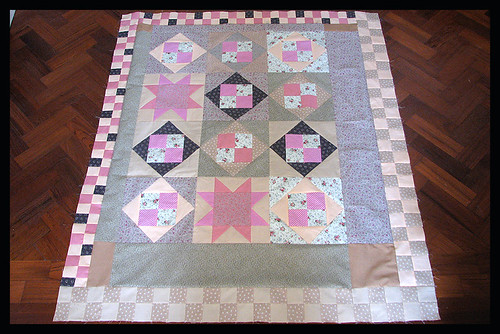
I've been putting it off for a long time, but finally I am finishing off this Maggie Wise quilt which I thought would be a good way to learn a bit of applique. The applique bits go on the two fat borders by the checks. It's all stems, leaves and flowers. I might draw out a diagram later.

Here's
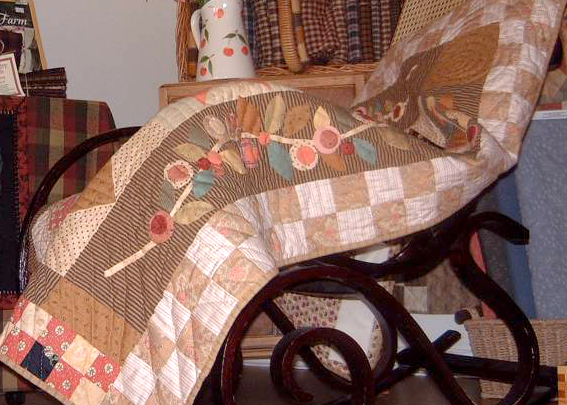
Maggie's quilt she made which I love. You can see the flowery vine on the side. This is what I am doing now, or rather, trying to do.

Applique is when you sew shapes on top of your material. It's fiddly and I know I am going to be awful at it. I actually did some on my second ever quilt, where I wrote the name 'ROWAN' on alternate squares of a quilt. (I really should photograph it for posterity but Rowan has it now and goodness knows where it is). Anyhow, I've forgotten everything I learnt as that must have been 7 years a go now. So it's a big learning curve.
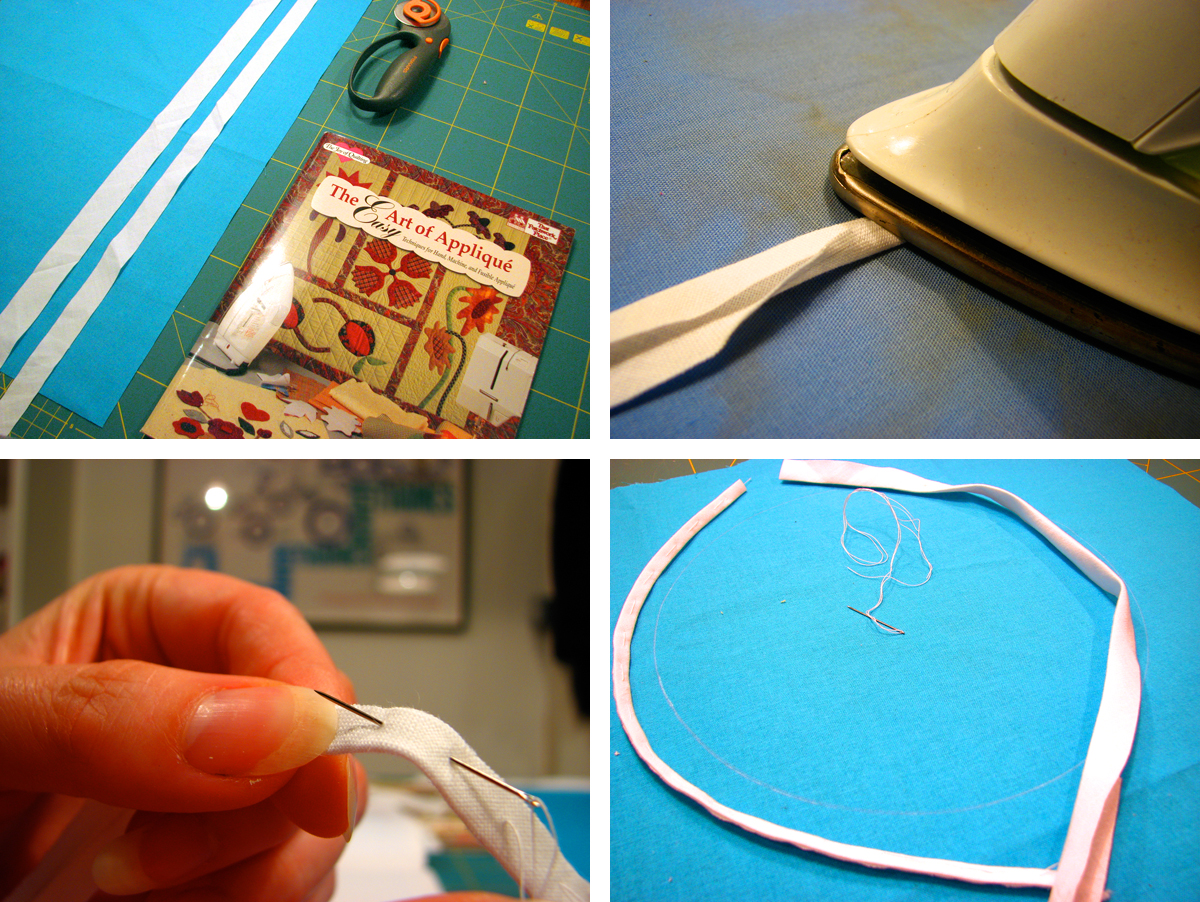
I already got it wrong as soon as I started! First I cut templates out of this plastic stuff called
mylar. You can just use cardboard but myla is transparent so I could trace them from the pattern. Then I folded some
freezer paper, drew round the shapes, then cut them out with my nail scissors. What is
freezer paper you ask? It's what americans use to wrap food in bizarrely enough, but it's got a shiny side which when ironed, sticks to fabric rather nicely. Basically you iron your shape shiny side down to the wrong side of your material, then cut 1/4 inch round the shape. I did it wrong by cutting out the fabric first then ironing the freezer paper on. I think it's better if you iron, then cut as your 1/4 border is more even.
Some people think that's too generous and that you should only leave 1/8inch, but I thought I'd maybe try both as I go along. There seems to be so many different ways in which people applique. I guess it's all about finding a way that works best for you. I quite like the needle turn approach where you remove the paper before you sew and you don't tack the seams beforehand, you just lay it down and tuck in under as you sew, as shown
here and
here. I've got a lot of tiny circles to do which I know are going to look pretty wonky at first so I might follow this method
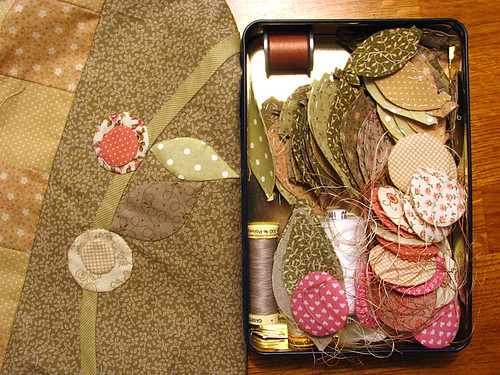
here but insert a lot of swearing. Anyhow, you can see from the numbers on each template that I've got a lot to cut out. It's all good for doing in front of the telly.
I might go home and raid my mum's books on the subject as she loves applique. I bet she has umpteen books on it. When I go to Birmingham I'll also be able to browse the book stalls, see if I can find me a good instruction book about it praps.
I can't wait until Birmingham! It's the mecca of quilting!

 So one pillowcase has become the softest baby quilt
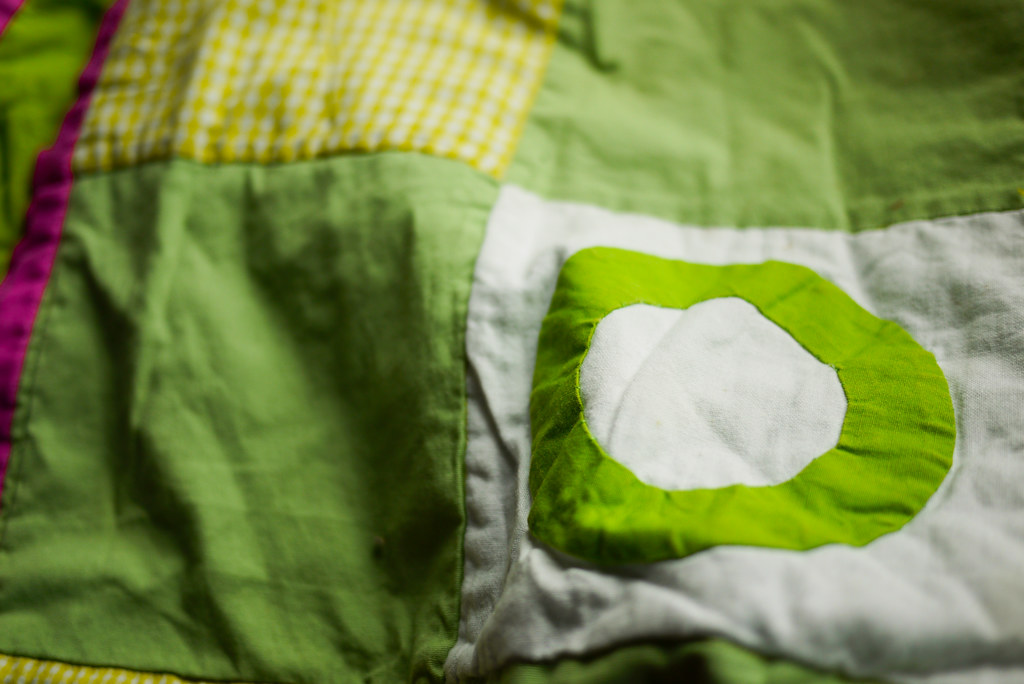
 The applique petals came out perfectly. There are still a few yellow chalk marks where I quilted some straight lines but they'll come out with use.
 Here is a close up of the quilting stitches I did round the petals. I try to use cotton abrode but I don't have very much. So when in doubt I simply use Gutterman button thread which they seem to sell everywhere and is really cheap. I find it really smooth and just the right thickness. Terrible I know, but it makes for a really cheap quilt! The binding was just a pack of yellow bias binding from John Lewis.
 Basically a very quick, cheap, soft quilt! I was thinking I might try and draw up the pattern. I can't quite decide.
 It fits perfectly in the moses basket.
 And in the Babybay bedside cot.
 I know you're not suposed to use blankets but they seem to sell them in Mamas&Papas so I guess they're just there to look nice really.
See the start of the project here
I know you're not suposed to use blankets but they seem to sell them in Mamas&Papas so I guess they're just there to look nice really.
See the start of the project here