
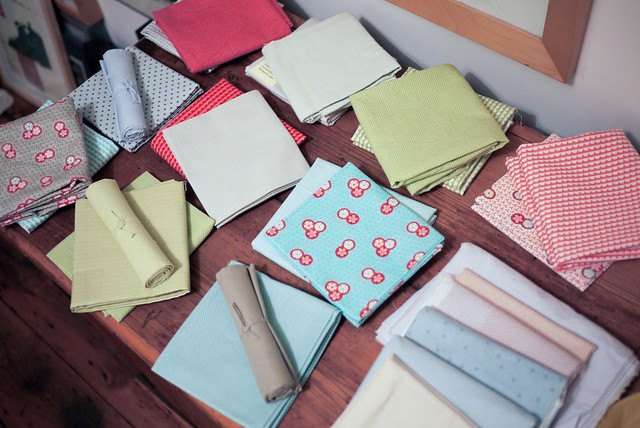
 Step 1. Choosing material last week
I've been buying fabric for this since Chillford. At Chilford we thought we had about enough, but actually we hadn't so I spent some time rustling through my stack and buying bits to bump it up. In the end I bought some of the actual fabric Camille suggests for it as it looks so lovely in the picture. If course when I got it, I realised it didn't match the much more sombre colours I already had, so now I just can't choose which ones to use! It's almost like I am split between two totally separate colour ranges. I'd really like to use some plain taupe colours but I have never done this before and am afraid they will look like sick. I have seen other people use them in beautiful ways though and I would really like to be one of those people!
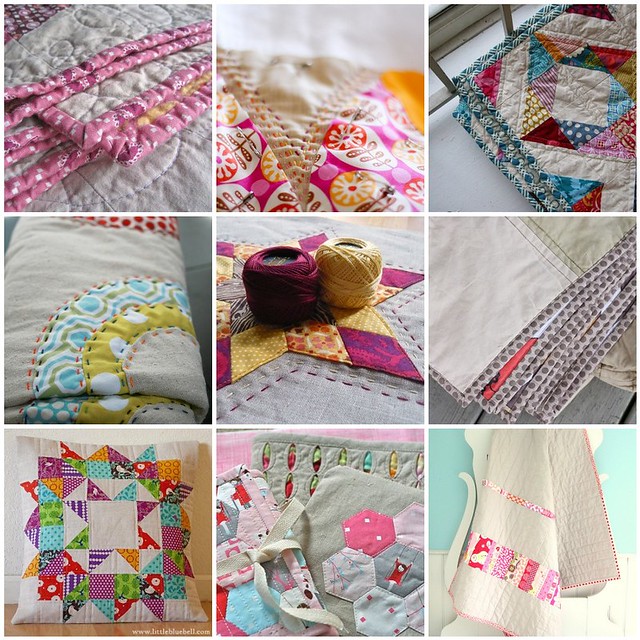 1. Binding, 2. Slow, 3. { quilted + bound }, 4. Handstitched Circles, 5. Falling Starburst - A Little Sneak Peek, 6. Giant Neutral Plus Quilt, 7. Pillow Talk Swap 6, Finished, 8. MMM Swap, 9. Pink Strip Quilt
Anyway I have had these out all week, examining hem every time I walk past them, hoping for a flash of decision. I haven't seemed to come to any, so I am just going to plough onwards and see what comes out.
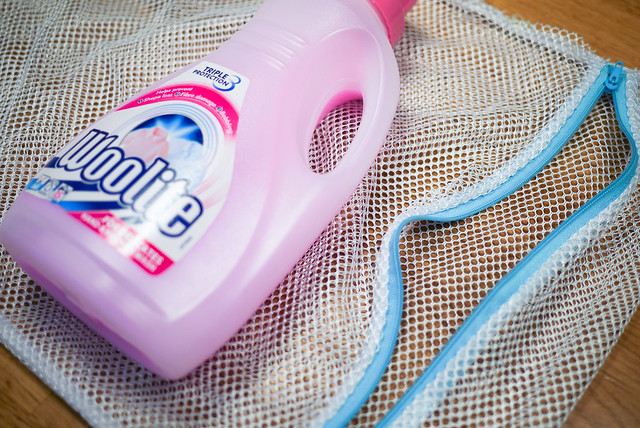
Step 2. Washing material last night
I washed the fabric in preparation. My mum is a proper quilter. She is amazing. She has been making quilts for years and has all the skills. She tells me I must wash my fabric, so I do. Some of her on the friends don't. It seems to be a matter of opinion. I do hate the time it takes to wash fabric, but I also enjoy washing quilts when they are done to give them that old, scrunched up feel. I would hate one fabric to shrink more than another and ruin all my hard work, so I diligently wash all my fabric before I use it. Sometimes I just wet it in the sink with a dash of detergent, but mostly I use this delicates bag from Lakeland as it helped prevent fraying. I also just put the folded fabric straight in the bag. My mum unfolds hers, but I find it protects my edges more. I have had some disastrous fraying incidents where I have lost loads of my edges to manic fraying, so this is learned from bitter experience. I don't use loads of detergent because you don't need it, just a dollop of Woolite as it's the only liquid form I have, then in the machine on the delicate wool wash 30°. I have a quick wash setting but it leaves detergent in, so wool wash is better, plus I want it to be damp when it comes out so it's easier to iron creases out.
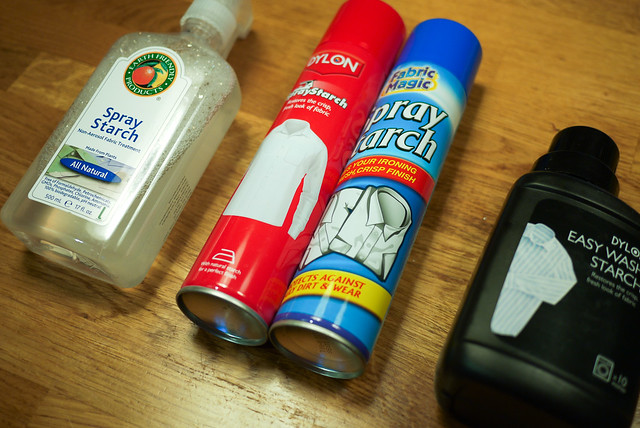
Step 3. Starching the fabric this morning
I use starch a lot. I don't think you have to, but the smaller the units of fabric are and the more you are cutting diagonally on the bias, the more you need it. I did a 60° quilt and it was just impossible without it. Applique is also much easier with spray starch, but everyone is different. But not all spray starch is the same. Top left is Lakelands eco spray starch. It's pretty rubbish, the spray is not very fine and it leaves visible blotches but I will use it all up and reassess it then. In the red canister is Dylon spray starch. Out of everything there, it's the best, but I have a sneaking suspicion that there are stronger ones out there designed for quilters. The blue one next to it from Amazon is pretty weak. Once I use it up I won't buy it again. The black bottle is starch you put in the wash. To be honest I haven't noticed much of a difference but I need to use it all up and reassess. I keep forgetting to put it in the machine. What I will say about spray starch is that it can leave burn marks if you make your fabric too wet with it and iron it straight away. I left it soak in for 20 seconds after spraying then I iron the side I didn't spray. If it's not enough then I reapply more starch and give it another go rather than dousing it the first time.

Step 4. Washed, Starched and Ironed and ready to start
Ready to have salve edges cut, and another spray starch and iron if they are too flimsy when i come to use them. This is my pile of blues I am not sure about and neutral solids I am experimenting with. It's time to decide! Block one ready to start. Here we go!


1 comment:
I love all the reds! I can't wait to see it!
Post a Comment