Monday, April 16, 2012

Sashing Swoon

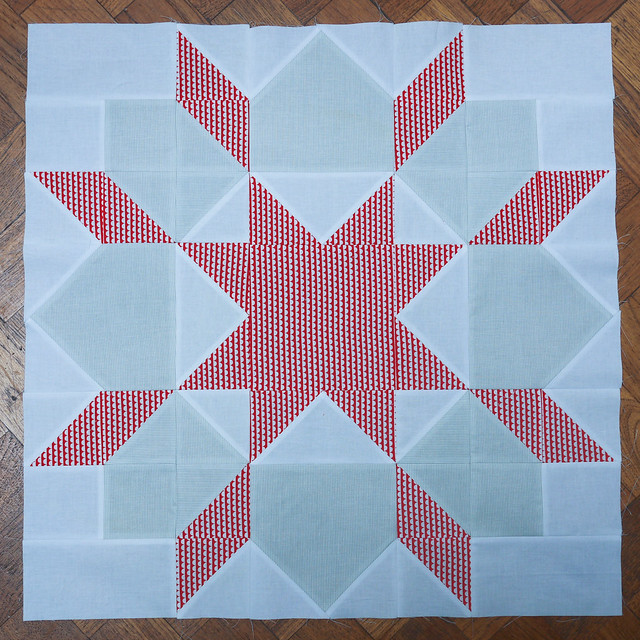
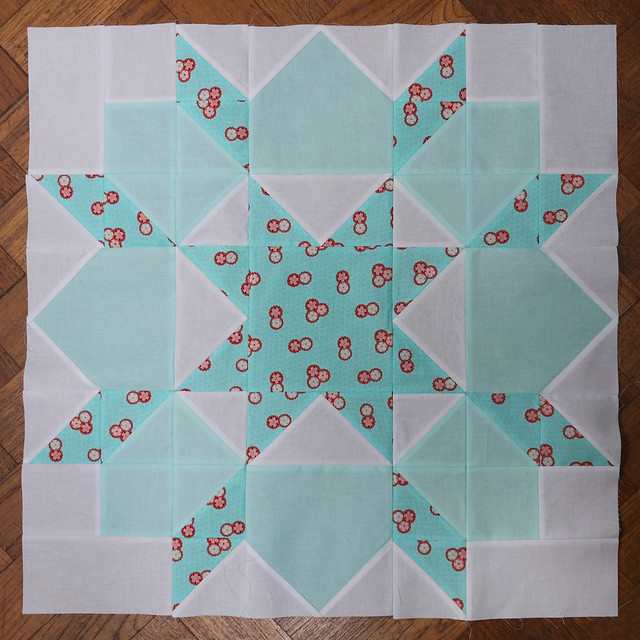
Swoon So finally I have done the sashing, not particularly well I might had, but it's quite hard to feed such a big beast through my machine. It gets caught on everything. Makes me realise my setup just doesn't handle big quilts!

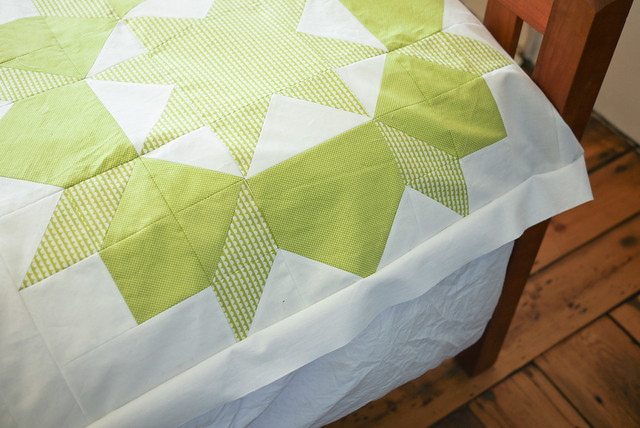
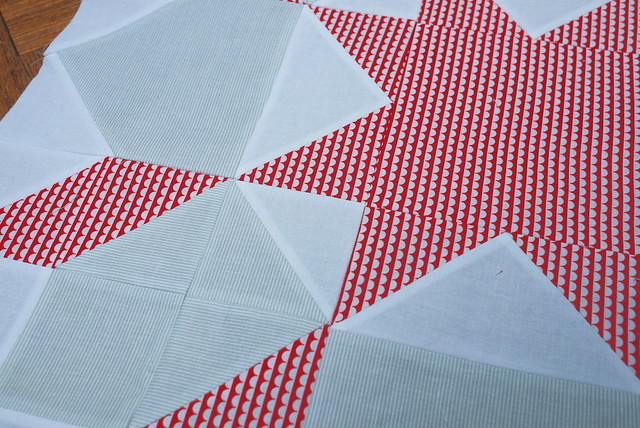
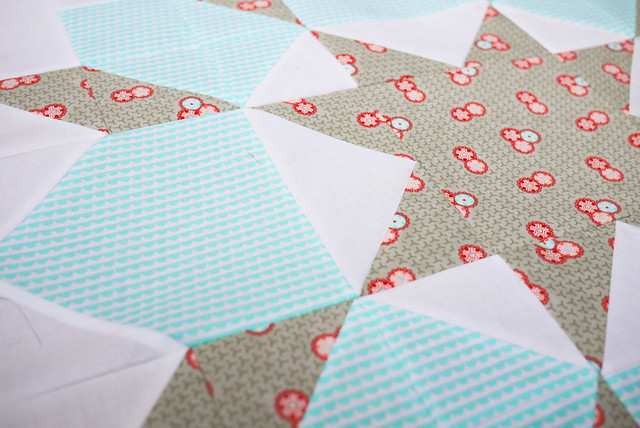
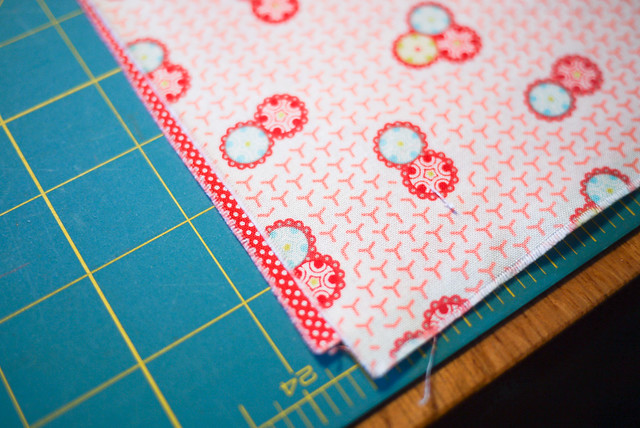
Swoon I should have sewn the sashing, starting from the middle so they lined up better. My blocks varied in size from 25.5 - 25.6". I thought this wouldn't matter but it all adds up and leads to losing the points on a few of the stars at the end of the line. Above is the worst case. It's a shame because the block was perfect until I had to sew over the edges.

Swoon

At least it's done now. Now I just need to do the backing. Sigh... so near and yet so far!

Saturday, April 14, 2012

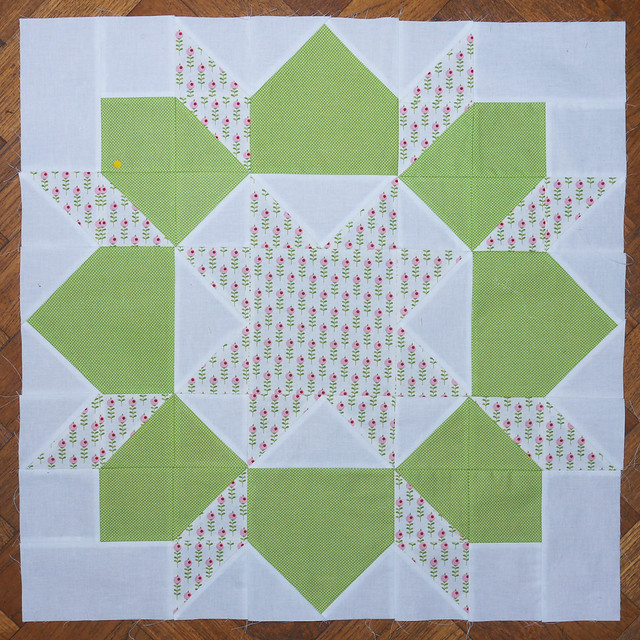
Swoon block 10!

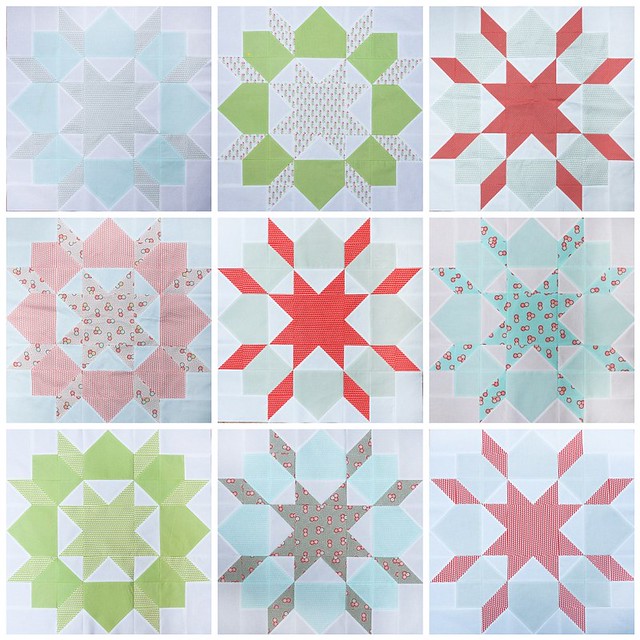
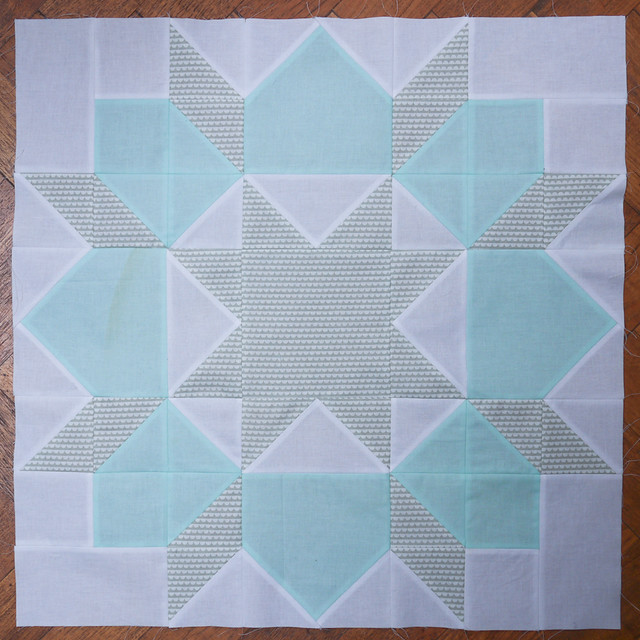
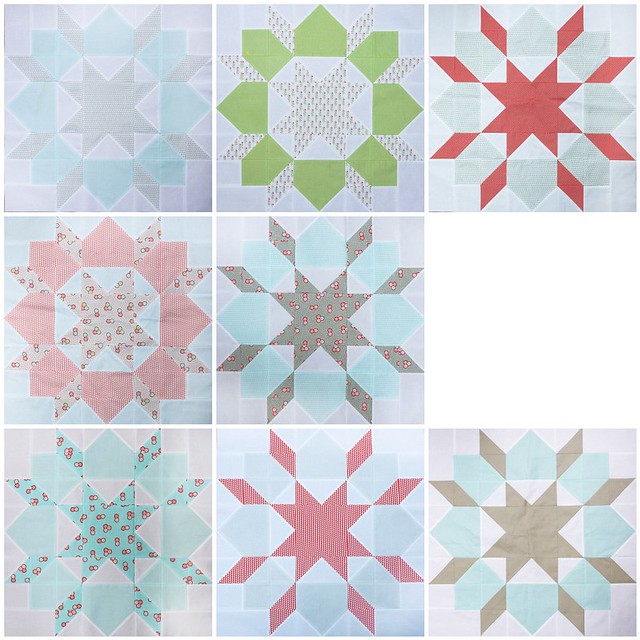
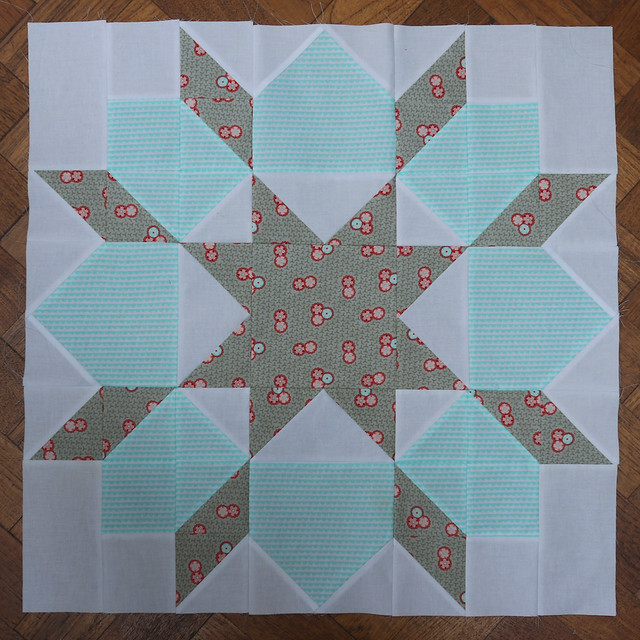
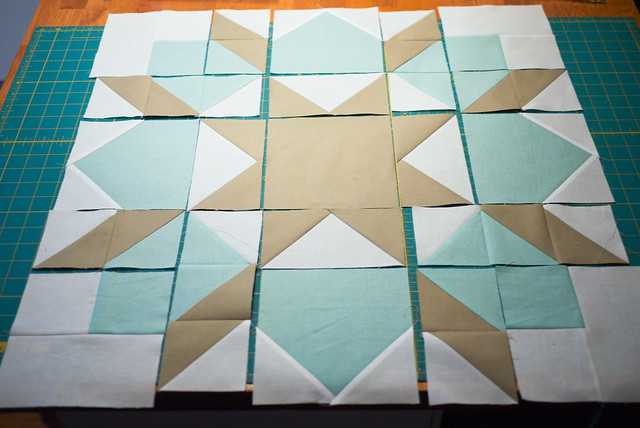
Swoon block 10 Finally all the blocks are done. Now it's time for a well earned break before I attack which ones are in or out. Sashing later after I check my background fabric is big enough! This is my decided layout order. I took out the first block I made that used a dark grey/brown colour as I felt it was too dark against the other colours and that the other greys I was using were softer and more bluey. Also it's the lumpiest block as I hadn't ironed the seams flat. So out it went! Swoon layout

Friday, April 13, 2012

Swoon block 09

Swoon block 09 These blocks are really coming together quickly now. Block 9 done! Just one more to go so I have a spare. I think when I lay them all out it will become clear which ones go well together. At the moment it's all a little too blue. I am not sure what to do with the left over block though.

Thursday, April 12, 2012

Swoon Block 08

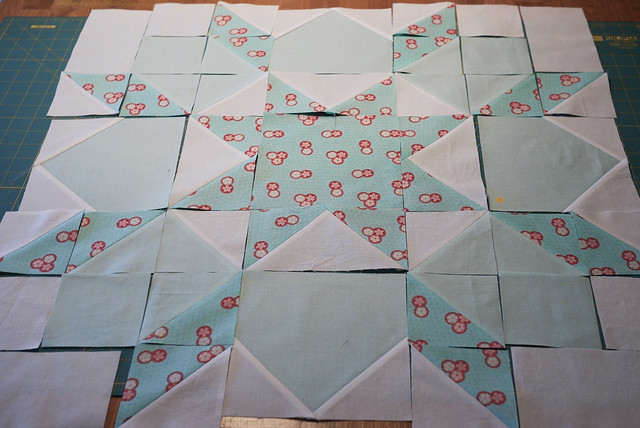
Swoon block 08 Another day another swoon block. Number 8 done! I have two more to make which will give me an extra one so I can choose my layout. It's looking a lot bluer than I had planned. I hope it all comes together okay. I have made a little mockup.

Swoon layout

Tuesday, April 10, 2012

Swoon Block 07

Swoon 07 I'm on a roll now! This block took no time this morning thanks to all the hard Easter grafting I put in. Only three more to go! I didn't concentrate on getting the orientation of the fine grey lines the same though which I think would have helped but they are so fine I don't think it matters quite as much as the main patterned star material being right. 20120410-P1190627.jpg

Monday, April 09, 2012

Swoon Pattern Direction

20120408-P1190595.jpg
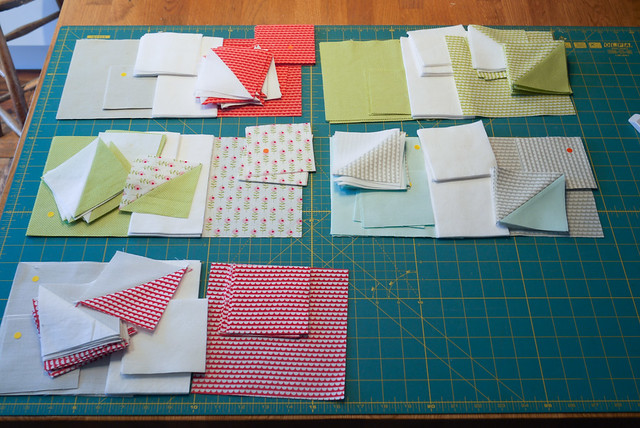
So I decided to try and break the back of my remaining swoon blocks by cutting all the fabric for my remaining blocks.

Sawtooth.jpg
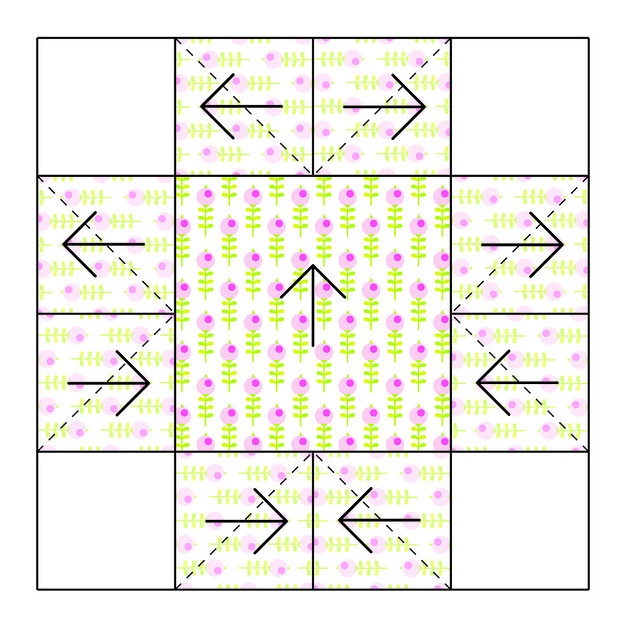
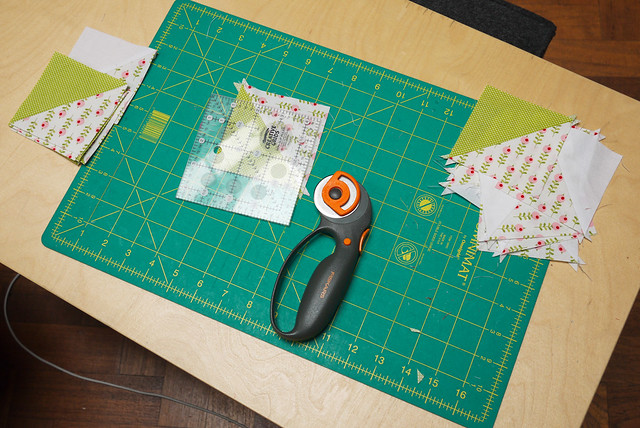
I wanted to chain piece all the half square triangles but up until now I have had to lay out each block in all its separate pieces and do it one at a time so I can work out the pattern direction. I just thought it would look tidier. So I created this diagram to help me get the pattern direction of the central star right. The paler pattern blocks represent the wrong side of the fabric laid over it's white counterpart.

20120408-P1190605.jpg 20120408-P1190606.jpg
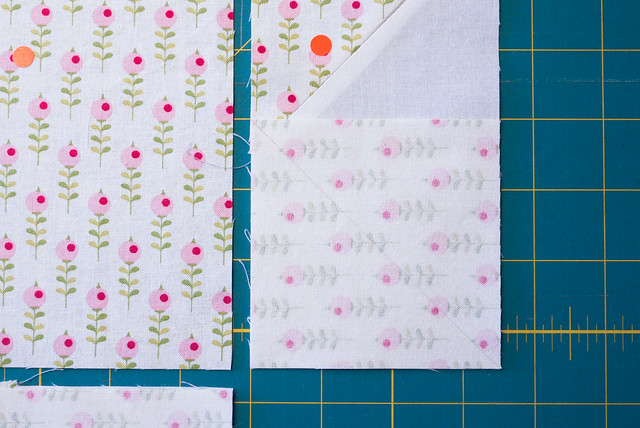
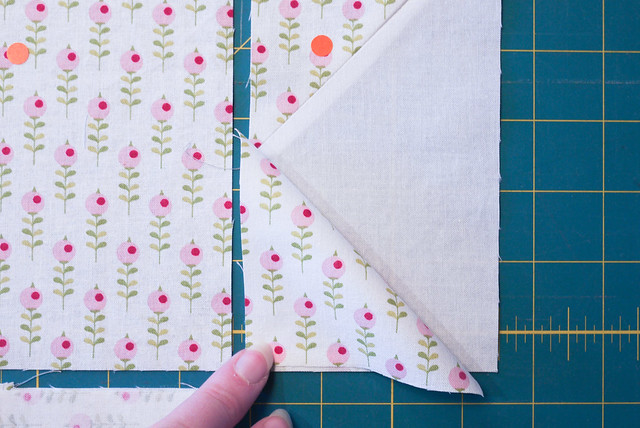
Here is an example.

20120408-P1190597.jpg
Then I set up shop in front of the telly and trimmed a massive pile of half square triangles. It's taken up most of my time, but I did manage to get one entire block done. The others should come together pretty easily now.

Swoon block 6

Saturday, March 17, 2012

20120317-P1190430.jpg So it's another Swoon weekend kicking off to a good start. I had put everything away for such a long time that I had forgotten where I was. I was pleasantly surprised to see that I had cut out all the bits for two blocks then sewed and trimmed all the half square triangles. It makes it a lot easier after that.

20120317-P1190432.jpg

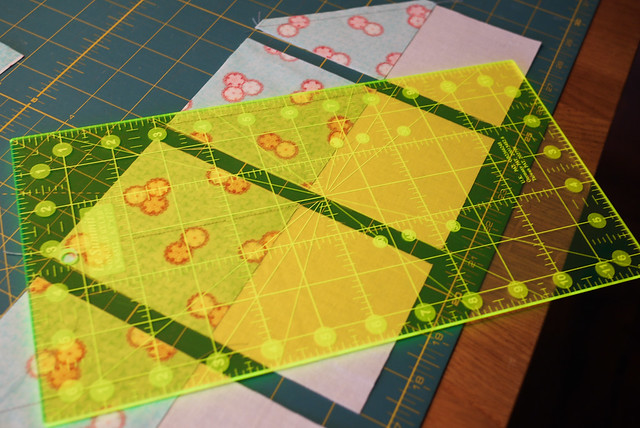
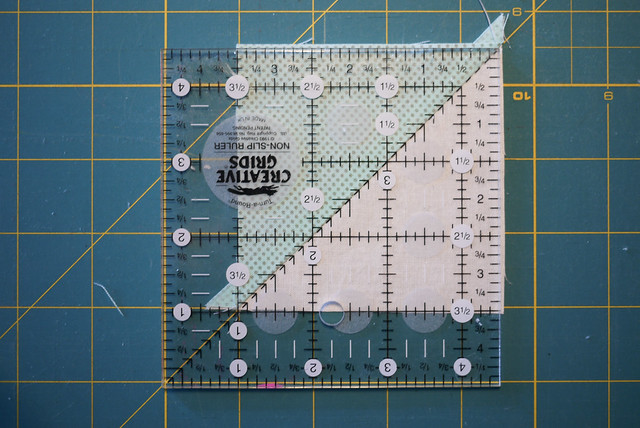
I did have to sew the flying geese but it was much easier with my brand, spanking, new short ruler! I don't know how I have survived so long with just long ones! Drawing all those diagonal lines is much easier! I bought this off the web after looking at all the sizes at the Quilt show the other week. I really wanted the neon edgelit ruler but they didn't have any at the show so I bought this one and even with postage it was a bit cheaper than those at the show. Not that I might spending a bit extra to support a shop, but the edgelit was the hook I needed. It's just so... so... neon!

20120317-P1190436.jpg

All I had to do was lay all the bits out then sew them all together. I find laying them out helps get patterns the right way up. I know some people don't bother, but when it's big stripes I think it looks neater.

SO two more blocks finished in a day! 20120317-P1190429.jpg

20120317-P1190442.jpg

Sunday, March 11, 2012

So another Chilford Quilt Show is over again. For once I had a list of key things I needed which I made a bee line for first.

Things I bought from Chilford

I got some white wadding for the Swoon quilt. I was looking for Warm and White but this Heirloom was cheaper. I have decided not to wash it as I am looking to test out the antique, scrunchy look. I keep washing the one on my bed and it never quite looks as scrunchy as I would like. Anyway, I also got a new blade and some backing fabric for the Swoon quilt from Fabrics Galore.

Things I bought from Chilford

It's very soft fabric. The lights in the show are a bit dim so it made the fabric look a lot greyer. I wish it was more grey, but I am sure it will be just fine. So that was everything I actually needed. I had basically spent all my money by then. But you know how it is. You think it's all over, then you buy something else!

Things I bought from Chilford

Just some odd fat quarters which grabbed my eye.

Things I bought from Chilford

I'd not seen this range before. I really liked it. I knew I couldn't walk away from it. They were from Tudor Rose which is probably close enough for a road trip one day. I love all the colours together, just as they are in the roll. I thought they might make a great sewing machine cover or mat. A nice small project to nestle inbetween these really long, big ones.

Things I bought from Chilford

The problem with any quilt show is that they get busy. You have to decide which stalls you really want to see first as you get the room you need to look at everything and purchase easily. Every Chilford I start at Sunflower Fabrics and Washed and Worn, but because I knew I needed 5 metres of cheap backing fabric, I decided to forgo tradition and make a bee line for Fabrics Galore. By the time I got back to Sunflower fabrics it was heaving and someone had stolen a quilt! Terrible. Anyway as I stood waxing on an on about just how terrible it was, I happened to see Maggie's newest mini quilt which appeals to all my old fashioned, antique sensibilities. I just thought it was lovely. The material HAD to be mine.

Things I saw at Chilford

I love the very fine quilting.

Things I saw at Chilford

Sunday, February 19, 2012

Swoon Weekend End

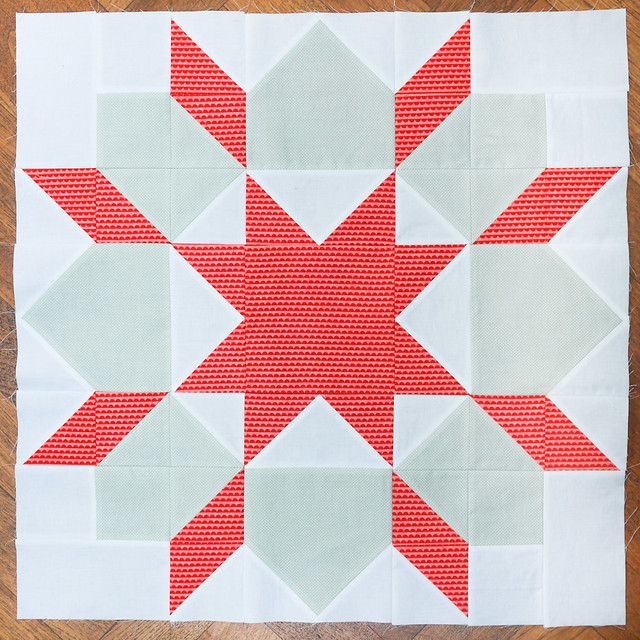
20120219-P1180948.jpg So finally the weekend is over and I managed to get a second block done by the skin of my teeth. I made two pretty stupid mistakes as I wasn't paying attention. I was so focused on trying to get my pattern to be the right way up that I just let other things slide.

20120219-P1180944.jpg Mistake 1. I forgot to cut 4 big squares and only cut 3! So I had to revert to the original pattern in order to get the last block. How stupid! Of course, it's doubly worse because I did it twice as I was cutting two materials at once! It's not perfect, but at least I had something left over to make it with.

20120219-P1180945.jpg Mistake 2. I stupidly mistook 4 of the smaller squares for larger ones and made them into half square triangles. So they were useless and I only had scraps left. I managed to cobble together the missing blocks and I don't think they look too bad. I would have just ordered more fabric but it takes two weeks to get from the US to the UK which I just couldn't bear. It's all a learning curve in the end.

20120219-P1180943.jpg I did manage to do the seams right this time and it made a big difference. It takes longer though.

Sunday Swoon

So this morning I put a new blade in my cutter as yesterday I cut myself twice by pressing too hard and slipping. There is nothing quite so satisfying as a new blade.

20120219-P1180904.jpg I decided to double the fabric when cutting this time. I just made sure the salve edges lined up then cut from there. It seems to have worked well.

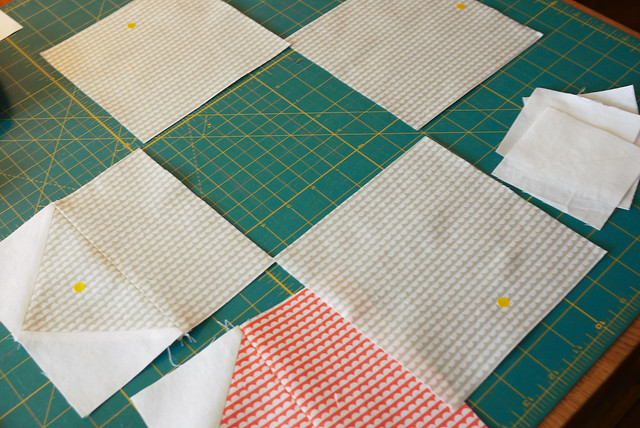
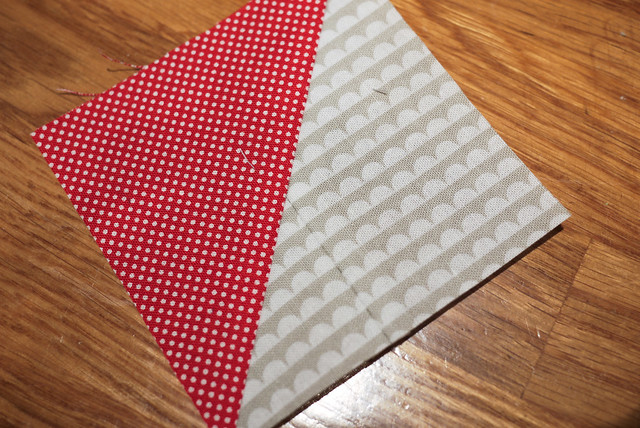
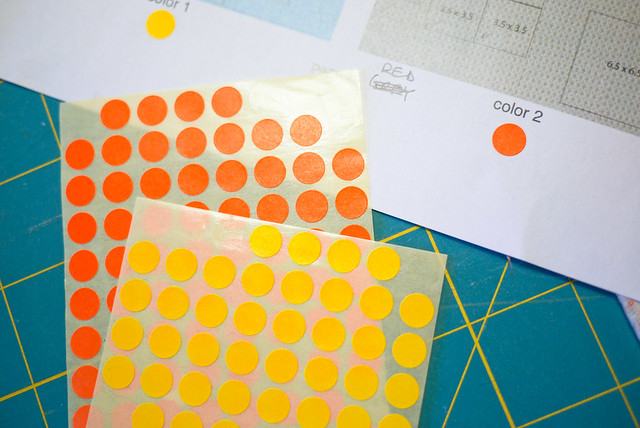
20120219-P1180905.jpg I chose the colours for my first block by looking at the pattern diagram, material A is in blue and material B in grey, so I just thought it would make life easier following those colours. So today is different as my colours are different. We have red spots and grey stripes, then peachy pattern and peachy stripes. All are fabrics from the suggested range. I decided to use colour coded dot stickers to mark out the two fabrics as I think it can get tricky later on if not.

20120219-P1180909.jpg So now I have everything cut for two blocks in the time it would have taken to cut one. Not bad. But it's now time to do all the things I have been putting off all weekend so I might not get any more done today. At least it's all there waiting for me. More later if I get back to it.

Saturday, February 18, 2012

Swoon Block One

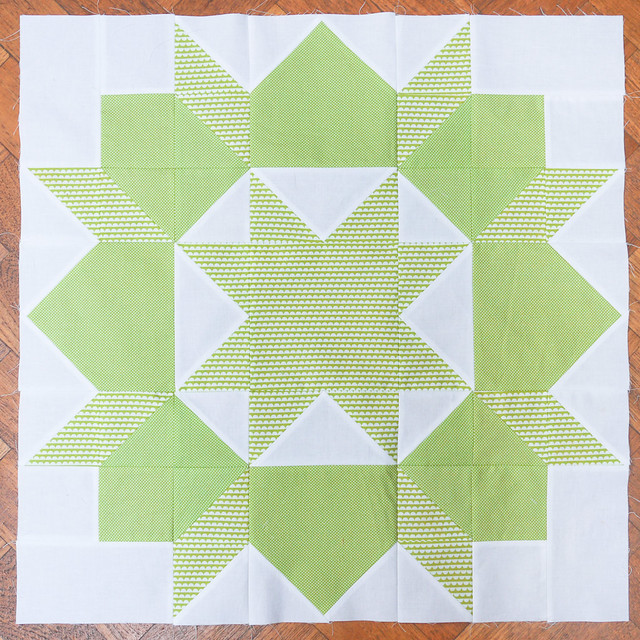
20120218-P1180900.jpg Putting all the units together took longer than expected. I thought I was managing the seams really well but when I got to the last three big strips to sew together I realised that it was unavoidable. I think for the next block I will iron them down the middle as suggested. 20120218-P1180901.jpg Here it is! The finished block. I am STILL not sure about it, but I will make more and see what happens. IT has taken me the whole day though. I must be really slow! Hopefully tomorrow's block might be a bit quicker.

Swoon Saturday Progress

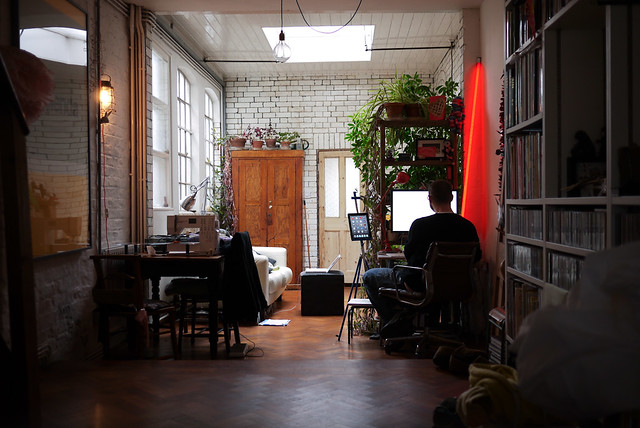
20120218-P1180897.jpg So it's chill out time. Here is today's progress so far. Above is the setup. On the right is the programmer, silently tapping away, on the left is the sewing machine; my domain.

20120218-P1180889.jpg I didn't use templates in the end, I just used my rulers. It was pretty straightforward.

20120218-P1180891.jpg I decided to cut 4 big squares instead of rectangles to save on space. You can see from the bits at the side how much I had left over.

20120218-P1180893.jpg I chain pieced everything together then ironed it flat.

20120218-P1180895.jpg I cut my half square triangle pieces a little bigger to start with so I had a bit of trim. So they were 4" instead of 3 7/8. Then I trimmed them down to exact size using the diagonal as a guide. I am hoping this extra time gives me good points. I am rubbish at points, just rubbish. Now I am ready to sew these units together now I have been to the shops to get my roast dinner ingredients for tomorrow, had lunch and had a little chill out on the sofa. Here we go again!

Starting the Swoon Quilt

So I am having a break from the world of postage stamp blocks. I have put them all away for a rest now I am half way through so I can come back refreshed and do 40 more. Instead it is high time Rachel and I fulfilled our promise to make a quilt at the same time. We have chosen the Swoon quilt by Camille Roskelley. So today we are both beginning. It's a shame we can't do it together side by side, but such is life, so instead I thought I would chart my progress listing exactly what I do so Ray can compare. I am not the world's best or most accurate quilter though, so this is no guide. This is just my process.
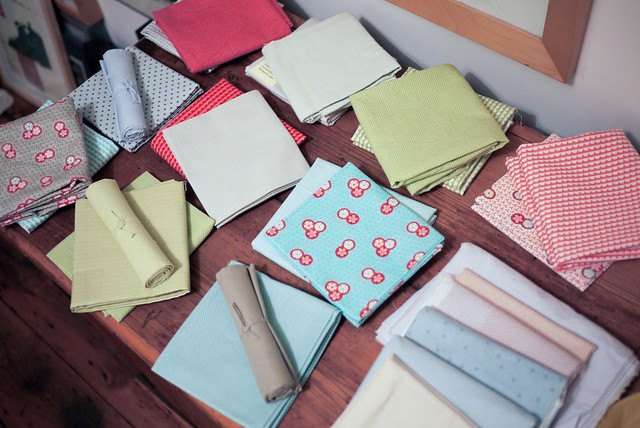
Materials Step 1. Choosing material last week
I've been buying fabric for this since Chillford. At Chilford we thought we had about enough, but actually we hadn't so I spent some time rustling through my stack and buying bits to bump it up. In the end I bought some of the actual fabric Camille suggests for it as it looks so lovely in the picture. If course when I got it, I realised it didn't match the much more sombre colours I already had, so now I just can't choose which ones to use! It's almost like I am split between two totally separate colour ranges. I'd really like to use some plain taupe colours but I have never done this before and am afraid they will look like sick. I have seen other people use them in beautiful ways though and I would really like to be one of those people!
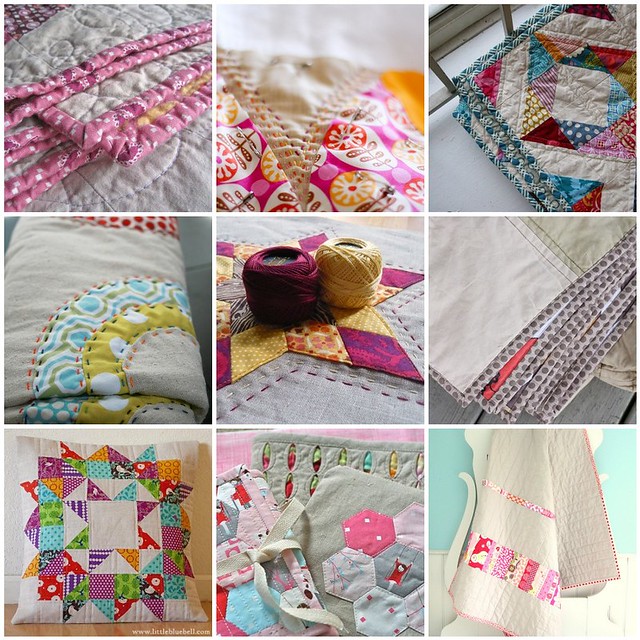
Neutral colours 1. Binding, 2. Slow, 3. { quilted + bound }, 4. Handstitched Circles, 5. Falling Starburst - A Little Sneak Peek, 6. Giant Neutral Plus Quilt, 7. Pillow Talk Swap 6, Finished, 8. MMM Swap, 9. Pink Strip Quilt

Anyway I have had these out all week, examining hem every time I walk past them, hoping for a flash of decision. I haven't seemed to come to any, so I am just going to plough onwards and see what comes out.
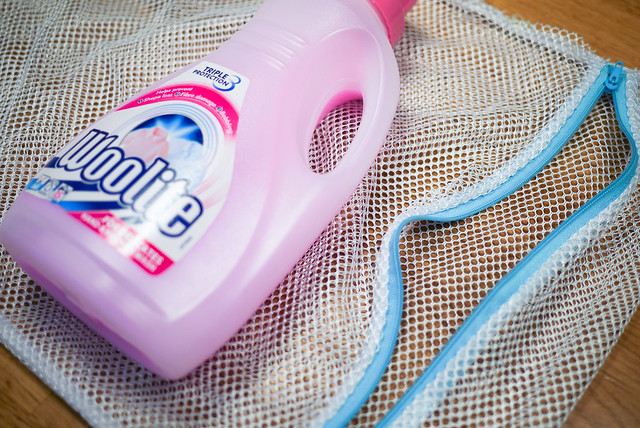
Washing Fabric

Step 2. Washing material last night
I washed the fabric in preparation. My mum is a proper quilter. She is amazing. She has been making quilts for years and has all the skills. She tells me I must wash my fabric, so I do. Some of her on the friends don't. It seems to be a matter of opinion. I do hate the time it takes to wash fabric, but I also enjoy washing quilts when they are done to give them that old, scrunched up feel. I would hate one fabric to shrink more than another and ruin all my hard work, so I diligently wash all my fabric before I use it. Sometimes I just wet it in the sink with a dash of detergent, but mostly I use this delicates bag from Lakeland as it helped prevent fraying. I also just put the folded fabric straight in the bag. My mum unfolds hers, but I find it protects my edges more. I have had some disastrous fraying incidents where I have lost loads of my edges to manic fraying, so this is learned from bitter experience. I don't use loads of detergent because you don't need it, just a dollop of Woolite as it's the only liquid form I have, then in the machine on the delicate wool wash 30°. I have a quick wash setting but it leaves detergent in, so wool wash is better, plus I want it to be damp when it comes out so it's easier to iron creases out.
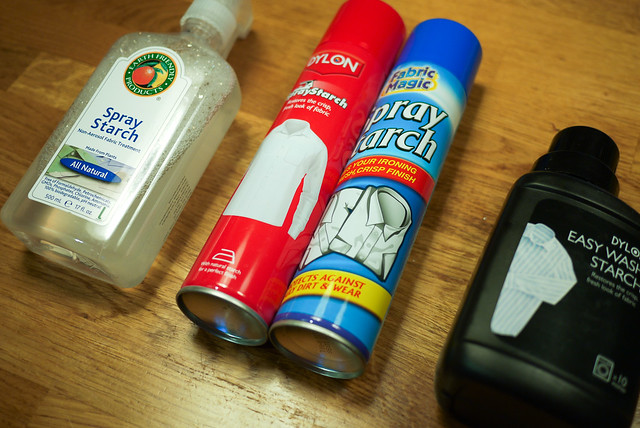
Starch

Step 3. Starching the fabric this morning
I use starch a lot. I don't think you have to, but the smaller the units of fabric are and the more you are cutting diagonally on the bias, the more you need it. I did a 60° quilt and it was just impossible without it. Applique is also much easier with spray starch, but everyone is different. But not all spray starch is the same. Top left is Lakelands eco spray starch. It's pretty rubbish, the spray is not very fine and it leaves visible blotches but I will use it all up and reassess it then. In the red canister is Dylon spray starch. Out of everything there, it's the best, but I have a sneaking suspicion that there are stronger ones out there designed for quilters. The blue one next to it from Amazon is pretty weak. Once I use it up I won't buy it again. The black bottle is starch you put in the wash. To be honest I haven't noticed much of a difference but I need to use it all up and reassess. I keep forgetting to put it in the machine. What I will say about spray starch is that it can leave burn marks if you make your fabric too wet with it and iron it straight away. I left it soak in for 20 seconds after spraying then I iron the side I didn't spray. If it's not enough then I reapply more starch and give it another go rather than dousing it the first time.

Washed, Starched and Ironed

Step 4. Washed, Starched and Ironed and ready to start
Ready to have salve edges cut, and another spray starch and iron if they are too flimsy when i come to use them. This is my pile of blues I am not sure about and neutral solids I am experimenting with. It's time to decide! Block one ready to start. Here we go!

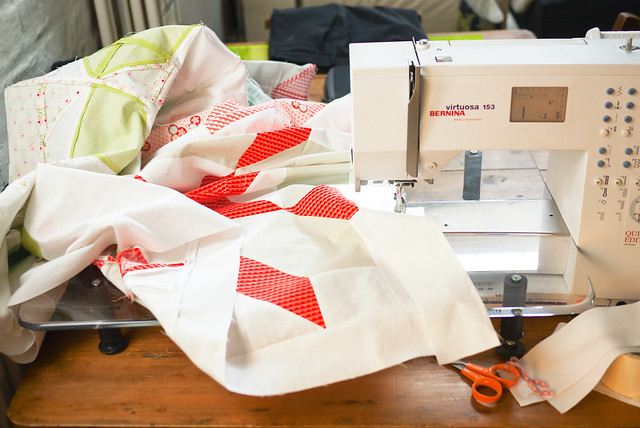
Sunday, January 29, 2012

Postage Stamp Techniques

Postage Stamp Block Postage Stamp Block

So after not doing very much so far this year, I decided to get back to making my postage stamp blocks. I was surprised when I saw my latest block next to my first test block. My first one is rubbish! It made me realise that I've adopted several techniques to make the block neater. It slows the process down, but I think it's worth it. I thought I would write them down so I remember.
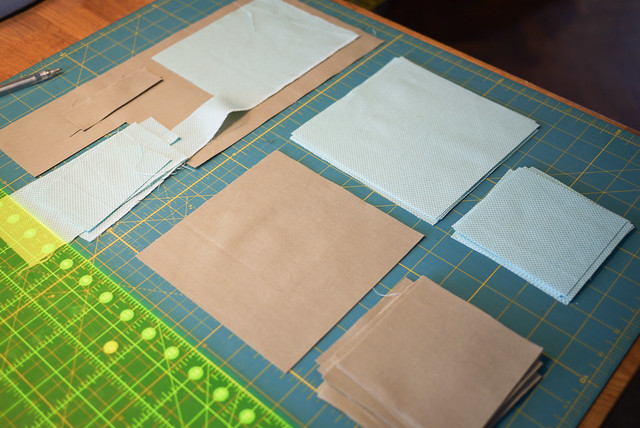
The process I used was to sew two fabric panels together, press them flat with an iron then trim one edge to 3/4" from the seam. The process is then repeated by sewing another panel to the short bit of fabric and pressing and trimming that until you have 6 strips in total. Then I trim the starting edge. Hey presto you have a long strip of 6. I make 6 of these strip units then I begin to sew the strips together at the shortest edge and do the same pressing flat and trimming technique. I admit, I haven't tried it any other way, but it seems to work pretty well.

So that's the basic process. Here are the things that help with the accuracy.

Spray starch the fabric, starch thinner lawn fabrics twice.

Take time to cut the material accurately. It saves time later.

Consider the grain of the fabric. One side will have more give. I sewed the tighter grain together first so I could utilise the stretchier grain when I needed to pull and push seams to align.

Postage Stamp Block
Sew the seams in opposite direction.

Feel along the seams and line them up as you feed them through the machine.

Push and pull fabric to line up at the seams. Don't pull so much that the fabric warps though.

Postage Stamp Block Use a 1/4 inch foot with a guard at the side.

Use the markings on the machine plate to guide in the fabric. Decide what mark to use and stick to it. (I have even practiced doing this to get it right).

Postage Stamp Block

Use a good ruler. A wide one allows you to make sure everything lines up.

Don't cut fabrics to the right width then sew them. Sew them, press flat, then trim them.

Don't put too much pressure on the iron and warp fabric. Take time to press it and do a little tugging to make seams straight.

Iron everything all the time. I just leave the iron on.

That's it so far. But I am only through 40 blocks out of about 80 I think.