Hark at me! I am smokin'. Rachel decided to make a project notebook full of all the things she wanted to make so she could write down shopping lists and notes for each one in it. I thought that was such a good idea, I have done the same thing. I will show it to you sometime. It's nothing fancy, I am no scrapbooker. I just printed out my
Projects to Make Pinterest board and stuck a picture on every page of my notebook. Suddenly it all felt like it is coming together and I am filled with purpose. This IS the year of the small project. I SHALL succeed in doing something other than baby singing and washing muslins.
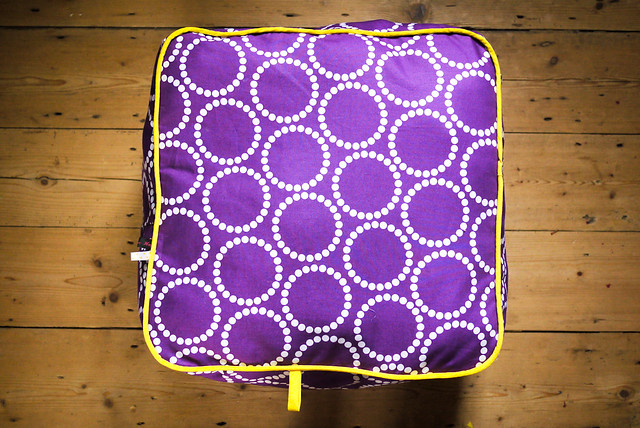
So here we are, project number two complete! For a grand total of £10 I have created a floor cushion! Ta da! For some time now, Penelope has been trying to sit on her toy bag or on various cardboard boxes so that she can watch TV an inch away from the screen like all well-adjusted toddlers do. So now I have enabled this grand scheme with a cushion. It really should have been a bean bag but the poly beads were £9 in our local craft shop and I am not even sure she will sit on it. So this is my test cushion.
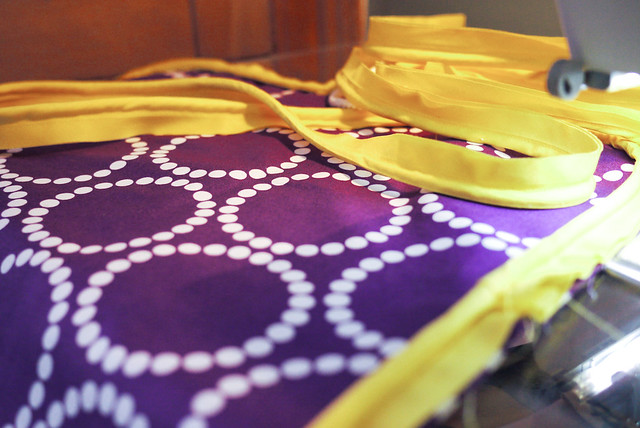
It's a bit flimsy. I probably should have used deco weight fabric, but I don't have any, I've never really even looked at the stuff and suspect it's more expensive. So I got a metre of Lizzy House's Pearl Bracelets in Grape Jelly as I love it so much. I really wanted contrasting piping so I bought some pre made yellow stuff as it is 46p a metre which I figure is cheaper than me buying the fabric and cutting it on the bias. I didn't understand the cord thickness measurement so I just bought 5mm. It seems pretty fine to me.
I have finally used up all my monkey stuffing which I bought in a giant bag off Ebay years a go. I never thought I would be rid of my giant stuffing bag, but it's amazing how much you need. The cushion is probably too baggy but I ran out and I am loathe to buy more only for it to be shunned by that little monkey. So she'll probably plonk herself in it and sink to the floor. I have my unpicker poised if this should happen.
I am not buying another super bag of stuffing though. I might stuff it with cut up baby clothes. You know, those white vests that seem to have developed mysterious brown marks on them. Them. We'll see. If it gets used then I will make her a proper one. I'd like to say it will match the colour scheme in her soon to be revamped bedroom. Soon? well August at this rate. But I think I have realised that I am not organised enough to have a colour scheme. It will be a rainbow free for all!
As for the pattern...
It's
Made by Rae's, How To: Square Floor Cushion.
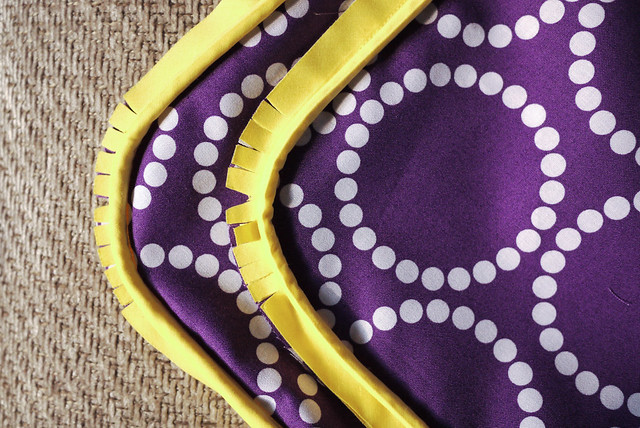
The pattern was great. Really easy to follow with good pictures which talk you through everything. I just did exactly what she said. I still ballsed things up though. My piping got better towards the end of the 4th metre, but a lot of it was pretty baggy even with the piping foot. My measurements were also off. My side strip was too long by 4 1/2". I could well have measured it wrong though. It was easy to correct so no biggy.


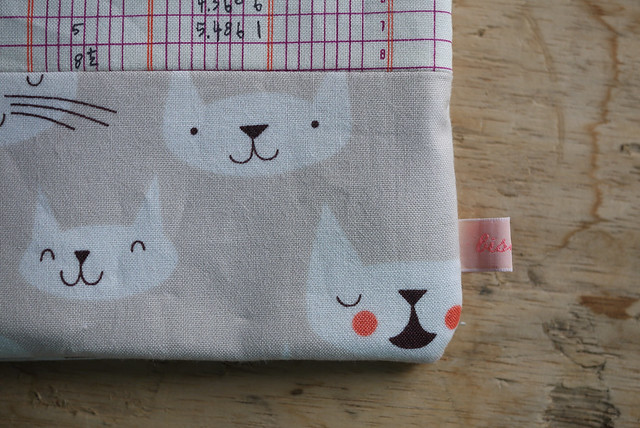
I added some tags because that just the kind of crazy kid I am. I think Penelope will like them. I also put a bigger yellow one in as I suspect this is the kind of thing that will get dragged around a bit.
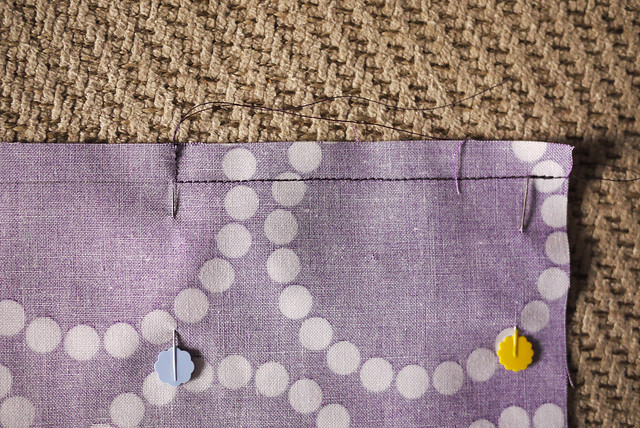
I also sewed my gap with a quilt binding method where you sew a right angle at the gap edge. I then ironed the seam both sides which means the edges don't pull away when you stuff them and when you go to sew the gap shut you can follow your ironing mark. It's a very neat way of doing it. I'm pretty impressed I remembered to do it.
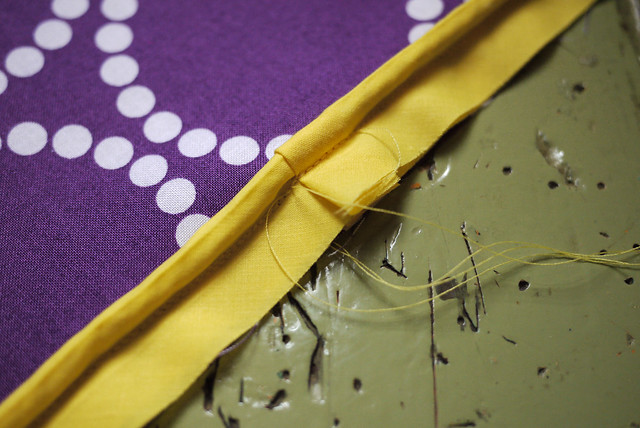
I also learnt how to sew piping at the ends so they meet nicely. I struggled with this the first time I tried piping and I made a real hash of it. This method makes it easy. You just start sewing a little bit along from the start point of your first piping so that when you come round to meet it again, you stop 2 inches before the end, unpick an inch of your second end, trim the cord of the second end so it meets the first end, fold over the unpicked fabric and sew. It's great.
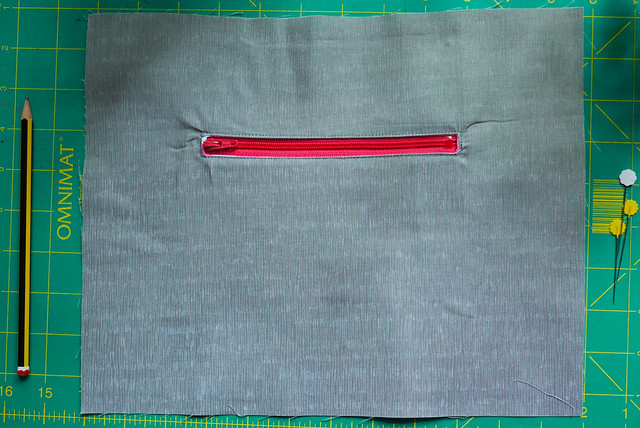
I think if I were to make this again which I probably will then I would consider a more durable approach. I will keep my eye out for deco weight fabric. I will consider making deco weight binding. I would put a big zip in the side or some velcro so that I could wash the cover. This would mean making an inner bag to hold the stuffing so I would make this too. I'd quite like to make the
original round version made by
Living with Punks next time if this is a success. It looked a bit harder going in a circle so I thought I'd get square under my belt first.
I need to look through all of
Rae's patterns as I think there are some great ones in here. I might have to add some to the prject book!
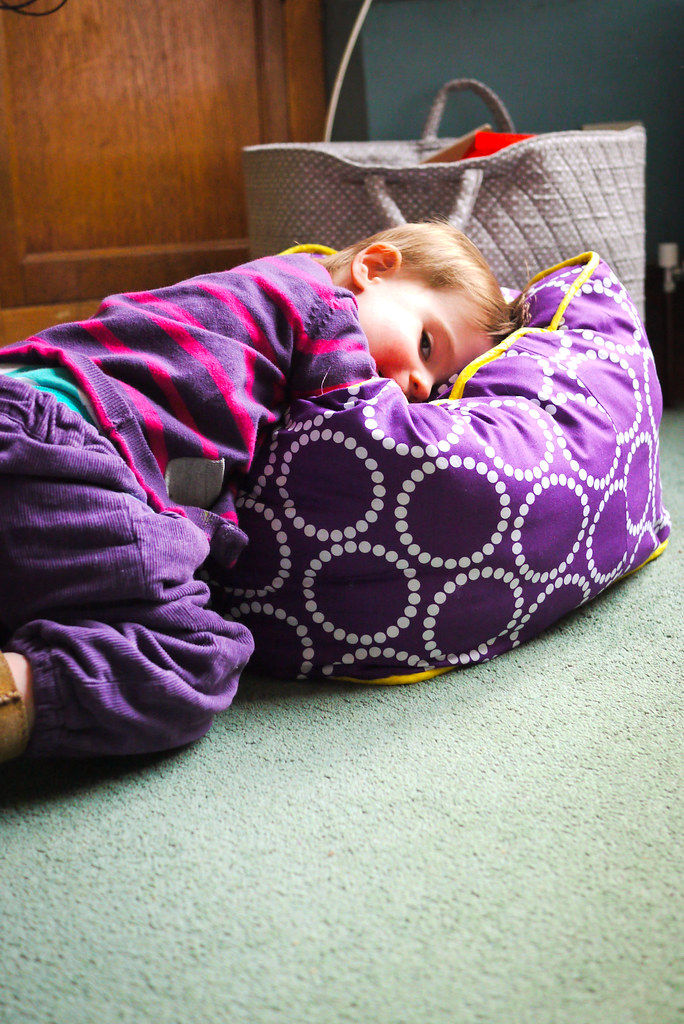
Update! The cushion was an instant success!

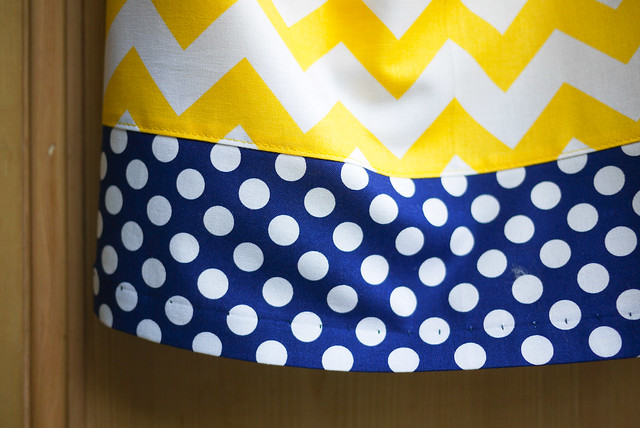
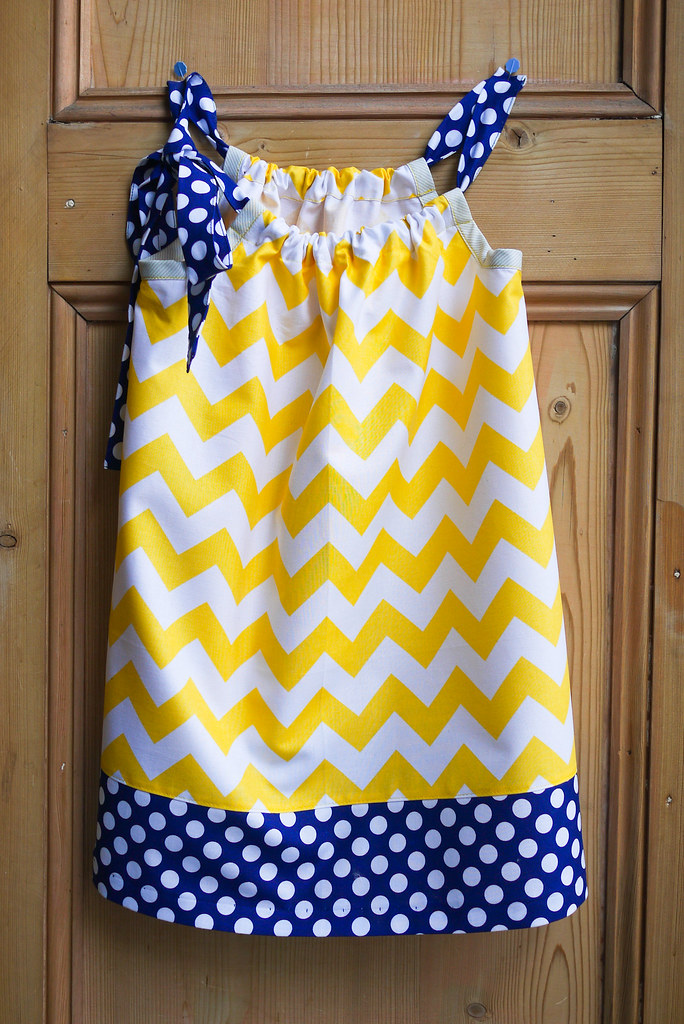 So I decided to make another dress. A very simple one. A pillowcase dress. My other half saw this picture by GraceyLouDesigns that I had pinned and informed me that it was a winner. Her etsy shop doesn't seem to exist anymore, so seeing as I already had the fabric it required, I decided to make it. The fabric was supposed to be used to make him cushion covers for his office chair, but hey, he's already been waiting two years, he can wait a little longer.
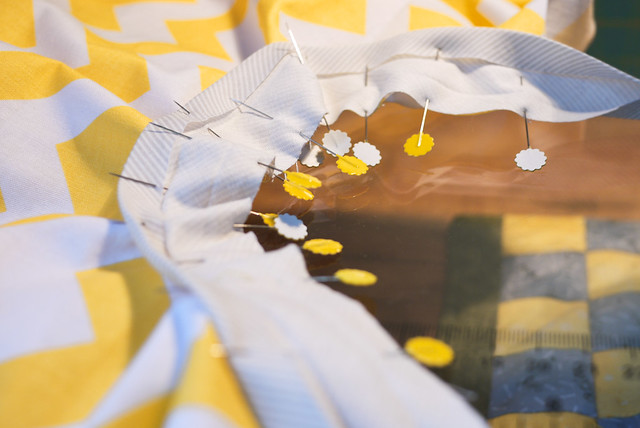
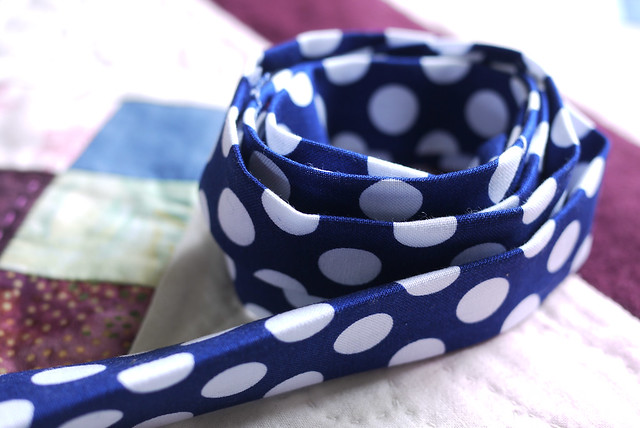 I sewed my tape really carefully and took time over the ends just so it didn't look shoddy.
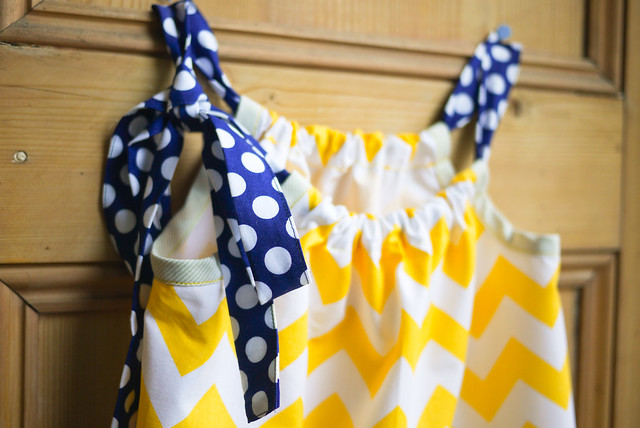 I think the bow looks really pretty. I could have used ribbon but I am glad I didn't. This seems more substantial.
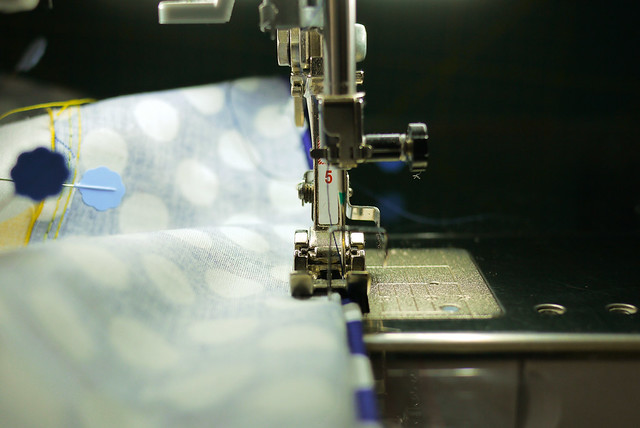 But best of all, I used my blind hemming foot. Blind hems, down pat. Worked a treat. I consider that skill learnt. Time to move onto something else. I'm pondering the idea of making an adult garment, gulp!
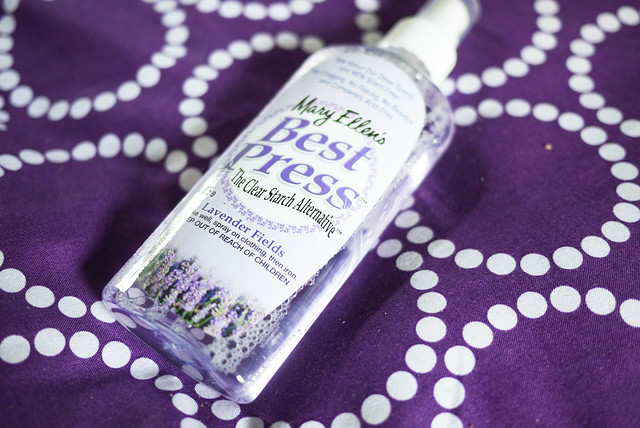 My only tip is to use spray water or starch when folding and ironing all the seams. I found it allowed me to fold my fabric with my fingers and have it stay there. I didn't prewash my fabric and quilting cotton can be quite thick and springy. This helped loads. I would mark my 1/4" seam with a chalk marker, spray with Best Press, fold the hem with my fingers then iron on top and add a bit of steam at the end. Perfect.